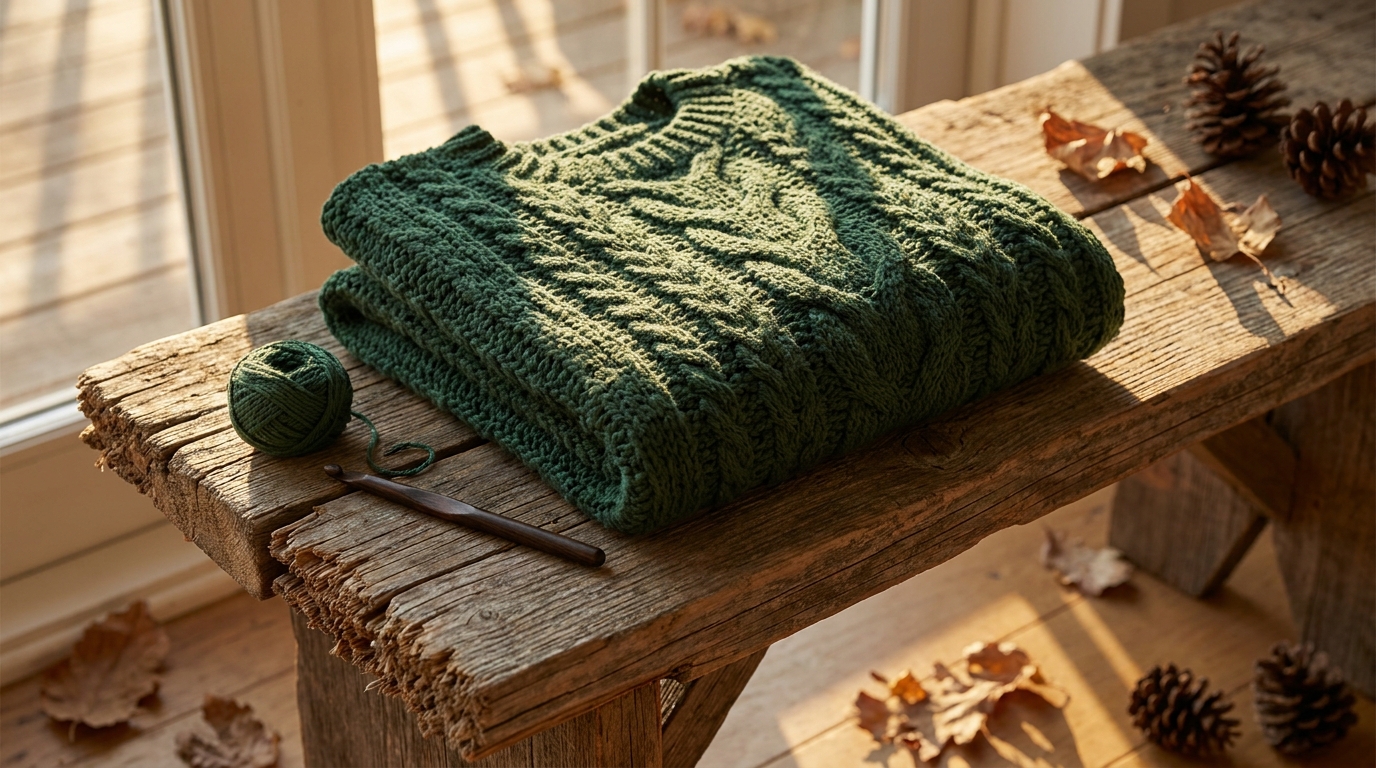
A crochet jersey is a bigger commitment than a hat or a scarf, and it shows the moment something’s a little off. A gauge that’s slightly loose. A sleeve that’s an inch too narrow. A body panel that runs short by two rows you didn’t notice until the seaming stage. Garments are unforgiving that way — small errors that would barely register on a scarf show up plainly once the piece is on a body.
That’s exactly why crochet jersey patterns are worth actually understanding, rather than just following blindly stitch by stitch. Once you know how the pieces are meant to fit together — where the ease comes from, how a sleeve cap matches an armhole, why gauge matters more here than almost anywhere else — you stop being dependent on a pattern written for someone else’s measurements. You can adjust any jersey pattern to your own body instead of hoping the designer’s proportions happen to match yours.
This post walks through a full jersey pattern from the ground up: the prep work most people skip, the two main ways a jersey gets built, a sizing guide you can actually use, the construction steps themselves, and the handful of things that go wrong most often — plus what’s actually causing them.
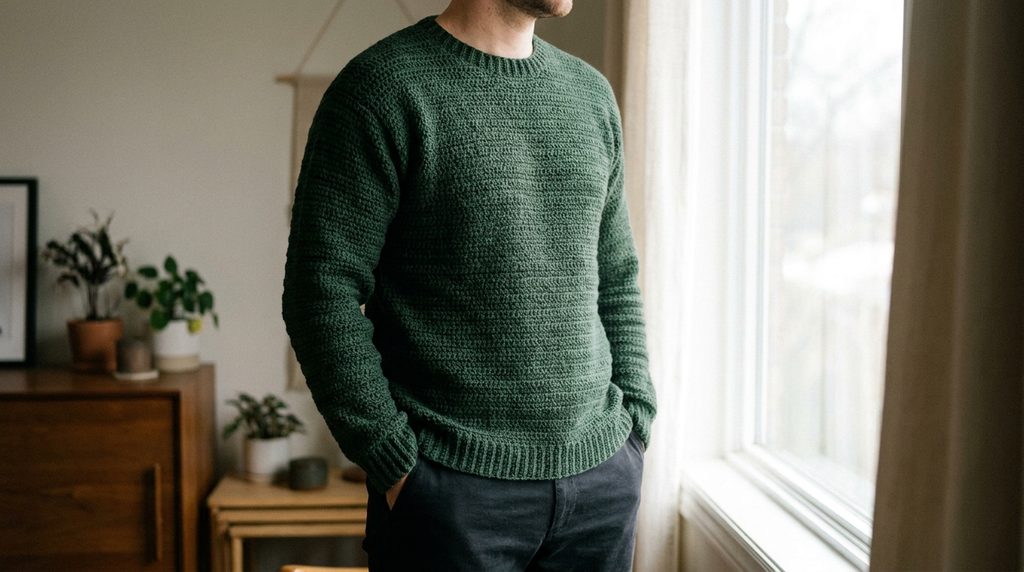
Table of Contents
Before you start: what crochet jersey patterns actually need
Gauge matters more here than it does almost anywhere else in crochet. A jersey stretches across dozens of rows and a wide surface, so a gauge that’s off by even half a stitch per inch doesn’t stay a small error. It compounds, quietly, row after row, until you’re standing at the seaming table wondering why the two front panels don’t line up with the back.
So swatch first. Every time, even if it feels like an extra step standing between you and the actual project. Work a swatch at least 5 inches square, in the exact stitch pattern the jersey uses — not plain single crochet if the body actually uses half double crochet or something textured. Then measure it after blocking, not straight off the hook. Crochet fabric relaxes and grows a little once it’s washed and laid flat to dry. Skip that step, and there’s a real chance the finished garment ends up bigger than you planned, sometimes by more than an inch across the chest.
Yarn choice matters too. A DK or worsted weight cotton-blend, or a straight cotton yarn, is the standard pick for jersey-style garments, mostly because it drapes instead of adding bulk the way some wools do. Pure wool works fine as well, but it has more give under its own weight over time, which means the seams and shoulder construction need a bit more attention if that’s the route you’re taking.
Hook size follows roughly the same logic as it does for hats: go one size down from what the yarn label recommends, aiming for a fabric that’s firm rather than floppy. A loose gauge on something this size doesn’t just look sloppy — it shows up as sagging shoulders and a hem that stretches out within a few wears.
How a crochet jersey actually gets built?
There are really two main approaches, and most crochet jersey patterns you’ll come across use one or the other.
The first is worked in pieces, then seamed. The front, back, and both sleeves are each crocheted flat as their own panels — rectangles, or gently shaped ones depending on the design — and then sewn or slip-stitched together at the shoulders and sides once everything’s finished. This method tends to give cleaner shaping around the armholes and a more tailored overall fit. The tradeoff is the finishing work at the end, which some people love and others dread.
The second is worked in the round, either top-down starting at the yoke or bottom-up with raglan or set-in sleeve shaping added later. The whole garment comes together as one continuous piece, and there’s no seaming at all by the time you’re done. It’s faster in that sense, and there are no bulky seams under the arms to deal with — but it does ask for more attention while you’re working, since keeping the increases even around the yoke or underarms is what makes or breaks the fit.
Neither one is objectively better. Pieced construction tends to hold its structure longer under the garment’s own weight, while working in the round saves time and skips the seaming step most people find tedious. If you’re newer to garment-making specifically, pieced construction is usually the easier one to troubleshoot — a mistake stays contained to a single panel instead of throwing off the whole piece.
Getting the sizing right
Four measurements are really what decide whether a jersey fits: chest or bust circumference, body length from shoulder to hem, sleeve length from underarm to cuff, and shoulder width.
Here’s a trick that saves a lot of guesswork: take these measurements from a jersey or sweater you already own and already like the fit of, rather than measuring straight off your body. Garments need a bit of extra room — positive ease — built in beyond your exact body measurements in order to hang properly instead of clinging. Pulling numbers from something that already fits well accounts for that automatically, without you having to do any of the math yourself.
| Size | Chest/Bust | Body Length | Sleeve Length |
|---|---|---|---|
| XS/S | 34–36 in | 22–23 in | 17–18 in |
| M | 38–40 in | 24 in | 18–19 in |
| L | 42–44 in | 25 in | 19–20 in |
| XL | 46–48 in | 26 in | 20–21 in |
These numbers are starting ranges, not gospel. If your own measurements or your gauge swatch don’t line up neatly with the table, adjust the stitch and row counts to fit your actual gauge instead of stretching the pattern’s numbers to fit a gauge they were never written for.
Building the pattern: a bottom-up, seamed jersey
Here’s the logic behind a fairly classic bottom-up, pieced jersey — a front panel, a back panel, two sleeves, all joined at the end. It’s written as a technique guide rather than fixed row-by-row numbers, on purpose, because the actual stitch and row counts depend entirely on your gauge and the size you’re targeting from the table above. Handing you invented numbers that don’t match your yarn would do more harm than good.
Body panels, front and back, worked the same way as each other. Chain to your target width at gauge, plus one for turning. Work even rows in your chosen stitch pattern until the panel reaches your target body length. If you want a scoop or crew neckline, leave the final 6 to 8 inches unworked across the center-front section — you’ll come back and shape that opening once the side seams are already joined.
Sleeves start narrower at the cuff. Increase evenly on each side every few rows, working steadily toward the upper-arm width by the time you hit your measured sleeve length. A gradual, steady increase rate reads better and lies flatter than several increases bunched into one row, which tends to leave a visible pucker at the seam.
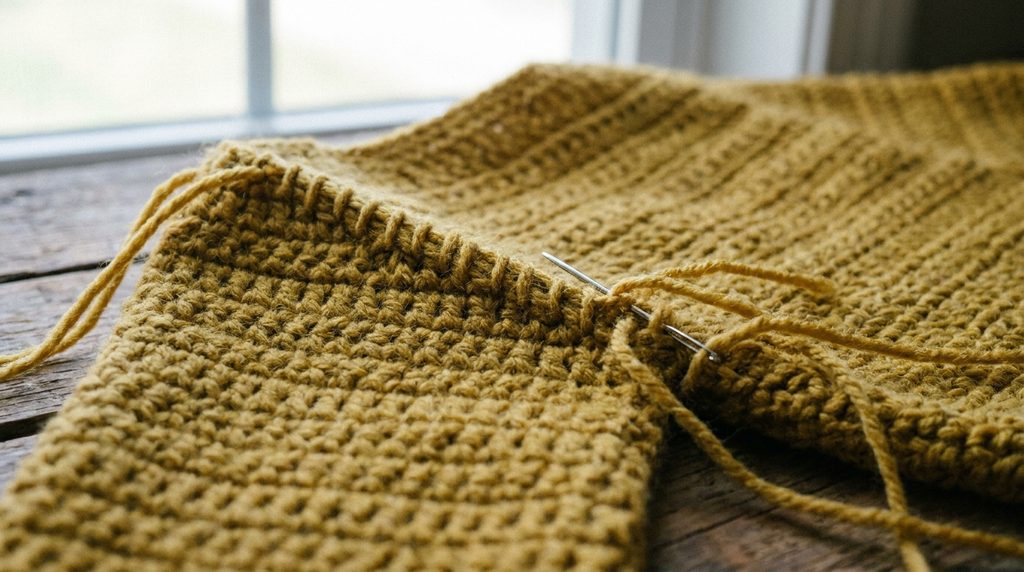
Joining starts at the shoulders. Lay the front and back panels together and seam the shoulders first, leaving the center neckline gap open for now. Then work down the sides, seaming from hem to underarm and leaving an armhole gap that matches the width of your sleeve’s upper arm. Set the sleeves in and seam them around the opening, easing out any small width difference evenly rather than gathering it all into one spot, which tends to create a pucker exactly where you don’t want one.
The neckline comes together once the shoulders are seamed. Work a few rounds of single crochet or half double crochet directly into the opening to finish the edge cleanly. Working a round or two through the back loop only adds a slight rib effect, which helps the neckline resist stretching out of shape over time — something plain single crochet on its own won’t do nearly as well.
Where crochet jersey patterns tend to go wrong?
The garment comes out too wide or too narrow. Almost always a gauge mismatch rather than an actual math error somewhere in the pattern. Before assuming the stitch counts are off, re-swatch and block properly and see if the numbers line up better.
The sleeves don’t sit right at the shoulder. This usually means the armhole and the sleeve cap weren’t measured against each other before seaming started. As a rule, the sleeve’s upper-arm width should land within about half an inch of the armhole opening, either direction.
The finished jersey stretches out of shape over time. More common with pure wool, and more common with a looser gauge in general. A firmer gauge helps, and so does a stabilizing round of single crochet worked along stress points — the shoulder seams especially, and the neckline.
Panels don’t match in length once you sit down to seam them. Row counting drifts more easily over a long panel than it ever does over a short one — a missed row here or there doesn’t announce itself the way it would in a 20-row swatch. Measuring against a tape measure every few inches, instead of only counting rows, catches that drift early, well before it becomes a problem at the seaming stage.
Adjusting for different yarn weights
A jersey written for DK weight can be reworked in worsted weight yarn using a larger hook, and you can generally expect around 15 to 20 percent fewer stitches and rows to hit the same finished measurements. That said, always check this against your own gauge swatch rather than applying a flat percentage without checking — the ratio between stitch height and width shifts a bit between yarn weights, and a guess that’s close isn’t the same as a guess that’s right.
Bulkier yarn makes for a heavier, cozier finished jersey, but it also adds noticeably more weight to the garment, and that weight settles mostly at the shoulders. A light stabilizing row along the shoulder seam is worth doing no matter what yarn weight you’re using, but it matters even more once you’re working with something chunkier.
Faqs
Can I make a crochet jersey without any seaming at all? Yes. Working top-down in the round from the yoke skips seaming entirely, though it does ask for more careful stitch counting around the raglan or yoke increases so the shaping stays even on every side as the piece grows.
How much yarn does a jersey actually need? This depends so heavily on size, yarn weight, and stitch pattern that there isn’t a single honest number to hand you without those specifics. A reliable estimate comes from your own gauge swatch — weigh it, then scale the weight up by total surface area of the planned garment — which will get you far closer than any generic figure floating around online.
Why does my jersey feel heavy or saggy after wearing it a few times? Crochet fabric has some natural stretch under its own weight, and that’s more pronounced with wool specifically. A firmer gauge, a lighter-weight yarn, or a stabilizing rib row at the stress points — shoulders and hem in particular — all help slow that down.
Can I just convert a knit sweater pattern into a crochet jersey pattern? Not directly, no. Crochet and knit stitches have different height-to-width ratios and different amounts of natural stretch, so a knit pattern’s row and stitch counts simply won’t translate over. What does translate is the knit garment’s finished measurements — use those as your sizing target, and build the crochet pattern itself from those numbers paired with your own gauge swatch.

Leave a Reply