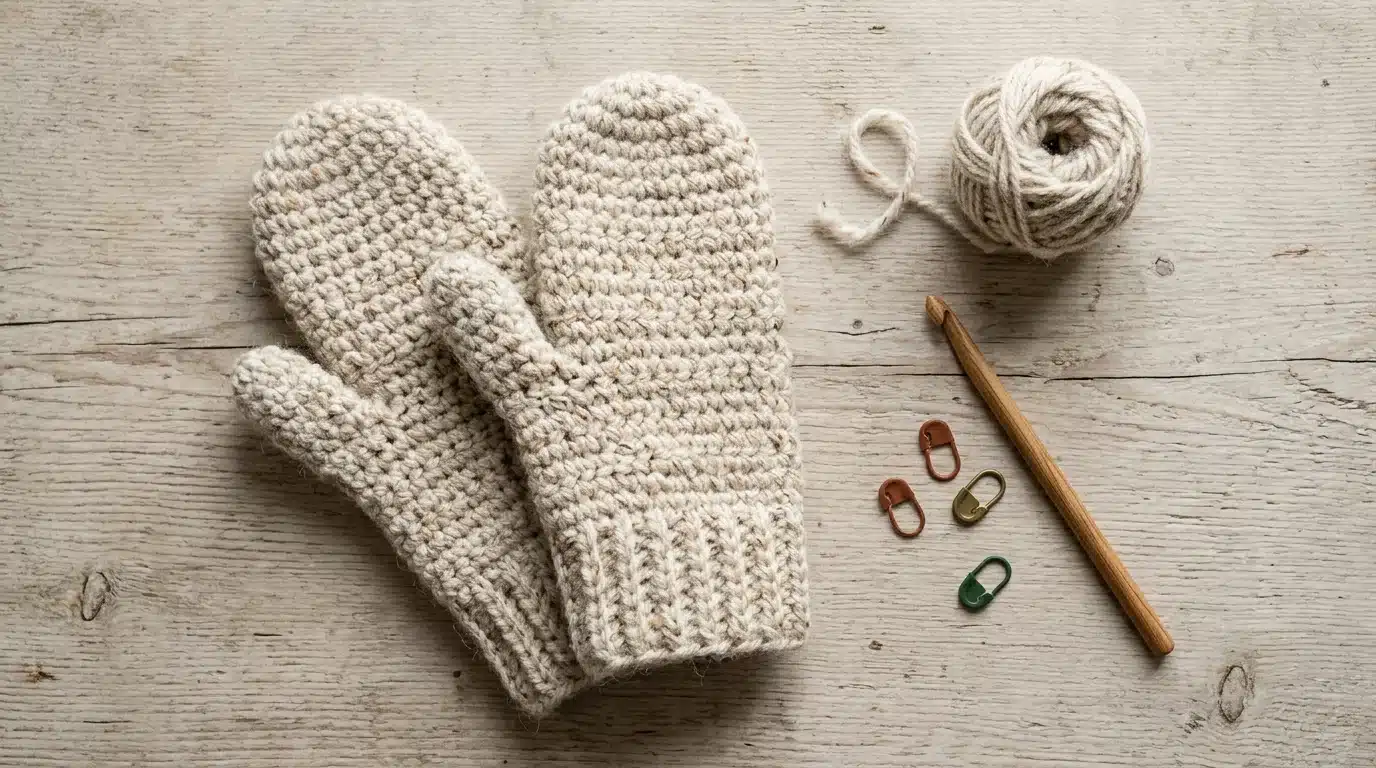
Most crochet mittens patterns hand you one fixed set of stitch counts. Then your yarn, hook, or hands disagree with them, and the mitten comes out too tight or loose enough to slide off. This article works the other way around. It gives you the construction of crocheted mittens (cuff, thumb gusset, hand, top shaping, thumb) and shows you how to calculate every count from your own gauge and your own hand measurements.
Only the inputs change, so the same method covers crochet mittens for kids, crochet mittens for adults, and crochet baby mittens. No fixed sizes are listed, because a size table only works if your gauge matches the designer’s.
Table of Contents
What you need?
- Yarn in a weight that suits the wearer
- A hook one or two sizes smaller than the yarn label suggests, because crochet mittens need a dense fabric that blocks wind
- At least four stitch markers
- Waste yarn, a yarn needle, a measuring tape
Yardage varies with size and yarn, so weigh your yarn ball before and after the first mitten to see what each one needs.
Choosing yarn for crochet winter mittens
Yarn weight follows the Craft Yarn Council’s yarn weight system, numbered from 0 (lace) to 7 (jumbo). Medium (category 4, worsted) is the usual starting point for crochet winter mittens: warm without being stiff. Light (category 3) makes a thinner mitten that fits under a coat cuff. Bulky (category 5) works up fast, but dense bulky fabric gets clumsy on small hands.
Fiber changes the result:
- Wool traps warmth and springs back, but untreated wool can felt in a hot wash, so choose superwash for machine washing.
- Acrylic washes easily but holds less warmth and doesn’t tolerate blocking heat.
- Cotton has no stretch, so cuffs fit loosely. It suits mild weather, not winter.
Work the gauge swatch first
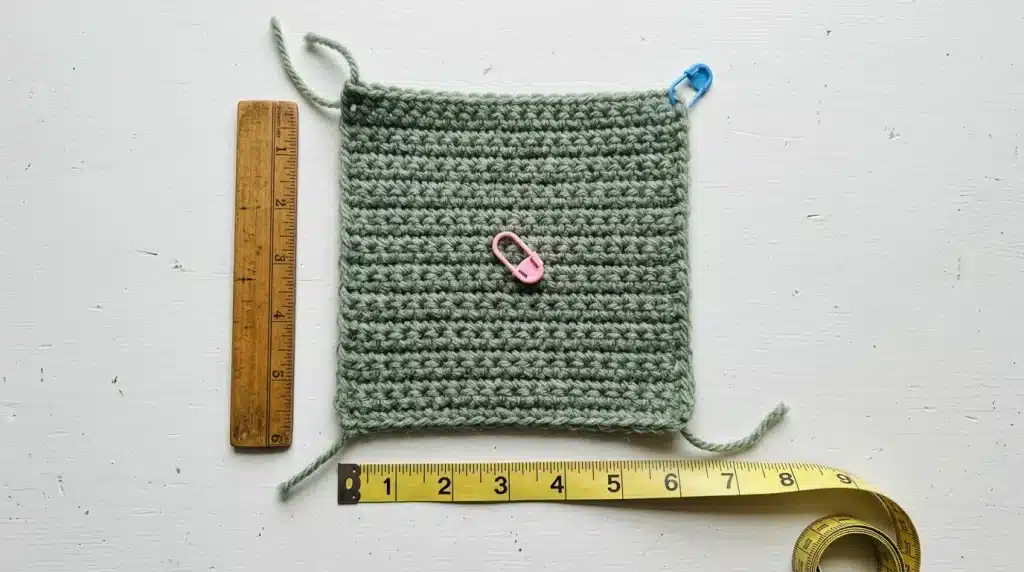
Skip this and every number below is a guess. If swatching is new to you, this gauge swatch guide walks through it. Crochet a single crochet swatch at least 4 inches square, then count stitches across one inch in the middle, away from the edges. Call that number S.
If the swatch feels drapey and you can see light through it, drop another hook size. Crochet mittens that let wind through don’t do their job.
Measure the hand
Take three measurements with the hand relaxed:
- Hand circumference: around the palm just below the knuckles, thumb excluded
- Hand length: wrist crease to the tip of the middle finger
- Thumb circumference: around the base of the thumb
The Craft Yarn Council publishes hand size charts for children and adults, useful when you’re making a gift and can’t measure the person.
Crochet mittens need a little ease, so add some to the hand circumference, since a mitten pulled tight over the palm restricts circulation and loses warmth. Stretchy wool can sit close, while acrylic and cotton need more room. Call the result C.
The math
Hand stitches (N): C times S, rounded to a multiple of 6. That makes the top decreases even.
Gusset width (G): thumb circumference times S, plus a stitch or two of ease, rounded to an odd number.
Top shaping start: a rounded tip is roughly a half dome, and a dome’s height is about one-sixth of its circumference. Start decreasing when the mitten is short of full hand length by about C divided by 6. This is geometry, not a tested figure, so try the mitten on and adjust.
Step 1: The cuff
On crochet mittens, the cuff keeps the mitten on the wrist and holds cold air out.
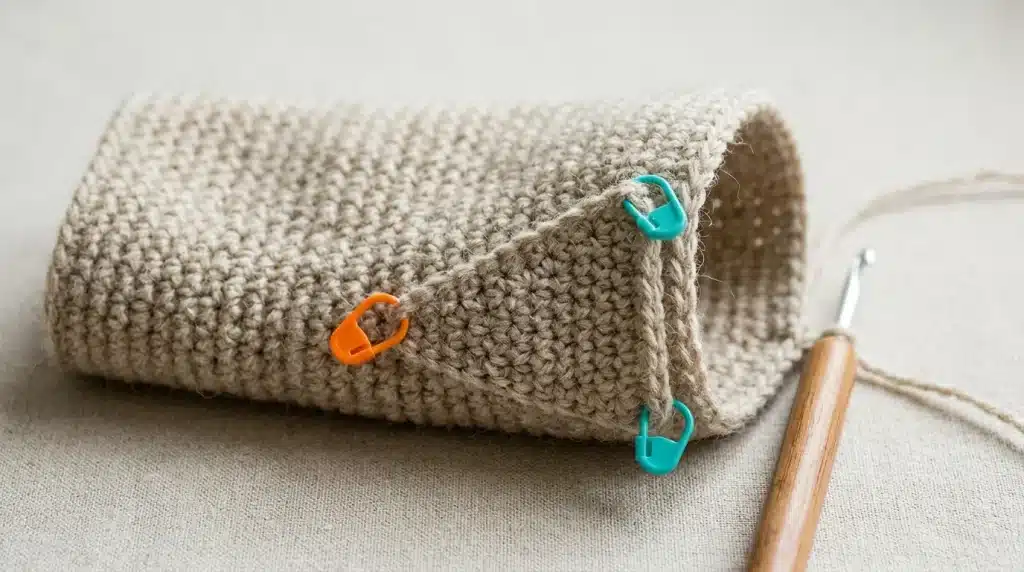
Worked in the round (easier): chain N, join with a slip stitch without twisting, and work single crochet in the back loops only for several rounds. That leaves a ridge on the front and a stretchy, ribbed-looking band.
Either way, the cuff should be the snug part of the mitten.
Step 2: The body below the thumb
Single crochet in the round, one stitch in each stitch, until the mitten reaches the base of the thumb. Measure that distance on the real hand itself, not from a chart.
Step 3: How to crochet a thumb gusset for mittens
The gusset is the triangle of extra fabric that lets a thumb sit in a mitten without dragging the piece sideways. It’s a series of evenly spaced increases, and every crochet mittens pattern with a thumb relies on one or on a similar opening.
- Choose the side where the thumb will sit and mark the center stitch. Mark one stitch on each side of it.
- Increase round: work to the gusset stitches. Make two single crochet in the first one, single crochet in each stitch between, and two single crochet in the last one. Move the markers out to the new edge stitches. Finish the round plain.
- Plain round: single crochet in every stitch.
- Alternate steps 2 and 3 until the gusset holds G stitches.
Alternating gives a gradual slope, while increasing every round makes the gusset flare and ripple. Count after each increase round, since a wrong count here causes most misshapen thumbs.
Step 4: Set the thumb stitches aside
- Single crochet to the first gusset stitch.
- Skip all G gusset stitches. Thread waste yarn through them if you worry they’ll unravel.
- Chain enough to bridge the gap without puckering. Many patterns use two to four. The bridge adds a little width over the thumb base, so it should lie flat against the fabric without pulling. If it puckers, you chained too few. If it flops, you chained too many.
- Continue in single crochet around, working into the chain stitches when you reach them.
Step 5: The hand and fingertip
Work plain rounds until you reach your top-shaping length. Divide N by your decrease count (6 works with a multiple of 6) and mark each spacing point. Decrease at every mark. Use an invisible decrease. Insert the hook through the front loop only of the next two stitches, yarn over, pull through both loops, then yarn over and pull through the last two. Working through the front loops flattens the decrease so it doesn’t leave a bump.
When about a dozen stitches remain, cut the yarn, thread the tail through the front loops, pull tight, and weave it in securely inside.
Step 6: How to crochet a thumb for mittens
- Join yarn at one end of the thumb opening.
- Single crochet into each of the G skipped stitches, then into the bridge chains on the other side.
- Work plain rounds to about the base of the thumbnail, measuring on the real thumb.
- Decrease with invisible decreases and close like the top of the hand.
A small gap where the thumb meets the hand is common. Pick up an extra stitch there and decrease it next round.
Making a matching pair
A pair of crochet mittens should mirror each other where it counts, which is the thumb.
With the gusset centered on the side of the round, one mitten fits either hand. For thumbs that mirror, count the same number of stitches from the start marker on both, but work the second mitten in the opposite direction.
Crochet mittens for kids, adults and babies
Kids: measure the hand instead of going by age, allow extra ease so small hands can pull them on, and choose washable yarn.
Adults: the wrist-to-thumb distance varies more, so try the mitten on during the body rounds. If the wearer layers gloves underneath, increase C slightly.
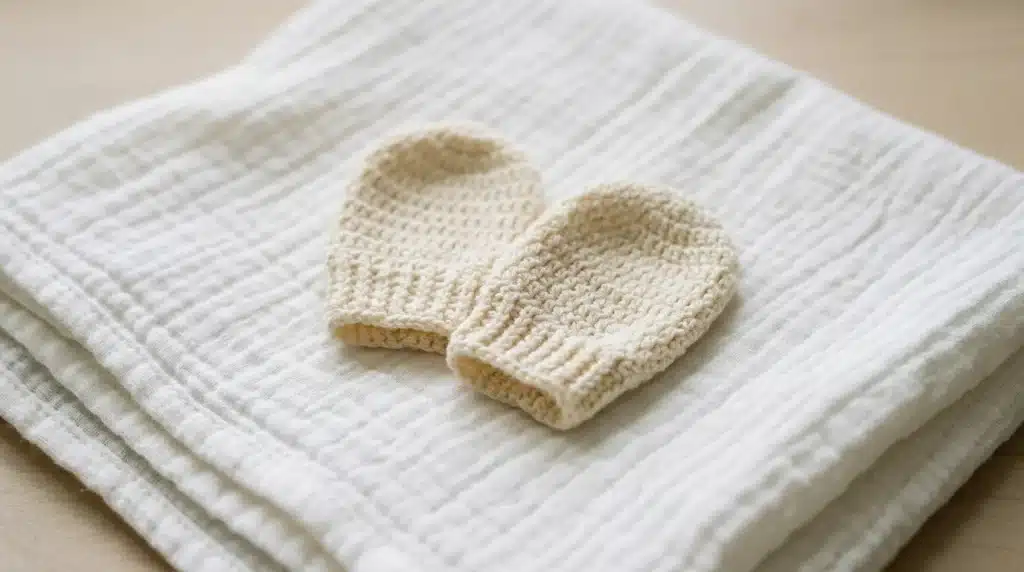
Baby mittens: thumbless is usually best. A baby’s thumb is tiny and often tucked in the fist, so a gusset adds bulk with no benefit. Skip steps 3, 4 and 6, work the hand straight up, and shape the top. A matching baby hat pattern makes a natural set. Safety matters here:
- Weave in every end thoroughly, since loose strands can wrap around a tiny finger
- Skip buttons, beads, and cords between mittens, which are a strangulation risk for infants
Easy crochet mittens for beginners
Everything above uses single crochet. If it’s still new, start with the single crochet tutorial. To lower the difficulty, skip the ribbed cuff, work in a spiral with a marker, use a pale smooth yarn, and make the first mitten in cheap yarn as a trial run.
Common mistakes with crochet mittens
The mitten twists. The foundation chain was twisted before joining. Lay it flat and check that the V-shapes face the same way.
The thumb opening gaps. The bridge is too short. Add extra stitches at the corners and decrease them next round.
The fabric is stiff. The hook is too small. Go down no more than two sizes from the label.
The mitten is too tight to pull on. The foundation chain was too tight. Chain loosely or use a larger hook for the chain only.
Care and finishing
Block the finished crochet mittens flat and shape them by hand. Non-superwash wool needs cool hand washing and flat drying. Check the label for acrylic and superwash. Gently press water out with a towel rather than wringing, which stretches the stitches and distorts the thumb. A lining adds warmth and reduces stretch, so size up the outer mitten if you plan one.
FAQs
Can one pattern make crochet mittens for both hands?
Yes, if the gusset is centered on the side of the round. For mirrored thumbs, use the matching pair method above.
How do I stop the thumb hole gaping?
Pick up one or two extra stitches in the corners, then decrease them away on the next round. Check that the bridge chain isn’t too short.
Can I make crochet mittens in bulky yarn?
Yes, but the fabric gets dense and stiff around the fingers. Make the gusset a little longer to allow for the thicker fabric.

Leave a Reply