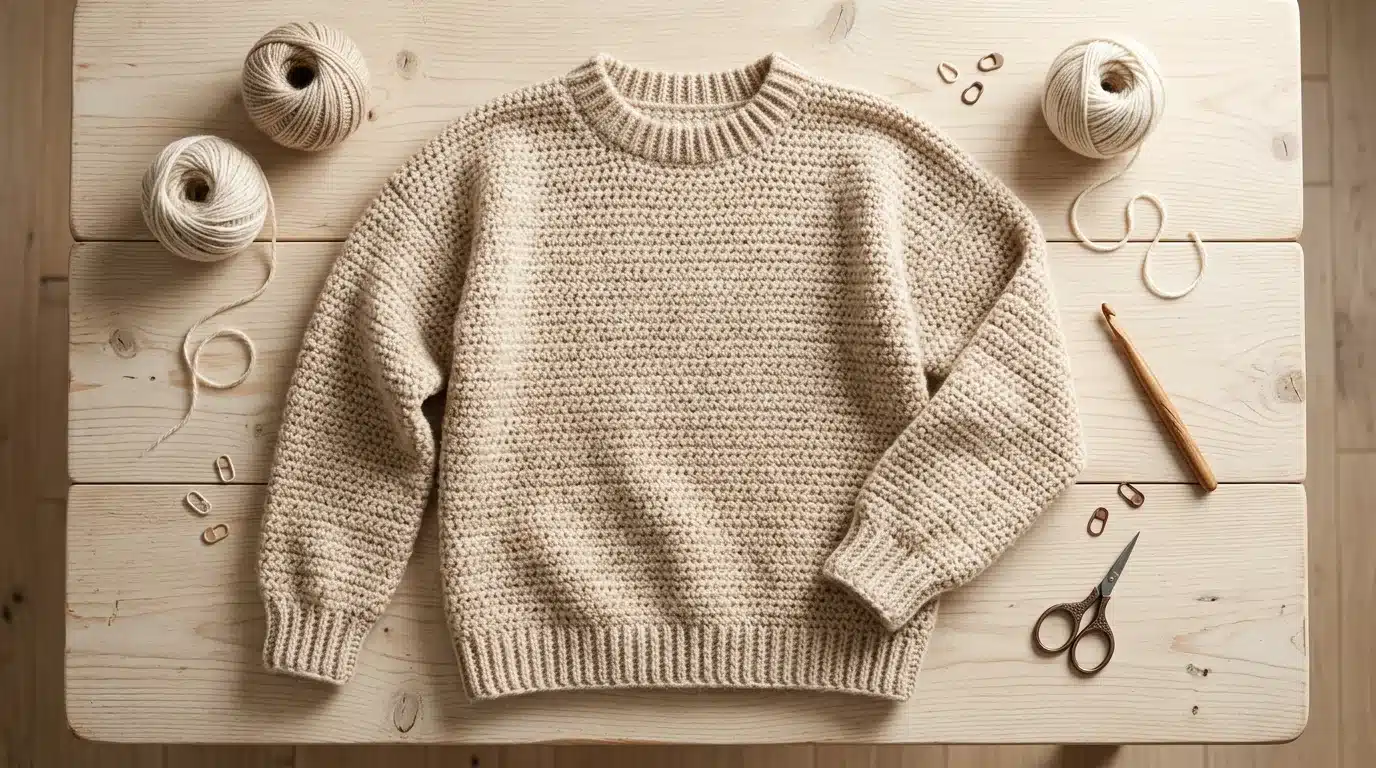
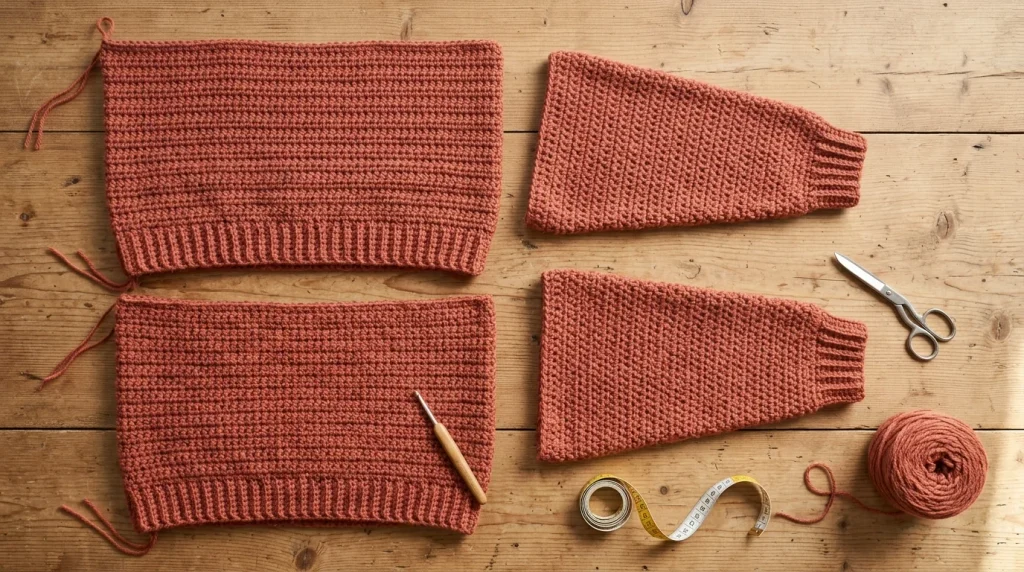
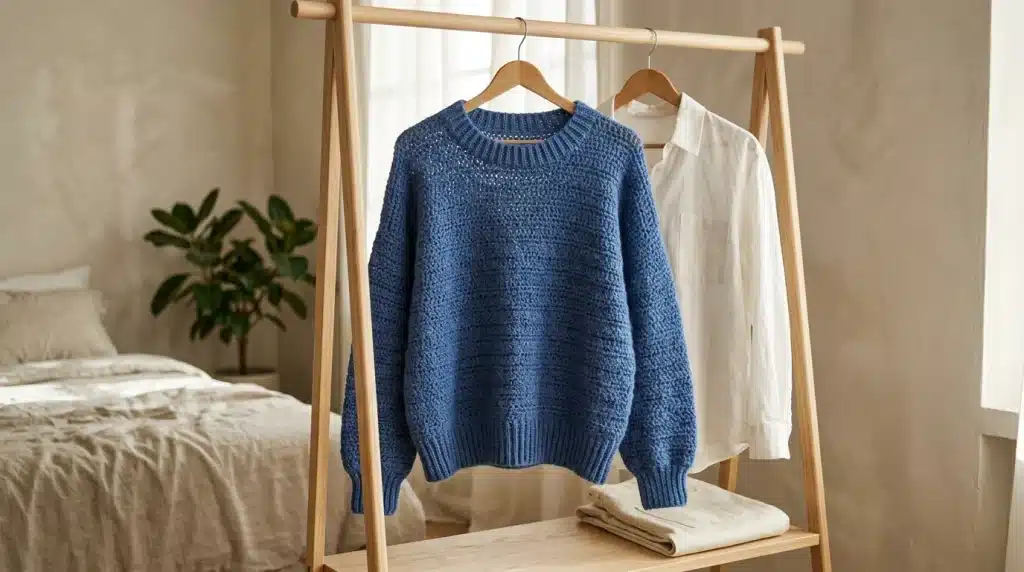
A women’s crochet pullover looks like a big commitment, but the simplest version is really just four rectangles: a front, a back, and two sleeves. There’s no armhole curve to shape and no top-down math to follow. You crochet the pieces flat, seam them together, and finish the edges with a ribbed band.
This guide walks through one complete women’s crochet pullover in six sizes, built from standard drop-shoulder construction rather than a single designer’s copyrighted pattern. If you’ve already seen a top-down raglan sweater, this is the other classic route: more seaming, but much easier to resize, since changing a measurement just means making a rectangle wider or longer.
Table of Contents
Why a drop-shoulder works for a first women’s crochet pullover?
In a drop-shoulder garment the sleeve seam sits slightly below the natural shoulder line, which is why the body panels can be plain rectangles. That same shape is part of the garment’s long history; Wikipedia describes the sweater as a knitted or crocheted upper-body garment, historically made of wool, and the boxy silhouette is among its oldest forms. For a beginner it has three practical advantages. Every panel is a straight-sided rectangle, so you never count shaping rows. Gauge errors are easy to spot, because you can lay a finished panel against a sweater that already fits. And the relaxed shape forgives small measuring mistakes better than a fitted one does.
Materials, gauge, and ease
Yarn: Worsted weight (#4), roughly 1,300 to 2,100 yards depending on size. Yarn and hook pairings follow the Craft Yarn Council’s standard yarn weight system. Hook: 5.5 mm (I) for the body, 5 mm (H) for the ribbed bands Notions: Yarn needle, stitch markers, tape measure Gauge: about 13 stitches and 9 rows in half double crochet = 4 inches
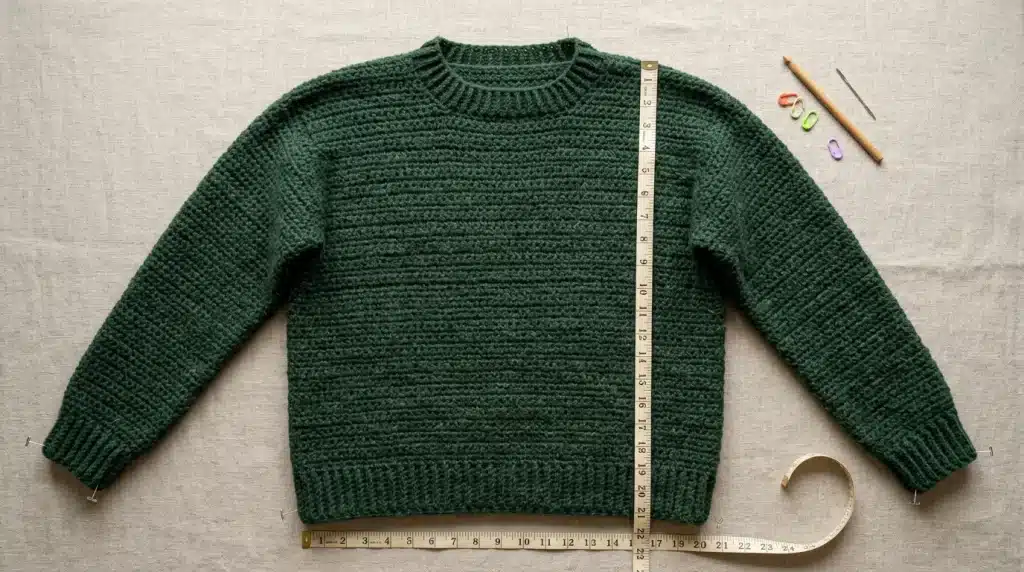
Treat that gauge as a target, not a promise. Everything below is calculated from it, so crochet a swatch at least 5 inches square, wash and dry it the way you’ll wash the finished sweater, then measure. If you get 14 stitches instead of 13, go up a hook size; if you get 12, go down.
Ease is how much larger the sweater is than your body. This women’s crochet pullover is written with about 4 inches of positive ease at the bust, which gives a relaxed fit. For a closer fit, subtract 2 inches of ease; for an oversized look, add 4 more.
Women’s size chart
| Size | Bust (body) | Finished bust | Panel width | Stitches per panel |
|---|---|---|---|---|
| XS | 32″ | 36″ | 18″ | 58 |
| S | 36″ | 40″ | 20″ | 65 |
| M | 40″ | 44″ | 22″ | 72 |
| L | 44″ | 48″ | 24″ | 78 |
| XL | 48″ | 52″ | 26″ | 84 |
| 2X | 52″ | 56″ | 28″ | 91 |
Pick the size closest to your own bust measurement when you start a women’s crochet pullover. If you fall between sizes, choose the larger one, because a slightly roomy drop-shoulder looks intentional while a tight one pulls across the chest.
The pattern
Back panel: Chain the stitch count for your size plus 2. Work half double crochet into the third chain from the hook and across. Chain 2, turn, and work hdc in every stitch across for every row after that. Keep going until the panel measures 22 to 24 inches long, then fasten off. Ribbing gets added later, so aim a little short of your final length.
Front panel: Work exactly like the back until it measures about 20 inches. Then place a marker at the center and shape the neckline: work across to 3.5 inches before the center on each side of a roughly 7-inch opening, leave those center stitches unworked, and finish each shoulder separately in two sections, working a few more rows until the front matches the back’s length. For the 2X size, widen the opening to about 8 inches.
Sleeves (make 2): Chain 30 for every size and work hdc flat. Increase by one stitch at each end every 6th to 8th row, until the sleeve reaches the top width for your size: 46 stitches for XS, 50 for S, 54 for M, 58 for L, 62 for XL, and 66 for 2X. Stop at about 17 inches long, or whatever suits your arm length, then fasten off.
Assembly
Lay the front and back with right sides together and whip stitch or slip stitch the shoulder seams, leaving the neckline opening between them. Open the garment flat, fold each sleeve in half to find its center, and pin that center to the shoulder seam. Seam the sleeve top to the body along a straight line, working down about 9 to 10 inches on each side of the shoulder seam. Then fold the whole piece at the shoulders and seam the sleeves and sides in one continuous line from cuff to hem.
Finishing bands: Switch to the smaller hook. Work 4 to 5 rounds of single crochet in the back loop only around the hem, each cuff, and the neckline. That creates horizontal ribbing which hugs the wrist and waist without needing elastic. Weave in all ends, then block.
Fit adjustments for a women’s crochet pullover
The nice thing about a flat-panel women’s crochet pullover is that fit changes are arithmetic, not guesswork. To lengthen the body, simply add rows to both panels. To make the sleeves longer or shorter, change only the sleeve row count. If you want a wider upper arm, raise the top-width stitch count by 4 and spread the extra increases across the sleeve.
For a cropped women’s crochet pullover, stop the body at 16 to 18 inches and widen the hem band to 3 inches so it sits at the high hip. A longer tunic works the other way: add 5 or 6 inches and leave small side slits by stopping the side seams about 6 inches above the hem.
Choosing yarn and stitch texture
Fiber changes how a women’s crochet pullover drapes and feels. Acrylic and acrylic blends are the practical default: machine washable and fairly inexpensive, though they can feel stiffer. Wool and wool blends give more warmth and bounce but usually need gentle hand washing. Cotton makes a cooler, heavier fabric that suits spring weather; it stretches under its own weight, so size down a half inch of ease if you choose it.
For a women’s crochet pullover, half double crochet gives dense, warm fabric. Double crochet works up faster and drapes more, but uses fewer rows per inch, so you must recalculate row counts using your own swatch. Moss stitch (alternating single crochet and chain spaces) produces a textured look without much extra work, though it uses a lot of yarn.
Common mistakes to avoid
Skipping the swatch is the classic mistake with any women’s crochet pullover. A half-stitch difference per inch adds up to several inches across a 22-inch panel, and by the time the sweater is seamed it’s too late. Measuring the swatch after washing, not before, matters just as much, since many yarns relax once wet.
Another frequent problem is uneven edges. If your turning chain is looser or tighter than the stitches it sits next to, the sides come out wavy and are harder to seam neatly. Counting stitches every few rows catches this early.
Finally, many people sew the sleeves of a women’s crochet pullover in too tightly. Keep the seam loose enough that the fabric can lie flat, and use the same yarn for seaming so the stitches blend into the surface.
Caring for the finished sweater
Check the yarn label first when caring for a women’s crochet pullover, because it overrides any general rule. Most acrylic versions can go on a gentle machine cycle, while wool pieces should be washed by hand in cool water. Either way, dry the sweater flat on a towel, reshaping it by hand, rather than hanging it, because wet crochet stretches downward. Fold it rather than hanging it long term for the same reason.
Styling and layering your finished sweater
A boxy, relaxed women’s crochet pullover pairs well with fitted pieces underneath, such as a slim long-sleeve tee or a camisole, because the volume sits on top while the base layer keeps the outline tidy. High-waisted trousers and jeans balance the shape, and a tucked-in front edge turns the boxy hem into a deliberate detail. In cooler weather the neckline is wide enough to layer a collared shirt underneath, letting the collar show above the ribbed band.
Color changes the mood of a women’s crochet pullover more than most people expect. Oatmeal, charcoal, and deep green read classic and wear with nearly anything, while a single bold shade like rust or cobalt makes the sweater the focus of the outfit. If you want stripes, change colors at the start of a row and carry the unused yarn up the inside edge, which keeps the seam allowance tidy.
Finishing touches worth the extra time
Blocking is the step most beginners skip on a women’s crochet pullover and later wish they hadn’t. Dampen the assembled sweater, lay it flat on a towel, pat the body and sleeves to the measurements in your size chart, and let it dry completely. The stitches relax into even rows, the seams lie flatter, and the whole piece drapes more like a purchased garment. Seaming with a tapestry needle and the same yarn as the body keeps the join soft, while a single row of slip stitch worked over the seam from the right side adds a little stability at the shoulders where the weight hangs.
FAQs
Is a women’s crochet pullover realistic for a beginner?
Yes, provided you can work half double crochet in straight rows and sew a seam. The construction has no shaping beyond a neckline and gradual sleeve increases, and it’s usually finished in a few weeks of evening crocheting.
How much yarn does a women’s crochet pullover use?
Roughly 1,300 yards in the smallest size up to about 2,100 in the largest, based on worsted weight and this gauge. Those numbers are estimates, so buy an extra skein if your swatch suggests heavy yarn use.
Can I make this women’s crochet pullover in a different yarn weight or a different stitch?
You can, but you’ll need to redo the stitch counts. Swatch the new yarn, measure stitches per inch, and multiply by the panel widths in the chart above.
What if I want a different neckline?
A wider boat neck simply means leaving a larger gap between the shoulder seams. A deeper scoop means starting the neckline shaping lower on the front panel; either way you finish the opening with the same ribbed band.

Leave a Reply