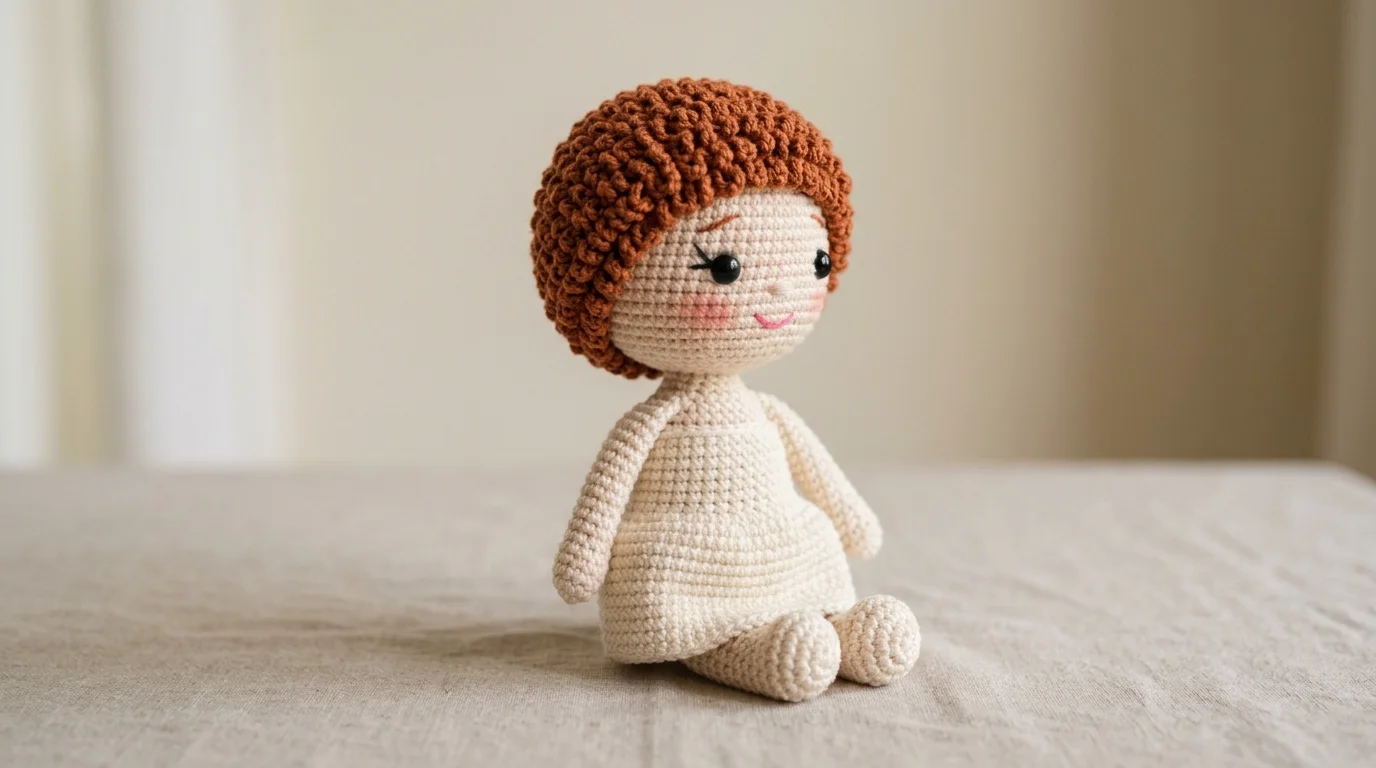
A crochet doll asks for a different kind of attention than an animal amigurumi does. There’s no fur or feathers to hide small proportion mistakes behind — a slightly uneven arm length or a head that sits a touch too large shows up immediately on a humanoid figure in a way it might not on a round, furry creature. Handmade dolls have a long history for exactly this reason: a rag doll made from scrap fabric has been a home-made children’s toy for centuries, long before crochet versions became popular, and that same forgiving, slightly imperfect charm carries over into a crocheted figure today.
This post walks through a complete crochet doll build, from body to hair to finished face, the materials that make the smaller details easier to manage, and where a first attempt tends to run into trouble.
Table of Contents
What an Easy Crochet Doll Actually Needs?
Worsted weight cotton or a cotton-acrylic blend remains the standard amigurumi choice here, mostly because it gives clean stitch definition on a project where small facial and limb details matter more than they do on a simpler shape. A slightly smaller hook than the yarn label suggests keeps the fabric dense enough to hold stuffing without gaps showing through, the same rule that applies across amigurumi generally.
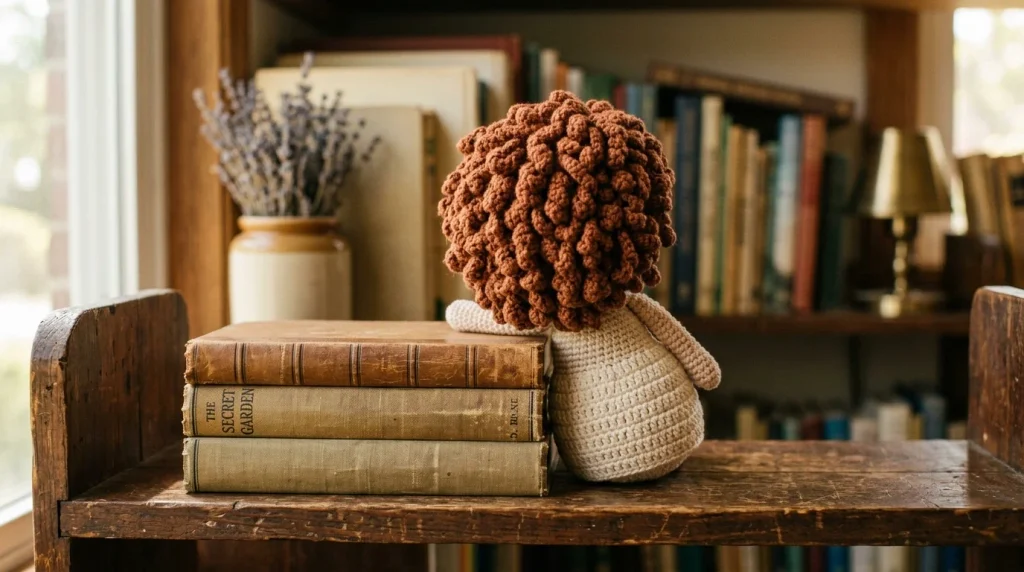
Hair is where a crochet doll asks for materials an animal pattern doesn’t. Yarn worked in loops, sewn-on fringe, or a crocheted wig cap are the three common approaches, and each gives a noticeably different look. Loop stitch hair is the quickest to add but harder to style afterward, while a separately made wig cap takes longer but can be removed and restyled if needed.
On eyes and small facial features: the same safety consideration from other amigurumi applies here. Plastic safety eyes give the cleanest, most doll-like expression, but they carry a real choking risk for children under three, so embroidered eyes and a simple embroidered or appliqued smile are the safer choice for a doll meant to go directly into a young child’s hands.
Crochet Doll Ideas: Two Ways to Build the Body
There’s more than one reasonable way to construct a doll’s body, and the choice affects both how posable the finished figure is and how much seaming the project needs.
One-piece body with attached limbs. The torso, head, and sometimes the legs are worked as one continuous piece, with arms and separate leg sections sewn on afterward. This gives a cleaner, more stable core shape, since there’s less seaming holding the main body together, though the attached limbs won’t move independently.
Jointed construction with safety joints or thread-jointing. Separate limb pieces are attached using plastic safety joints or a thread-and-button jointing technique, allowing the arms and legs to actually move and hold a pose. This gives a more interactive, posable finished doll, but it takes more planning during construction and, like safety eyes, plastic joints need the same choking-hazard consideration for young children.
For a first crochet doll, one-piece construction with sewn-on limbs is the more forgiving build. Skipping movable joints removes one layer of complexity while you’re still getting comfortable with proportioning a humanoid figure correctly.
Sizing Guide for a Crochet Doll
Doll size scales with yarn weight and hook size the same way other amigurumi does, though proportion between body and head matters more here than raw size.
| Size | Approximate Height | Typical Use |
|---|---|---|
| Mini | 4–5 in | Keychain, pocket companion |
| Standard | 10–12 in | Shelf display, child’s toy |
| Large | 16–18 in | Huggable plush, display piece |
A common proportion guideline for a friendly, approachable doll is a head roughly one-quarter to one-third of the total body height — noticeably larger relative to the body than an actual human proportion, which is part of what gives amigurumi dolls their characteristic charm rather than looking unsettling.
How to Make a Crochet Doll: Step-by-Step Construction
This covers one-piece body construction with sewn-on limbs, since it’s the friendlier build for a first attempt. The standard amigurumi increase sequence below scales consistently regardless of your exact yarn or hook, so these numbers are usable directly rather than as a rough estimate.
Step 1: Build the head and body as one piece. Magic ring, 6 single crochet, then increase through the standard sequence — 12, 18, 24, 30 — to form the head, work even rounds for the neck and shoulder transition, then decrease slightly before working the body straight down to your target torso length.
Step 2: Stuff as you go. Add fiberfill to the head first, before closing that section off with a few decrease rounds to narrow into the neck, then continue stuffing the body as you work down toward the hips.
Step 3: Close the bottom and attach legs. Finish the torso, then make two separate leg pieces using the same basic tube-and-stuff method, and sew them securely to the base of the body.
Step 4: Make and attach the arms. Two smaller tube shapes, lightly stuffed, sewn to either side of the upper body at roughly shoulder height. Keep both arms the same length by counting rows rather than measuring by eye.
Step 5: Add facial features. Position eyes first, checking placement from the front and both sides before securing them permanently, then add a simple embroidered mouth and any blush or shading details.
Step 6: Add hair. Using your chosen method from the materials section above, work hair in sections if using loop stitch, starting at the back of the head and working forward, so later rows cover the starting edge of earlier ones.
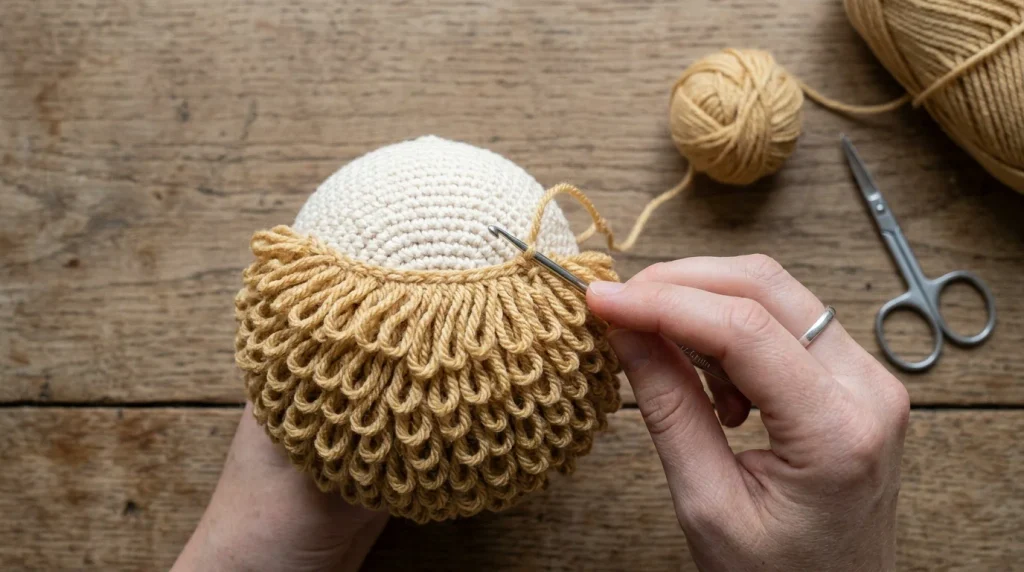
Step 7: Dress the doll. A simple crocheted outfit, even something as basic as a tube dress or a tiny sweater, finishes the piece. This step is also the easiest to revisit later, since clothing can be swapped without touching the doll’s core construction.
Common Problems in a Crochet Doll Pattern
The head looks too large or too small compared to the body. This almost always traces back to not planning the head-to-body ratio before starting either section. Decide on your target proportion using the sizing guide above before beginning the head increases.
Arms or legs end up different lengths. This happens when limbs are made one at a time without counting rows against each other. Make both arms, then both legs, back to back using identical row counts rather than finishing one pair before measuring the next against it.
The face looks asymmetrical once features are added. Marking the vertical and horizontal center lines of the head with removable stitch markers before placing any eyes or mouth details gives a reliable reference point that eyeballing placement doesn’t.
Hair looks sparse or uneven in coverage. This is usually a spacing issue rather than a quantity one. Working hair rounds closer together near the crown, where coverage matters most for the finished look, and slightly further apart lower down, gives more natural-looking fullness than perfectly even spacing throughout.
Crochet Doll Tips for a More Polished Finish
Blocking the head gently by hand, especially if it came out slightly lopsided during stuffing, helps even out the shape before you commit to permanent facial features on an already-finished surface.
If you enjoyed this build and want to try a different amigurumi shape next, our crochet dragon pattern uses a similar body-and-head approach with wings and spikes added instead of limbs and hair, which makes it a natural next project once doll proportions feel comfortable.
FAQs
Is a crochet doll harder to make than an animal amigurumi?
Generally yes, mainly because proportion mistakes are more visible on a humanoid figure than on a furry, rounded animal shape. The individual stitches and techniques are the same — it’s the attention to symmetry and scale that asks for more care here.
What’s the safest hair option for a doll meant for a young child?
A securely worked loop-stitch hair style, crocheted directly into the head rather than glued or loosely sewn on, holds up best to handling and doesn’t risk coming loose the way separately attached hair pieces sometimes can.
Can I make a crochet doll without a separate wig or hair section at all?
Yes — a bald or simply-colored head, sometimes styled to look like a close-cropped haircut using a contrasting yarn color for just the top of the head, is a reasonable simplification if hair construction feels like a lot for a first attempt.
How do I keep the doll’s limbs from twisting as I attach them?
Pin each limb in place and check it from the front, back, and side before sewing permanently, rather than attaching based on how it looks from a single angle, which is the most common reason a limb ends up twisted once the doll is finished.
Can I reuse this same body construction for a different character, like a specific animal-headed figure?
Yes — the torso, arm, and leg construction here works for any humanoid figure. What changes between a plain doll and a more stylized character is mostly the head shape, facial features, and any added ears or other details, not the core body-building technique.

Leave a Reply