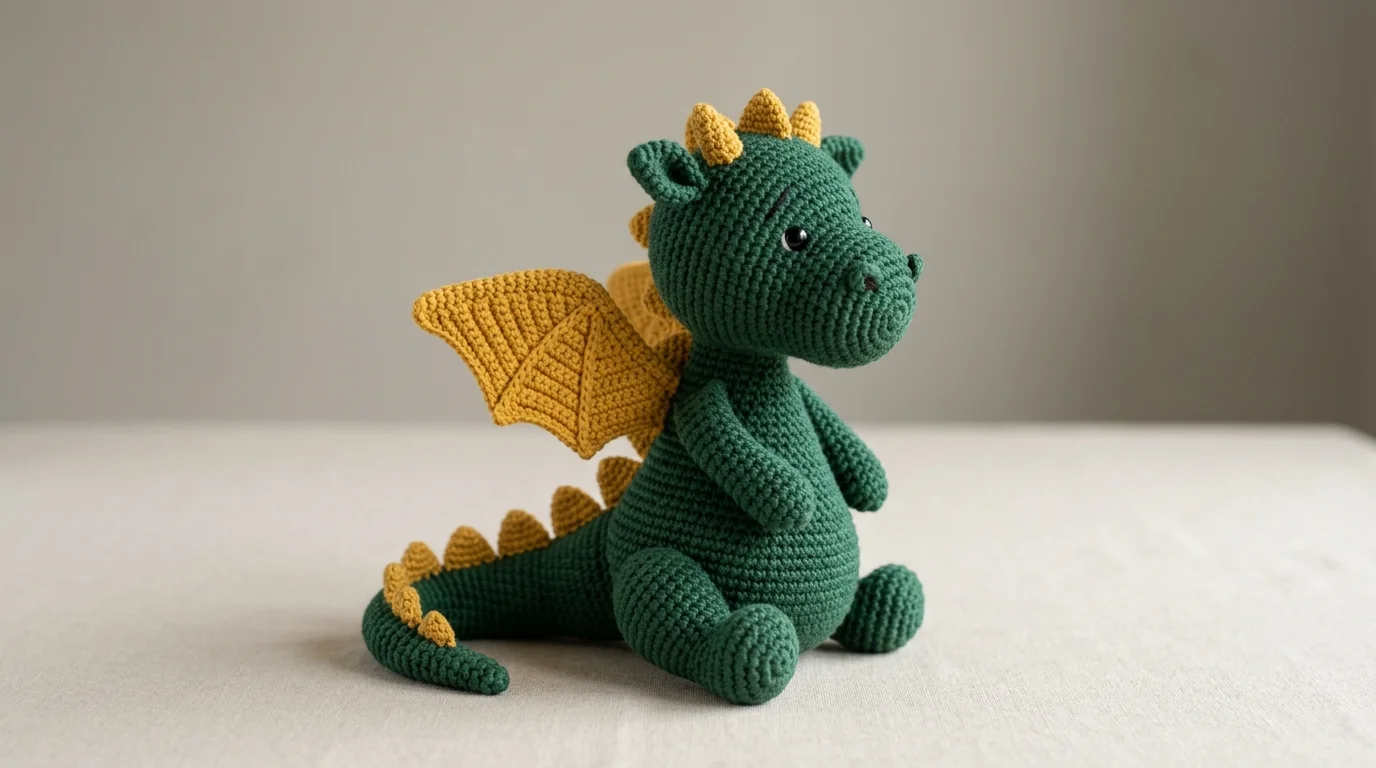
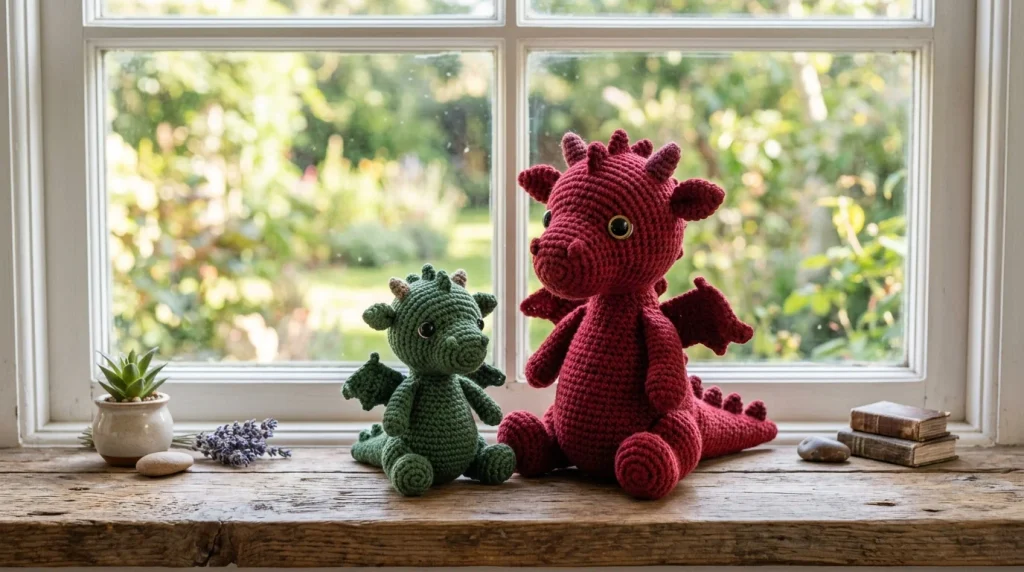
A crochet dragon pattern takes the same round-shaping logic behind a simple amigurumi animal and adds the pieces that actually make it read as a dragon rather than a generic creature: wings, a tail, and a row of spikes down the back. None of those additions are difficult on their own, but together they ask for more planning than a single-shape toy like a basic amigurumi ball or a simple duck does.
That added complexity is really about sequencing rather than raw skill. Get the body and head proportions wrong early, and the wings and spikes added later won’t look right no matter how well they’re made individually. This post walks through a complete crochet dragon pattern from body to finished details, the materials that make the extra pieces easier to attach cleanly, and where a first attempt tends to go wrong.
Table of Contents
What an Easy Crochet Dragon Pattern Actually Needs?
Worsted weight yarn remains the standard choice here, for the same reason it works well across most amigurumi: the stitches are large enough to track clearly while you’re shaping several different pieces that all need to match each other in scale. Cotton or a cotton-acrylic blend gives the cleanest stitch definition, which matters more on a dragon than a simpler shape, since visible stitch rows along the spine or wings are part of the finished look.
Hook size should run smaller than the yarn label suggests, the same rule that applies to any amigurumi project, so the fabric stays dense enough to hide stuffing between stitches. A dragon has more small, stuffed appendages than a basic round animal does, and every one of them needs that same tight fabric to hold its shape.
Felt or a contrasting yarn color works well for spikes and horn accents, giving definition without adding bulk the way a fully crocheted spike piece might. If the dragon is meant for a young child, skip small glued-on felt pieces entirely and work any spikes or horns directly in yarn instead, since loose felt accents can come free with enough handling.
On eyes: plastic safety eyes give a sharper, more alert dragon expression, but they carry a real choking risk for children under three, so CPSC guidance on small parts and choking hazards is worth a look before deciding. Embroidered eyes take more patience to get symmetrical but remove that risk entirely, which makes them the right call for the youngest recipients.
Crochet Dragon Pattern Ideas: Two Ways to Handle the Wings
Wings are really the one piece that separates an easy dragon from a harder one, and there’s more than one reasonable way to build them.
Flat, two-layer wings. Each wing is crocheted as two matching flat pieces, single crocheted together around the edge, then sewn onto the body. This is the simpler build, since flat pieces are easier to shape evenly and the seam around the edge gives a clean, finished look without needing to crochet a three-dimensional shape.
Shaped, stuffed wings. The wings are worked with light shaping and a small amount of stuffing, giving them more dimension and a slightly more lifelike curve. This looks more polished but takes real care to keep both wings symmetrical, since any shaping difference between them is immediately obvious once they’re attached to either side of the body.
For a first crochet dragon pattern, flat two-layer wings are the more forgiving choice, mainly because matching two flat pieces to each other is a far easier problem than matching two subtly-shaped three-dimensional pieces.
Sizing Guide for a Crochet Dragon Pattern
Like most amigurumi, a dragon’s finished size scales with yarn weight and hook size rather than following a garment-style measurement chart.
| Size | Approximate Length | Typical Use |
|---|---|---|
| Mini | 4–5 in | Desk companion, bag charm |
| Standard | 8–10 in | Shelf display, gift |
| Large | 12–14 in | Huggable plush, statement piece |
Scaling a dragon up or down mostly changes stuffing requirements and finishing time rather than the construction steps themselves — a larger dragon simply needs more rounds at each stage and more stuffing throughout, not a fundamentally different build.
How to Make a Crochet Dragon Pattern: Step-by-Step Construction
This covers the core pieces in the order that keeps proportions easiest to manage. As with other amigurumi on this site, the standard increase sequence below is well-established technique that scales consistently, so you can use it directly rather than treating it as a rough guide.
Step 1: Build the body. Magic ring, 6 single crochet into the ring, then double the stitch count over the next several rounds the standard amigurumi way — 12, 18, 24, 30 — before working even rounds until the body reaches your target length, then decreasing back down and closing with stuffing added before the final stitches.
Step 2: Build the head. Work the same increase sequence as the body, but stop at a smaller total stitch count, keeping the head in proportion to the body before you’ve committed to either piece’s exact final size.
Step 3: Shape the snout. Narrow the lower front of the head slightly, either through a few targeted decreases or by working a smaller secondary piece sewn onto the front, to give the head a recognizable dragon profile rather than a plain round shape.
Step 4: Attach the head to the body. Stuff both pieces, then sew the head on, checking the angle from several sides before finishing the stitches, since a head that leans too far forward or back changes the whole character of the finished dragon.
Step 5: Add the legs. Four small, simple tube shapes, stuffed lightly and sewn to the underside of the body, give the dragon a stable base to sit or stand on. Keep all four roughly the same length so the finished piece doesn’t lean to one side.
Step 6: Add the tail. A longer, gradually narrowing tube, sewn to the back of the body, balances out the head and legs visually. A slight curve, achieved by stuffing it a little less firmly than the body, reads more naturally than a perfectly straight tail.
Step 7: Attach the wings. Using whichever method you chose above, position both wings symmetrically along the upper back before sewing them down permanently, checking the angle against the body’s center line from directly above.
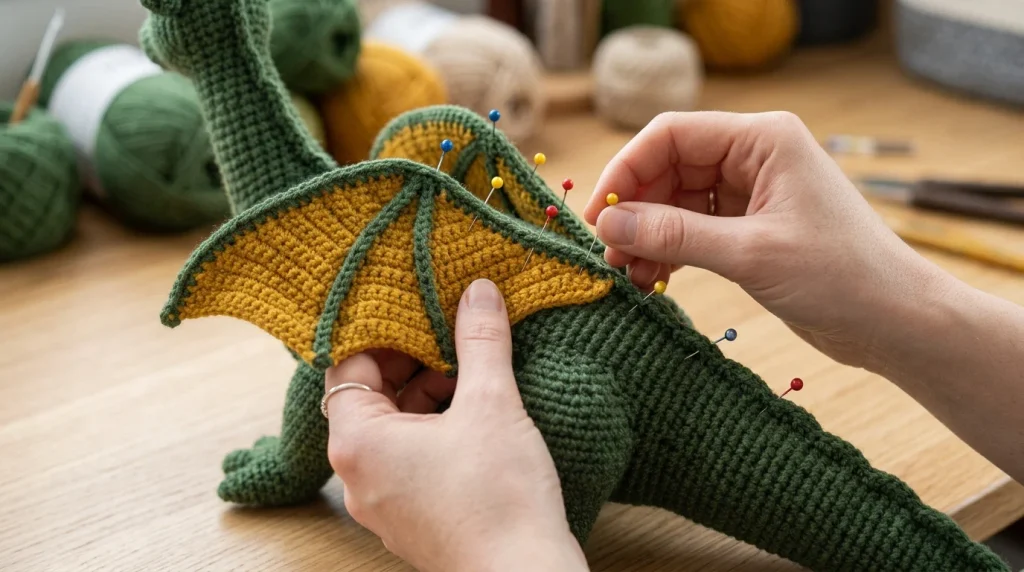
Step 8: Add spikes and finishing details. Small triangular pieces, worked flat or folded from a simple shape, sewn in a row down the spine from head to tail, finish the silhouette. Eyes, nostrils, and any horn details go on last, once every structural piece is already in place.
Common Problems in a Crochet Dragon Pattern
The wings look uneven once attached. This is almost always a placement issue rather than a piece-making one. Mark both attachment points on the body with pins before sewing either wing down permanently, rather than attaching one and eyeballing the second against it.
The dragon tips over or can’t stand on its own. Usually the legs are too short, too few in stitch count to support the body’s weight, or stuffed unevenly. Firmer stuffing in the legs specifically, rather than throughout the whole dragon equally, gives a sturdier base.
The head looks disproportionately large or small. This comes down to not comparing head and body stitch counts before starting either piece. Decide on a rough head-to-body size ratio up front, the same practice that helps with any amigurumi animal, rather than adjusting one after the other is already finished.
Spikes look floppy instead of standing up. A spike piece worked too loosely, or in too soft a yarn, won’t hold an upright shape. A slightly firmer gauge for just the spike pieces, or folding a double layer of fabric for each one, gives them enough structure to stand rather than flop sideways.
Crochet Dragon Pattern Tips for a More Polished Finish
Dry-fitting every added piece — wings, legs, tail, spikes — with pins before sewing anything permanently catches proportion problems while they’re still easy to fix, rather than after a piece is already stitched in place.
Working spikes and wings in a slightly contrasting color to the main body, rather than matching exactly, makes the dragon’s shape read more clearly from a distance, since the color break visually separates each structural piece.
If you enjoyed building this creature from individual pieces, our amigurumi duck pattern uses the same core body-and-head construction with a much simpler set of additions, and it’s a good warm-up project if any part of the dragon build feels like a lot at once.
FAQs
Is a dragon a reasonable first amigurumi project, or should I start smaller?
A dragon is a reasonable second or third project rather than a true first one. The body and head shaping uses the same skills as any basic amigurumi animal, but the added wings, legs, tail, and spikes mean more pieces to manage at once than a simpler shape does.
Can I skip the wings entirely and still call it a dragon?
Yes — a wingless, longer-bodied version reads more like a classic Western dragon or wyrm, and it’s a reasonable simplification if wings feel like too much for a current skill level. The spikes and tail do most of the work of making the silhouette recognizable on their own.
How much yarn does a standard-size crochet dragon actually need?
This depends on exact size and yarn weight, so there’s no single reliable number without those specifics. A small to medium ball of worsted weight yarn in your main color, plus a smaller amount in your contrast color for wings and spikes, comfortably covers a standard 8 to 10 inch dragon in most cases.
Can I use this same construction for other fantasy creatures?
Yes — the body, head, and appendage logic here adapts well to other creatures that aren’t standard animals, like a griffin or a small dinosaur. What changes most between designs is the head shape, the specific additions like horns or a mane, and the color choices, not the fundamental round-shaping technique underneath.

Leave a Reply