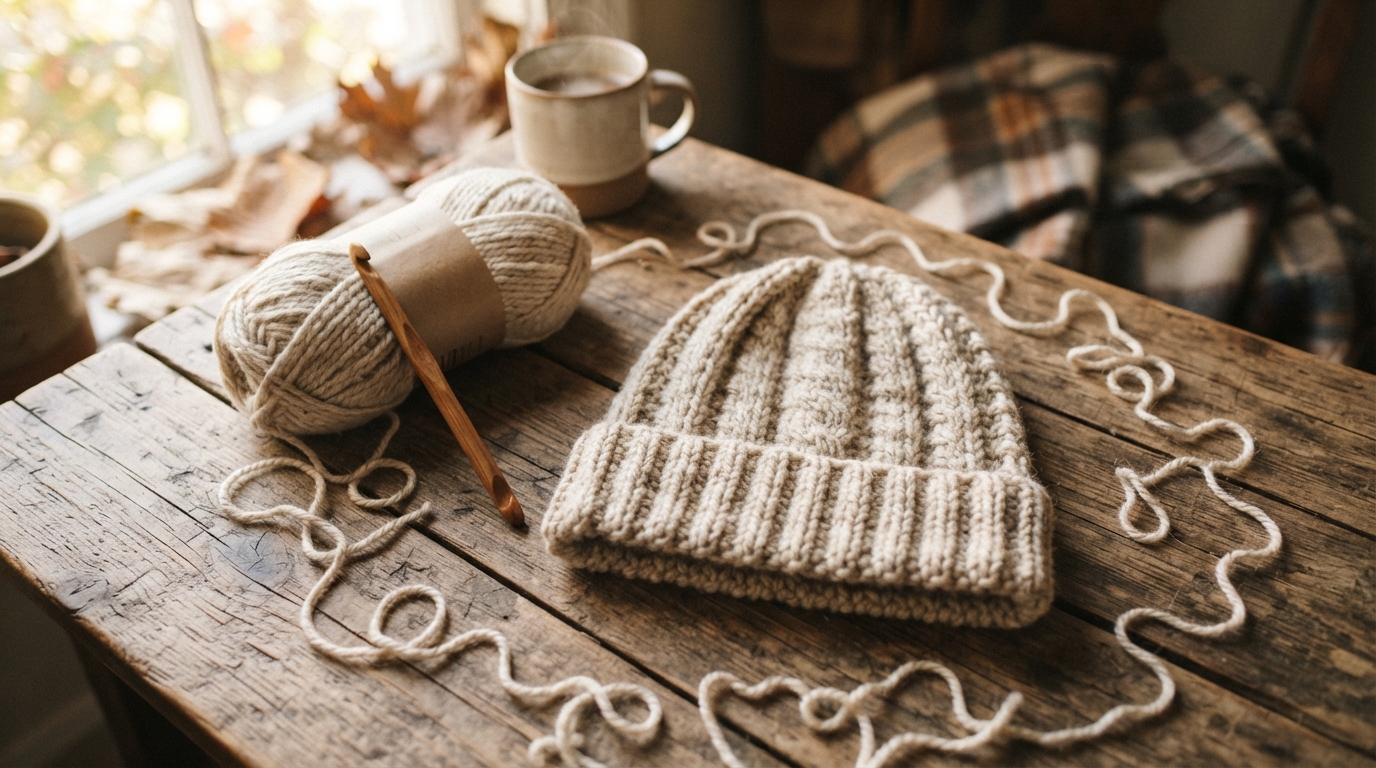
If you’re looking for free directions for crochet hats, chances are you’ve already got a skein of worsted weight yarn lying around and a hook that’s been waiting for a project. A hat is a good one to reach for. It’s small enough to finish without losing steam halfway through, and it teaches you the skills that show up in almost everything else you’ll ever crochet — working in the round, increasing evenly, switching stitches to change the texture. Once you understand how a hat is put together, you stop needing a specific pattern for a specific head. You can just build one.
Contents
What you need for these free directions for crochet hats?
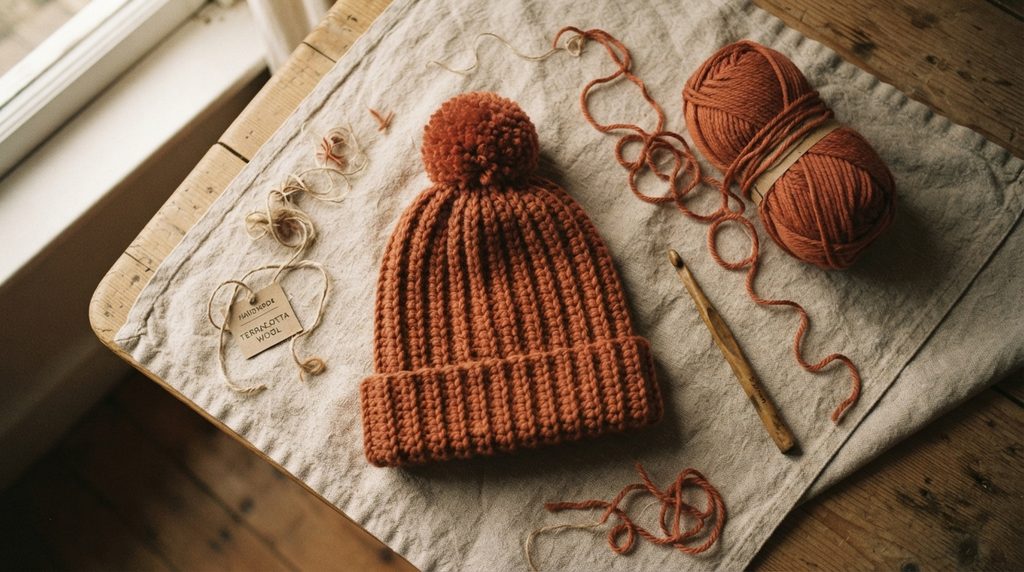
Not much, honestly. Worsted weight yarn (the label will say #4) is the easiest to work with — about 150 to 200 yards covers an adult hat, less for a kid’s size.
Wool or a wool blend tends to hold its shape better over time than pure acrylic, but acrylic is a perfectly good choice too, especially for something that needs to survive the washing machine.
If you’re not sure what weight your yarn actually is, the Craft Yarn Council’s standard yarn weight chart is the reference most patterns (including this one) are built around.
For the hook, use a 5.0mm, or one size smaller than the yarn label suggests. This throws people off, because most projects use whatever hook the label recommends — hats are the exception.
Crocheted fabric doesn’t stretch the way knit fabric does, so a hat made at the “normal” gauge often ends up looser than you’d like.
Going down a size tightens things just enough to hold shape without feeling stiff.
You’ll also want a yarn needle for weaving in ends, and something to mark your stitches — a locking stitch marker, a bobby pin, even a scrap of yarn tied loosely through a stitch works fine.
Then there’s gauge, which is the step almost everyone skips. Before you start the actual hat, crochet a quick swatch — about 4 inches square, in single crochet, with the yarn and hook you’re planning to use — and count how many stitches and rows fit into that 4 inches.
You’re aiming for around 12 stitches and 12 rows. It feels like a formality, but it isn’t: being off by even two stitches per inch can shift your finished circumference by a full inch or more, which is the gap between “fits great” and “won’t get past my ears.”
If this is a new yarn-and-hook pairing for you, swatch first. Ten minutes now beats unraveling a whole crown later.
How a hat is actually built?
Nearly every top-down crochet hat, no matter how the stitch pattern looks, follows the same basic shape. Once that clicks, reading any hat pattern gets a lot easier.
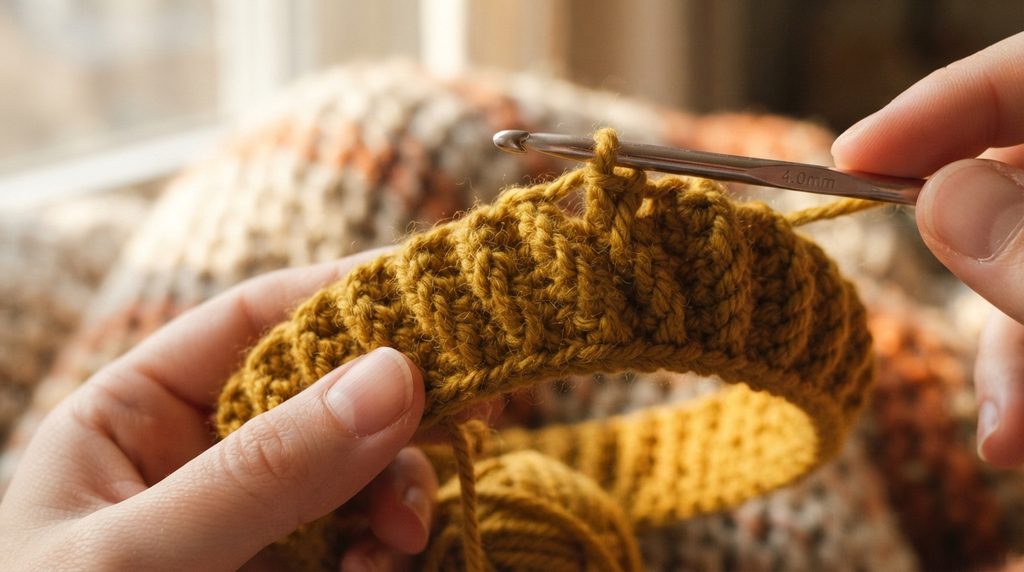
You start at the top with a magic ring and increase evenly, round by round, until the flat circle you’re building is as wide as you need across the top of a head — that’s the crown.
Then the increasing stops, and you work straight up in even rounds until the hat reaches from the crown down to just above the ears — that’s the body, and it’s the part you make taller or shorter depending on how the hat should sit.
Last comes the brim, usually a smaller hook or a different stitch (a back-loop-only round, or front-post and back-post ribbing) to give the edge some stretch so it doesn’t roll up or gape at the bottom.
There’s also a choice most patterns never explain outright: spiral rounds or joined rounds. A spiral skips the slip-stitch join at the end of each round, so there’s no seam running up the side — but it’s easy to lose track of where a round starts, which is exactly what a stitch marker is for.
Joined rounds are simpler to count since each one has a clear beginning and end, but they leave a faint seam line up the hat. Neither is better. Try both once and see which one you’d rather work with.
A sizing guide, because one size rarely fits all
Measure the head first, then subtract 1 to 2 inches from that number. Crocheted fabric has almost no give compared to knit, so a hat made to match the head measurement exactly will feel loose the second it’s on. The Craft Yarn Council also publishes a standard head circumference chart if you want reference numbers beyond the rough guide below.
Rough starting points: a baby’s hat usually needs a finished circumference around 13–14 inches, a toddler’s around 16–17, a child’s around 18–19, and an average adult’s somewhere between 19 and 21, going up to 21–22 for a larger fit. Treat these as a starting line, not a rule — measuring the actual person will always beat guessing from a chart.
Free crochet hat pattern (adult beanie)
This makes an adult medium beanie — about 20 inches around, 8.5 inches tall before stretching — using single crochet, half double crochet, and a back-loop-only brim.
Start the crown with a magic ring and 6 single crochets into it, then join. From there, each round builds on the last: round two puts two single crochets in every stitch, bringing you to 12.
Round three alternates one increase with one plain stitch, landing at 18. Each round after that adds one more plain stitch between increases — round four gets you to 24, round five to 30, round six to 36, round seven to 42, round eight to 48.
At 48 stitches you’ve got a flat circle around 16 inches across, assuming your gauge swatch actually matched the target. Check it against the head measurement before moving on — if it’s running small or large, add or skip an increase round rather than pushing ahead anyway.
Once the crown’s the right size, the increasing is done. Work single crochet around, no shaping, for about eight rounds, or until the piece measures roughly 6.5 to 7 inches from the center of the crown
. Go longer for a slouchier hat, shorter for one that sits higher and snugger.
For the brim, switch to half double crochet, working through the back loop only, for three to four rounds — or until it’s as deep as you want, with 1.5 to 2 inches being typical for a fold-up cuff. Fasten off, leave a long tail, and weave in the ends.
If it’s wool, a light block afterward evens the stitches out and helps the hat hold its shape longer. Fold the brim up for a cuffed look, or leave it flat for something slouchier.
When something’s off with your crochet hat?
Most problems trace back to one of a handful of causes.
Too tight? That’s almost always gauge, not the instructions. Sizing up a hook and re-swatching works better than skipping increase rounds, which just distorts the crown instead of actually changing the size.
Crown looks like a cone instead of lying flat? The increases weren’t spaced evenly somewhere along the way. Count your stitches at the end of every crown round, not just at the finish line — catching a miscount one round in is a lot less painful than catching it five rounds later.
Edge curling or flaring out? That’s just what plain single crochet does without any ribbing — it’s not a mistake. Switching to half double or double crochet through the back loop only, like the brim above, fixes it, because that stitch has built-in stretch a plain rolled edge doesn’t.
Hat feels floppy instead of structured? Usually the hook’s too big for the yarn. Size down, same as above.
Working with other yarn weights
The pattern here is written for worsted weight, but it’s not locked to it. For chunky or bulky yarn, use a 6.0–6.5mm hook and expect to stop the crown increases a round or two early, since each stitch covers more ground. For a lighter yarn, like DK, drop to around a 4.0mm hook and plan on one or two extra increase rounds on the crown to reach the same size. Cotton is its own case — it barely stretches compared to acrylic or wool, so size the finished circumference closer to the actual head measurement instead of subtracting for negative ease the way you would with a stretchier fiber. For a full breakdown of weight categories and matching hook sizes, the Craft Yarn Council’s yarn weight guide covers it in more depth than any single pattern post can.
Faqs
Can I work this in a spiral instead of joined rounds? Yes — nothing else changes. Just skip the join and move your stitch marker into the first stitch of each new round so you always know where you are.
Why did my hat come out too tall or too short? That’s the body section. Measure from the top of the crown to just above where the brim should sit, then add or remove full rounds until it matches, before switching to the brim stitches.
Can I add a pom-pom or fold the brim without changing anything? Yes, both happen after the hat’s otherwise done — a pom-pom attaches at the crown, and a folded brim is just the last few rounds turned up instead of left flat.
What’s the actual difference between both loops and back loop only? Both loops gives a denser, tighter fabric. Back loop only leaves a visible ridge and adds real stretch, which is why it shows up on brims specifically and not the rest of the hat.

Leave a Reply