
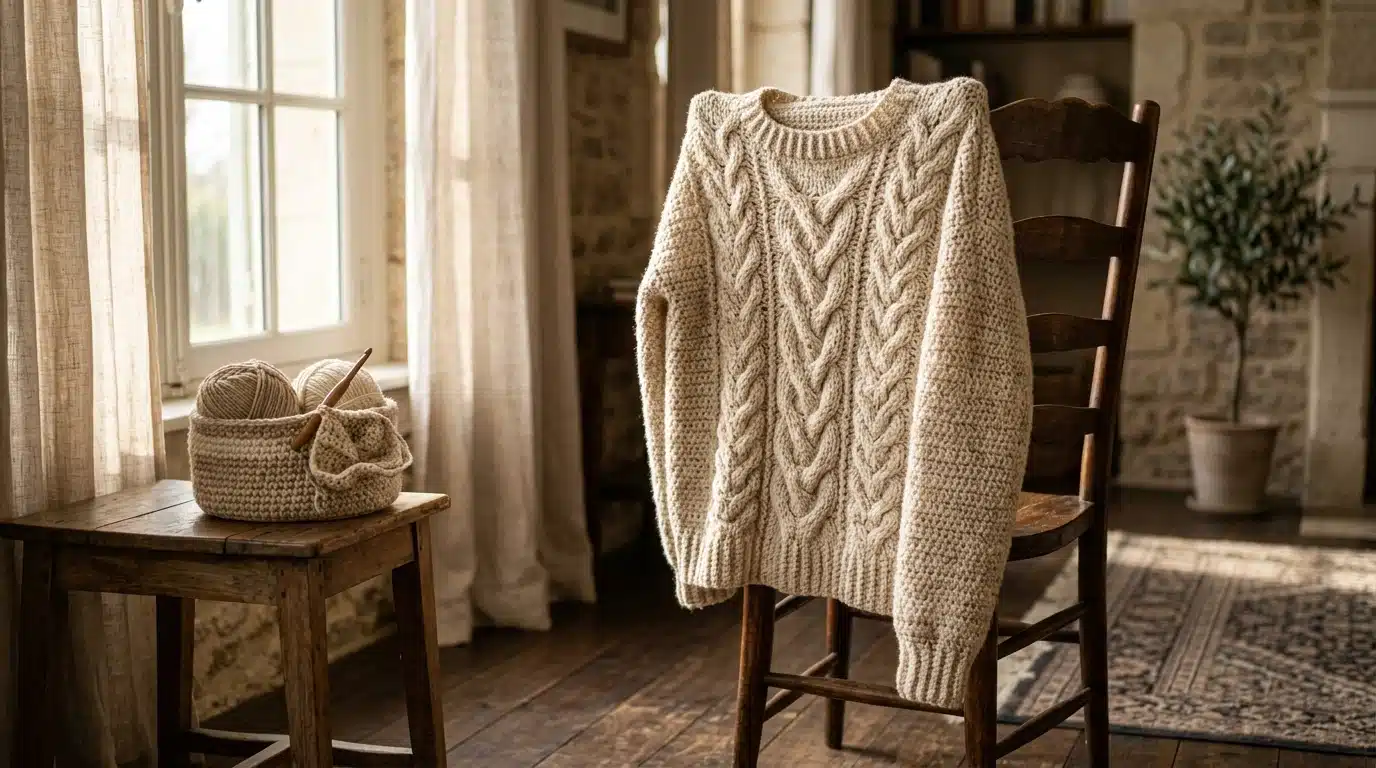
Most crochet pullovers lean on plain single or double crochet for the body, which works fine but reads as unmistakably crocheted rather than knit. A jumper crochet pattern built around cable and textured stitches closes that gap — front-post and back-post stitches crossed over each other mimic the twisted rope look of a knit cable, giving a crocheted pullover a texture that doesn’t announce itself as crochet at first glance.
That texture takes a different set of skills than a plain panel pullover does. Post stitches behave differently under tension than regular single or double crochet, cable crosses need tracking across multiple rows, and a heavily textured fabric uses noticeably more yarn per square inch than a plain one. This post walks through a full jumper crochet pattern built on cable technique, the materials that make post-stitch work easier, and where a first cable attempt tends to go wrong.
Table of Contents
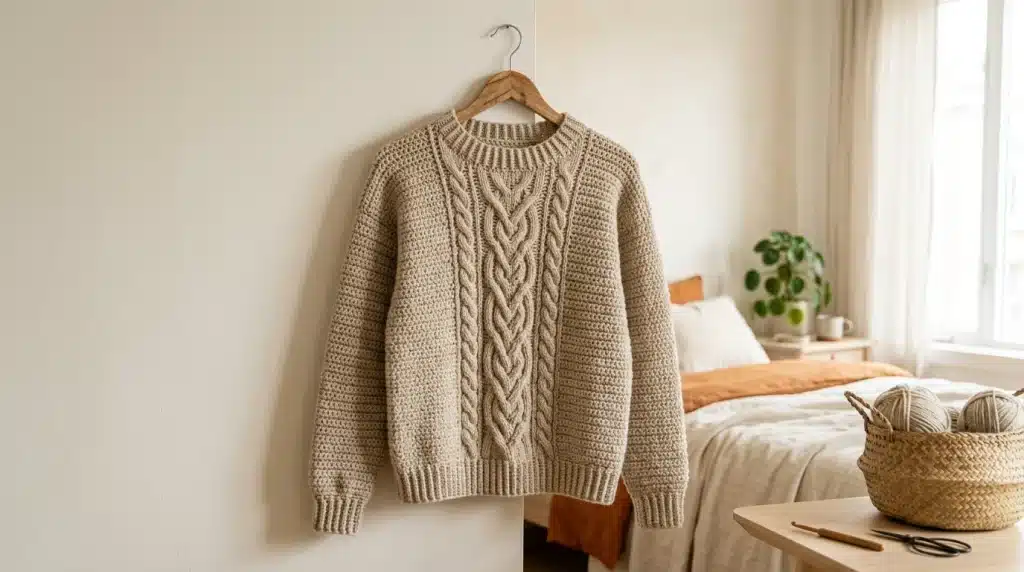
What an Easy Jumper Crochet Pattern Actually Needs?
Post stitches — front-post and back-post double crochet, the building blocks of crochet cable work — need a yarn with enough structure to hold a raised, three-dimensional stitch. A very soft, loosely spun yarn tends to blur the definition between the raised cable and the flatter background stitches, while a slightly firmer wool or wool blend holds that contrast clearly.
Worsted weight is the easiest place to start with cable technique, mostly because the stitches are large enough to see clearly while you’re learning to track a cable cross, compared to a finer yarn where the same crossing happens in a much smaller, harder-to-check space.
Yardage runs higher for a cable-heavy jumper than for a plain panel pullover in the same size, since post stitches use extra yarn to wrap around the stitch below rather than simply working into the top of it. Budget extra yarn beyond what a plain-stitch pattern in the same size would call for, rather than assuming the two use the same amount.
Hook size follows the yarn weight as usual, though it’s worth swatching the actual cable pattern, not just a plain stitch square, since cable crosses pull fabric in slightly tighter than plain stitches do at the same gauge.
Jumper Crochet Pattern Ideas: Placing the Cable Panel
There’s more than one way to work cable texture into a jumper, and the choice affects both difficulty and how much of the garment shows the technique.
A single cable panel down the center front is the simplest way to introduce the technique into an otherwise plain jumper. The back and sleeves stay in a regular stitch, and only one panel down the front needs the post-stitch tracking, which makes this the easiest entry point if cable crochet is new to you.
An all-over cable or textured stitch pattern repeats the cable motif across the entire body and sleeves. This gives the strongest knit-look effect, but it means tracking cable crosses across every row of the garment rather than just one panel, which takes considerably more sustained attention through a full-size project.
Alternating cable and plain stitch columns, sometimes called a cable-and-rib combination, sits between the other two — more textured than a single panel, but with plain sections between the cables that give your attention a break and make row counting easier than an all-over pattern would.
For a first jumper crochet pattern using cable technique, the single center panel is the practical starting point. You get real cable practice without needing to track the crossing pattern across an entire garment’s worth of rows.
Sizing Guide for a Jumper Crochet Pattern
Sizing follows the same core measurements as any crochet pullover: chest or bust circumference, body length from shoulder to hem, sleeve length, and shoulder width — what changes with a cable-heavy design is how those measurements translate into gauge.
| Size | Chest/Bust | Body Length | Sleeve Length |
|---|---|---|---|
| XS/S | 34–36 in | 22–23 in | 17–18 in |
| M | 38–40 in | 24 in | 18–19 in |
| L | 42–44 in | 25 in | 19–20 in |
| XL | 46–48 in | 26 in | 20–21 in |
Because cable stitches naturally pull fabric in slightly, a cable-heavy jumper’s gauge swatch often measures narrower than a plain-stitch swatch made with the same yarn and hook. Always swatch in the actual cable pattern before calculating your stitch counts from this table, rather than assuming a plain-stitch gauge will transfer directly.
How to Make a Jumper Crochet Pattern: Cable Panel Construction
This walks through adding a single cable panel to an otherwise straightforward pullover body, since it’s the most approachable way to bring cable texture into a jumper crochet pattern for the first time.
Step 1: Swatch the cable motif specifically. Work a small sample of just the cable pattern you plan to use, and measure its width and gauge separately from the plain stitch surrounding it, since the two sections behave differently under tension.
Step 2: Plan the panel width within your body panel. Decide how many stitches the cable motif needs, then work out how many plain stitches go on either side to reach your target chest width from the sizing table above.
Step 3: Work the plain sections in your base stitch. Build the body panel as usual in single or double crochet on either side of where the cable will sit, keeping track of exactly which stitch marks the start and end of the cable zone.
Step 4: Introduce the post stitches. Within the marked cable zone, work front-post double crochet around the post of the stitch below rather than into the top of it, following your chosen cable motif’s specific crossing sequence.
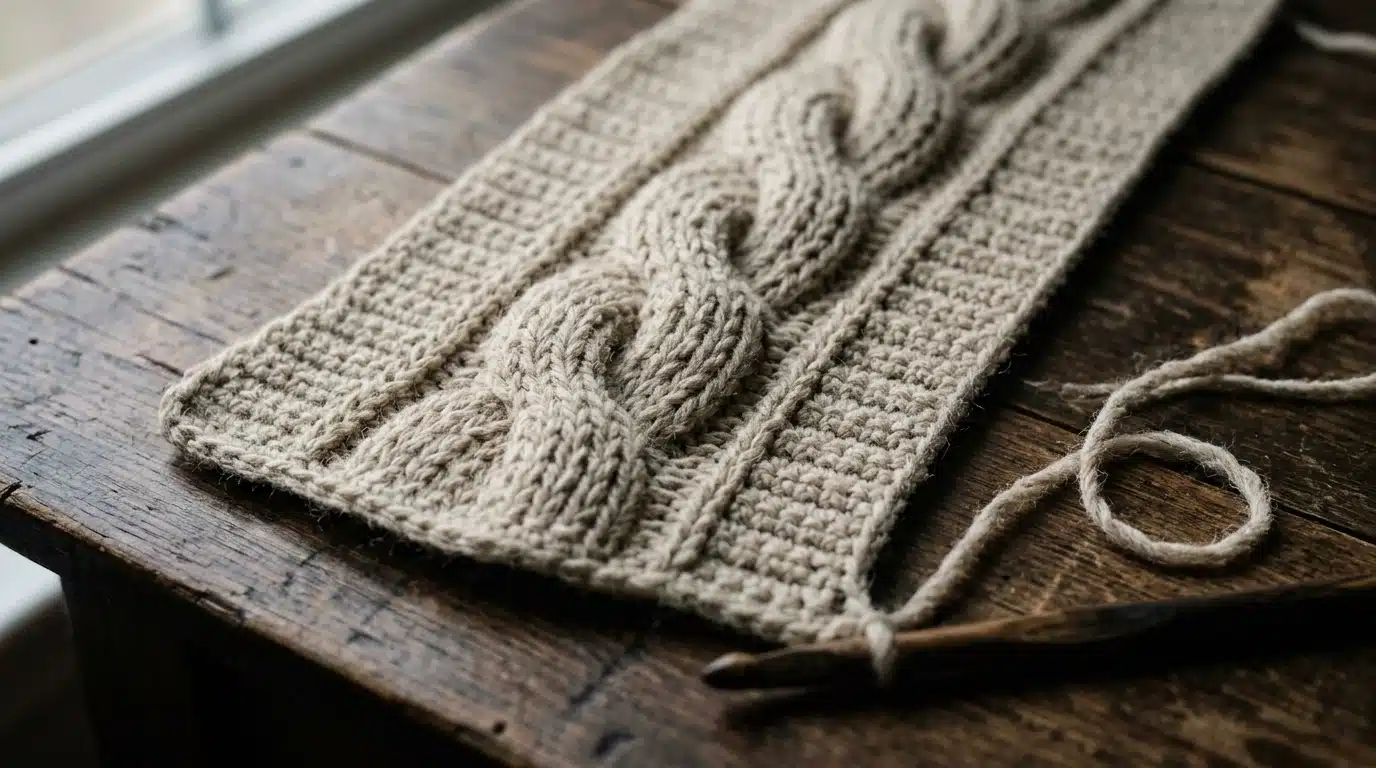
Step 5: Cross the cable at the marked rows. At the rows where the pattern calls for a cross, skip ahead and work the second group of post stitches first, then come back and work the first group behind or in front of them, depending on which direction the cable should twist.
Step 6: Continue the pattern, then assemble as usual. Repeat the cable crossing sequence up the panel to your target body length, then construct the rest of the jumper — sleeves, seaming, neckline — the same way you would for any panel-style pullover.
Common Problems in a Jumper Crochet Pattern with Cable Work
The cable panel puckers or pulls the surrounding fabric in. This usually means the post stitches were worked too tightly compared to the plain stitches around them. Loosening tension specifically on the post stitches, rather than the whole row, tends to fix this without affecting the plain sections.
The cable cross doesn’t look twisted, just crossed flat. This points to the two stitch groups being worked in the wrong order, or not actually crossing in front of and behind each other the way a real cable needs to. Double-check which group gets worked first against your specific pattern’s instructions before continuing further up the panel.
The finished jumper runs smaller than the size table suggested. Cable stitches pull fabric in more than plain stitches, so a swatch measured only in plain stitch will overestimate how wide the finished piece ends up once the cable panel is included. Recheck your gauge using the actual cable motif, not a plain-stitch substitute.
Running out of yarn partway through the project. Cable and post-stitch work uses more yarn per row than plain stitching at the same gauge. Buying yarn based on a plain-stitch pattern’s yardage recommendation for a cable-heavy jumper is a common way to come up short before the project is finished.
Jumper Crochet Pattern Tips for Cleaner Cable Work
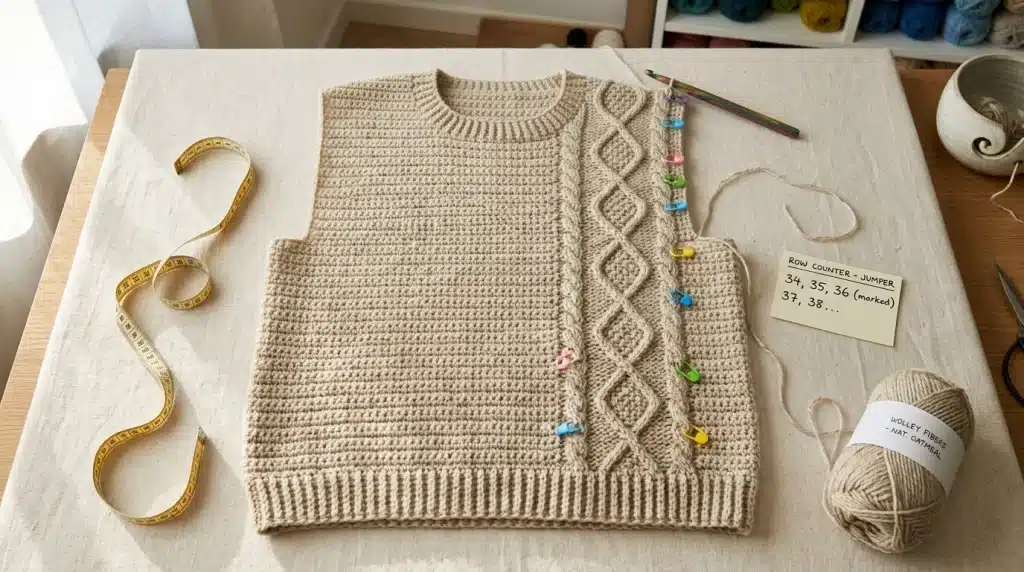
Marking the start and end of every cable repeat with a stitch marker, at least until the crossing rhythm feels automatic, prevents losing track of where you are within a long repeat — a mistake that’s much easier to catch a row after it happens than several rows later.
Working the swatch in the round if your jumper is constructed that way, rather than flat, matters more for cable work than for plain stitches, since post-stitch tension can genuinely differ between flat and round crochet in a way that affects how the cable reads.
Using a stitch pattern chart, if one is available for your chosen cable motif, alongside written instructions tends to catch crossing-direction mistakes faster than following written instructions alone, since the visual repeat is easier to check against your actual work.
FAQs
Is cable crochet actually harder than regular crochet, or is it just unfamiliar?
Mostly unfamiliar rather than genuinely difficult. Post stitches and cable crosses use skills most crocheters already have — just applied in a new order and direction. A small practice swatch before starting the full panel makes the technique click faster than jumping straight into the garment.
Can I add cable panels to a jumper crochet pattern I already have without cable stitches?
Yes, as long as you’re willing to recalculate the stitch count for the cable zone specifically, since post stitches and plain stitches don’t always use identical stitch counts to cover the same width. Swatch the cable motif first, then adjust your existing pattern’s numbers around it.
Why does my cable panel look different on the front versus the back of the fabric?
This is expected with front-post and back-post stitches, since they’re specifically designed to pop forward or recede depending on which side you’re working from. As long as you’re consistently tracking which side is the public-facing side of the garment, this difference is part of how the texture is created, not a mistake.
What’s the most beginner-friendly cable pattern to start with?
A simple two-stitch-over-two-stitch cable cross, repeated every four to six rows, is the standard starting point. It’s small enough to track easily but still gives a clearly visible twisted texture, which makes it a good first cable to practice before attempting a wider or more complex motif.

Leave a Reply