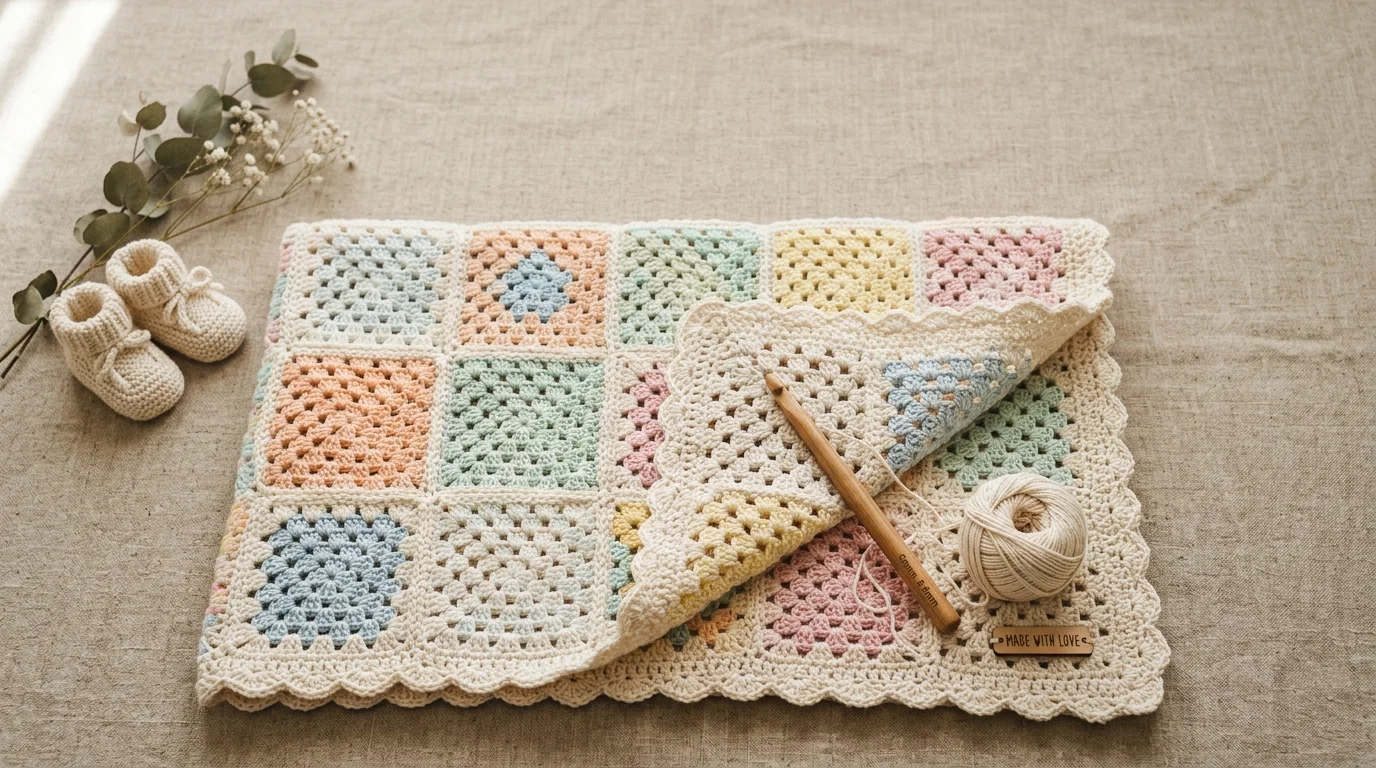
A crochet newborn blanket is one of the most satisfying projects to make for a new baby, mostly because it’s forgiving in a way hats and booties aren’t. Gauge doesn’t have to be exact, sizing has a wide margin for error, and the result still works as a keepsake even if your tension shifts slightly partway through. This free crochet newborn blanket pattern uses a classic granny-square construction, which makes it one of the easiest crochet newborn blanket options for a first-time maker, and it’s written out fully below with real stitch counts and gauge so you can follow along without guessing.
Table of Contents
Why This Is a Good Crochet Newborn Blanket for Beginners?
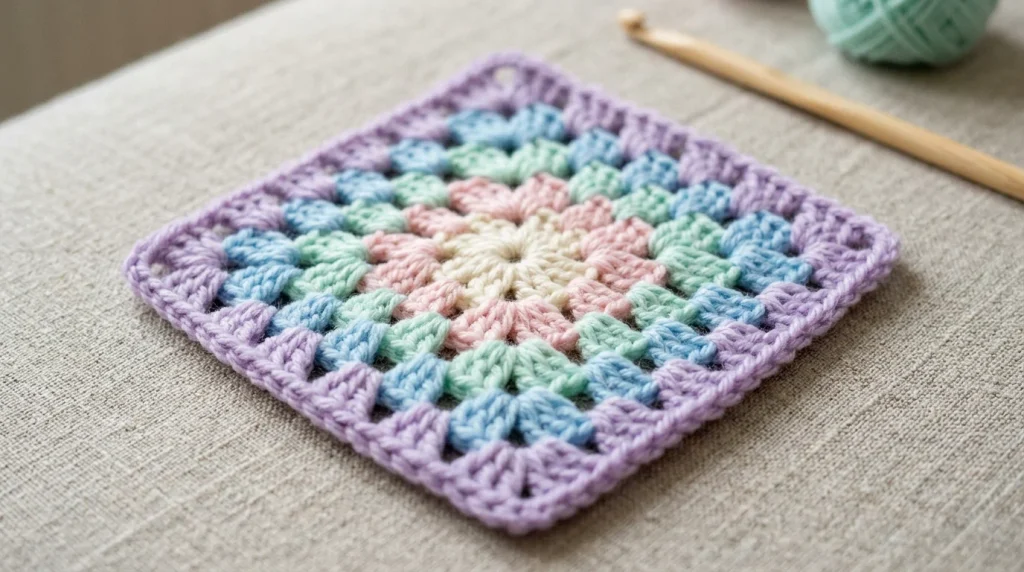
A granny-square-based crochet newborn blanket pattern is a good starting point for a few concrete reasons. First, the repeat is small and predictable — once you’ve worked one square, every square after it follows the exact same four rounds, so there’s very little new information to track as the project goes on. Second, because the blanket is built from individual motifs rather than one long continuous piece, a mistake in square twelve doesn’t unravel square one; you can set a flawed square aside and simply make another.
This is also a project where mild gauge inconsistency is genuinely fine. A slightly looser or tighter crocheter will end up with a blanket that’s a little bigger or smaller than the stated measurements, but it will still function as a blanket. Compare that to a hat, where even half an inch of extra ease changes whether it actually fits a newborn’s head.
Yarn, Hook, and Gauge for This Crochet Newborn Blanket Pattern
- Yarn: Worsted weight (US #4), approximately 650–700 yards total across all colors used. A soft acrylic or an acrylic-cotton blend works well for a newborn item that will be washed often.
- Hook: 5.0mm (H/8).
- Notions: Yarn needle, scissors, stitch markers (optional, useful for tracking round starts).
- Gauge: One granny square motif measures approximately 4 inches (10cm) square after blocking, worked to 4 rounds.
- Finished size: Approximately 30 x 30 inches (76 x 76cm), a standard receiving-blanket size, made from a 6×6 grid of 36 squares.
Gauge matters less for overall fit here than it does for a hat, but it still determines your final yardage and finished dimensions, so it’s worth working one test square before committing to the full project. If your square comes out noticeably smaller or larger than 4 inches, adjust your hook size up or down accordingly rather than changing the stitch count.
Why a Granny Square Works Well for a Crochet Newborn Blanket?
The structure of a granny square — worked in rounds from a center point outward, with clusters of double crochet stitches separated by chain spaces — produces a dense, stable fabric that holds its shape well after repeated washing, which matters more for a crochet newborn blanket than it does for most other crochet projects. The open chain spaces between clusters also give the fabric a bit of drape without making it as loose or gappy as a true lace pattern, which keeps the blanket practical for actual swaddling use rather than purely decorative.
Abbreviations (US Terms)
- ch — chain
- dc — double crochet
- sl st — slip stitch
- sts — stitches
- sp — space
- rnd — round
The Granny Square Pattern
Each square is worked in a single color or in color blocks, your choice. Make 36 squares total for the 6×6 grid.
Rnd 1: Ch 4, join with a sl st to form a ring. Ch 3 (counts as first dc), 2 dc into ring, ch 2, [3 dc into ring, ch 2] three times. Join with a sl st to the top of the beginning ch-3. (4 groups of 3-dc, 4 ch-2 spaces)
Rnd 2: Sl st into the next ch-2 space. Ch 3 (counts as first dc), 2 dc into the same space, ch 1. [3 dc, ch 2, 3 dc] into the next ch-2 space (this is a corner), ch 1. Repeat from * around two more times, then [3 dc, ch 2, 3 dc] into the final corner space. Join with a sl st to the top of the beginning ch-3.
Rnd 3: Sl st into the next ch-1 space. Ch 3, 2 dc into same space, ch 1. 3 dc into next ch-1 space, ch 1, [3 dc, ch 2, 3 dc] into next corner space, ch 1. Repeat from * around, ending with a final corner group. Join with a sl st.
Rnd 4: Sl st into the next ch-1 space. Ch 3, 2 dc into same space, ch 1. 3 dc into each ch-1 space along the side, ch 1 between each, then [3 dc, ch 2, 3 dc] into the corner space, ch 1. Repeat around all four sides. Join with a sl st and fasten off, leaving a tail for joining.
Repeat this four-round pattern 36 times to produce the full set of squares for a 6×6 crochet newborn blanket grid. If you want a larger finished blanket, add squares in multiples of 6 to keep the grid proportional, or add a fifth round to each square to increase the individual motif size instead.
Joining the Squares
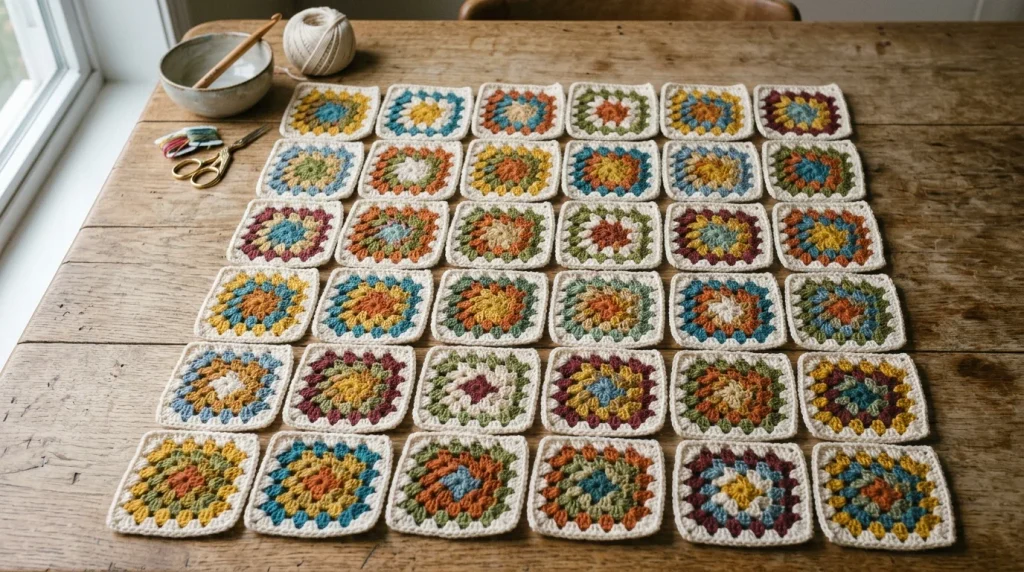
Lay all 36 squares out in a 6×6 grid before joining, so you can arrange color placement intentionally rather than joining in a random order and discovering the layout doesn’t work afterward.
Join using a whip stitch or slip-stitch seam through the back loops of adjoining squares, working one row at a time and then joining the rows together. A flat seam like this keeps the blanket lying smoothly rather than bunching at the joins, which matters more on a newborn item that will be laid flat under a baby than it would on, say, a throw pillow cover.
Border
Once all squares are joined, work a border around the entire outer edge to clean up the perimeter and add a bit of structural stability.
Rnd 1: Join yarn in any corner ch-2 space. Ch 3, 2 dc, ch 2, 3 dc into the same space (corner). Work 3 dc into each side space and ch-1 gap around the perimeter, working a full corner group ([3 dc, ch 2, 3 dc]) at each of the four outer corners. Join with a sl st.
Rnd 2: Repeat the same pattern — 3 dc into each space, with a full corner group at each corner — to add a second border round for a slightly thicker finished edge. Fasten off and weave in all ends.
Finishing and Blocking
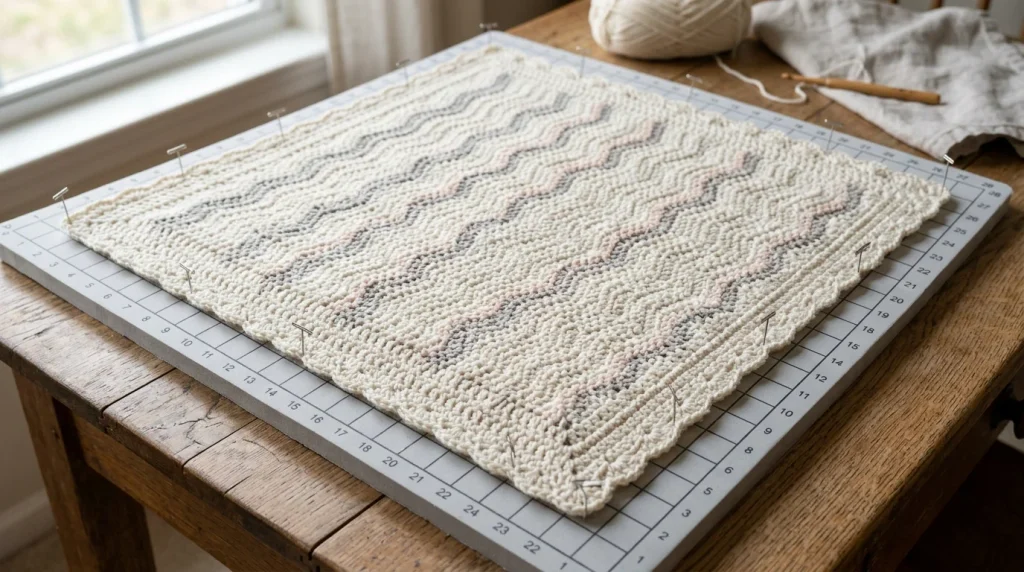
Block the finished crochet newborn blanket by laying it flat on a towel, gently squaring the edges and corners, and allowing it to air dry completely before use or gifting. Blocking evens out any minor tension differences between squares and makes the finished grid lines look crisp rather than wavy, which is especially noticeable on a crochet newborn blanket made from many small motifs joined together. A wool-blend yarn blocks more dramatically than acrylic, but even acrylic benefits from a light steam block over the seams.
Safety Notes for a Crochet Newborn Blanket
Because this is an item meant to go directly on or near an infant, a few safety points are worth taking seriously rather than treating as optional extras.
Avoid any open, lacy stitch pattern with large gaps for an everyday-use blanket — a tight granny square like this one is a safer, more practical choice than something with wide lace holes. Avoid attaching any small embellishments (buttons, beads, bows) to a blanket a baby will actually be near, since these present a genuine choking risk if they come loose. The U.S. Consumer Product Safety Commission publishes general product-safety guidance that’s worth reviewing if you’re making handmade items for infants specifically. For guidance on infant sleep safety more broadly, including safe bedding practices, the American Academy of Pediatrics is a reliable source to check before gifting or using any handmade blanket in a crib setting.
Yarn Substitution Notes
This crochet newborn blanket pattern is built on gauge rather than a specific yarn brand, so most worsted weight yarns will work as long as your test square comes out close to 4 inches. If you’d like to compare how different brands’ worsted weight yarns stack up against each other, the Craft Yarn Council’s standard yarn weight system is a reliable reference for matching gauge across brands.
Cotton yarn will produce a heavier, less drapey crochet newborn blanket than an acrylic or wool blend, since cotton has less natural give. If a lighter, softer drape is the priority, stick with acrylic or a wool blend; if machine durability and a slightly crisper hand are more important, cotton is a solid choice.
Tips for Making Your Own Crochet Newborn Blanket
- Work a full test square before starting all 36. It only takes a few minutes and tells you immediately whether your gauge matches the pattern.
- Decide on color placement before you start joining. A random join order can leave you with an unbalanced-looking grid; laying all squares out first avoids this.
- Weave in ends as you finish each square, rather than leaving all 36 sets of tails for the end — it’s a much less overwhelming way to handle finishing.
- Keep consistent tension across sessions. If you set the project down for a few weeks, work a quick practice square again before returning to the main project, since tension can drift and show up as mismatched squares in the finished crochet newborn blanket.
FAQs
How much yarn do I need for a crochet newborn blanket?
For the 30×30 inch size in worsted weight, budget 650–700 yards total. A larger blanket, a bulkier yarn, or a denser stitch pattern will all increase that estimate.
Can I make this crochet newborn blanket bigger or smaller?
Yes. Add or remove squares in multiples of 6 to keep the grid proportional, or add an extra round to each individual square to make the motifs themselves larger without changing the grid count.
Is a granny square crochet newborn blanket safe for everyday use?
Yes, as long as the stitch pattern is kept reasonably tight rather than heavily open-lace, and no small embellishments are attached. A tightly worked granny square is one of the more practical stitch choices for a blanket a baby will actually use.
Do I need to block this crochet newborn blanket?
Blocking isn’t strictly required, but it noticeably improves the finished look by squaring up the grid and evening out any tension differences between squares, so it’s worth the extra step if you have the time.
What’s the easiest way to join the squares?
A simple whip stitch through the back loops, worked row by row, is the most beginner-friendly join and produces a flat, even seam without needing any special technique.

Leave a Reply