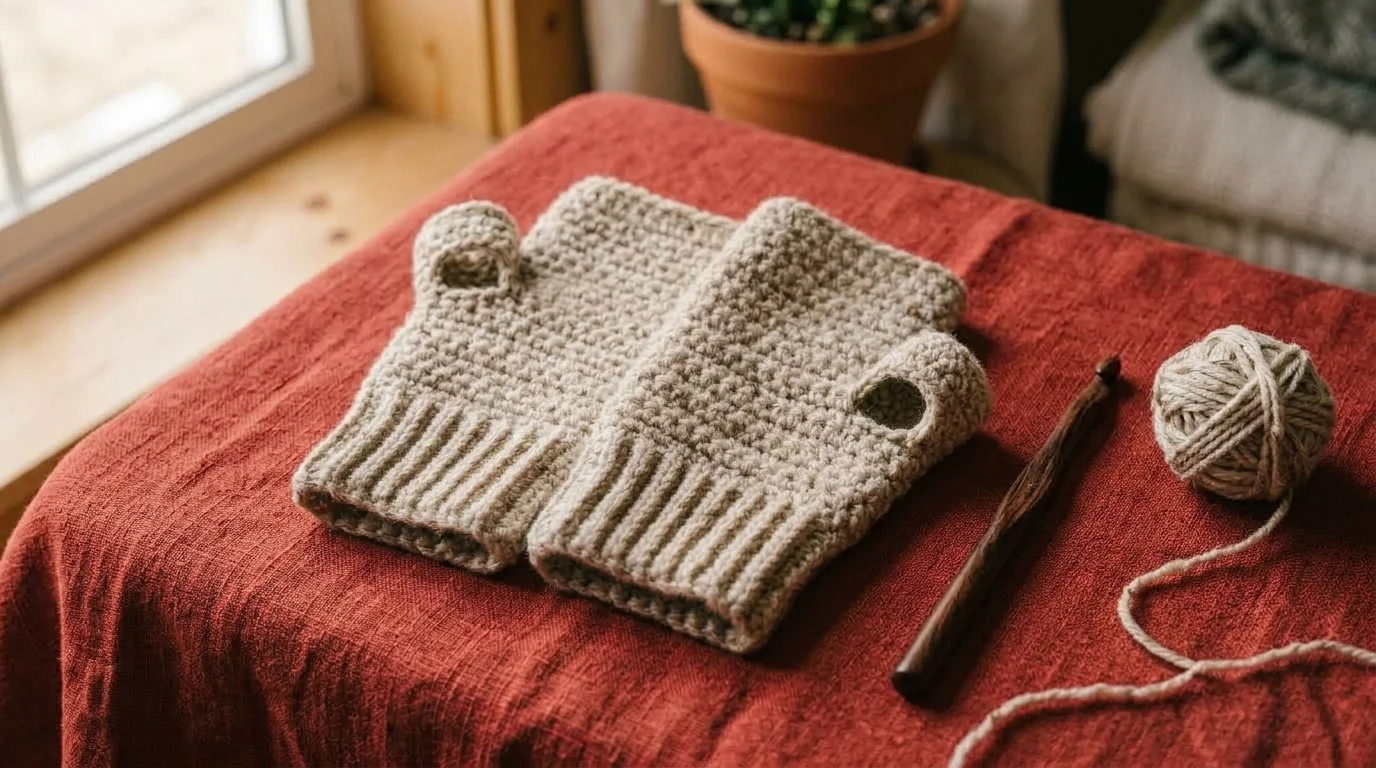
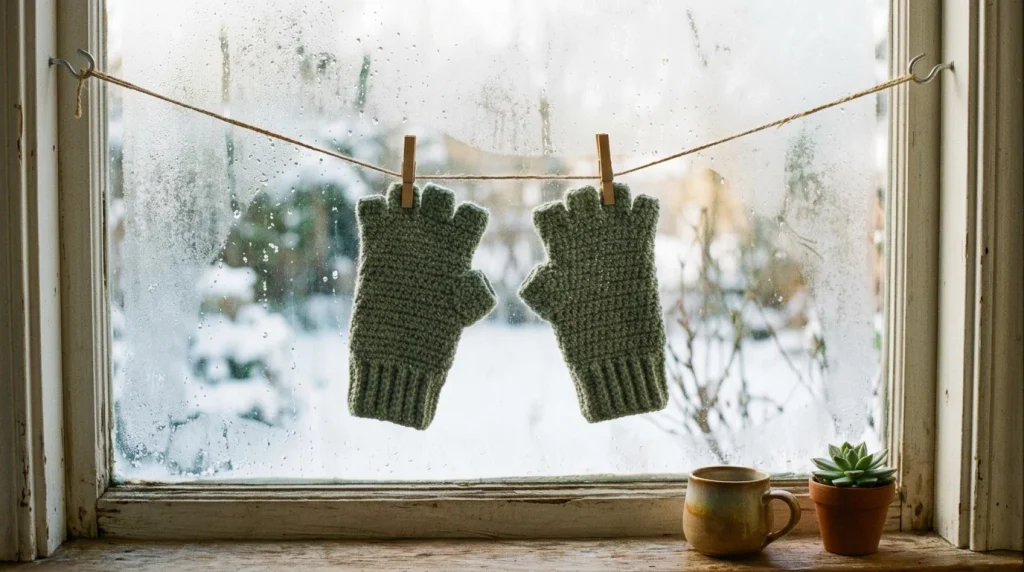
Crochet patterns for gloves without fingers are some of the most forgiving accessory projects out there, mostly because there’s no finger-by-finger shaping to wrestle with. What you’re really building is a fitted tube with a gap where the thumb pokes through, which makes this a natural next step once hats and scarves have started to feel routine.
Small doesn’t mean careless, though. Get the tube even slightly too loose and it slides down the wrist the first time you lift your arm. Place the thumb gap a touch off-center and the whole piece twists instead of sitting flat. So this stays a pattern worth following carefully, even at this size.
Below is a complete, seven-step build for crochet patterns for gloves , along with the sizing logic and the specific spots where a first attempt tends to go sideways.
Table of Contents
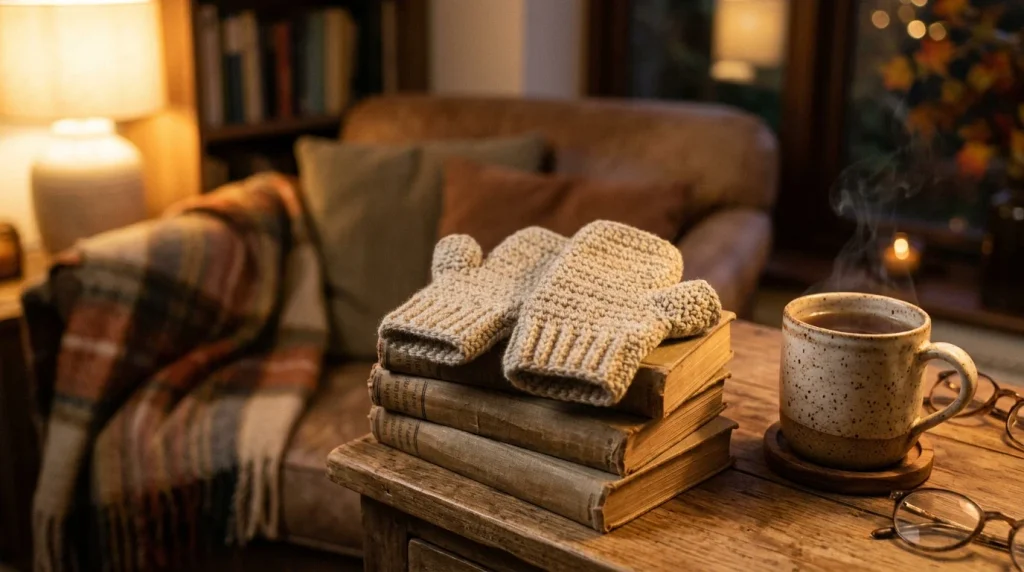
The Gauge and Materials Crochet Patterns for Gloves Without Fingers Actually Need
Fingerless gloves live and die by negative ease. The finished tube needs to measure a touch smaller than the actual hand and wrist so the fabric grips instead of hanging loose, and that margin depends entirely on how accurate your gauge swatch is. Skip the swatch here and you’re basically guessing at grip — not a great place to start when following crochet patterns for gloves without fingers.
If your pattern works in the round, swatch in the round too — tension shifts between flat and round crochet more than people expect. Block the swatch lightly before measuring, and check the numbers against your own wrist and hand rather than a generic chart. Hands vary a lot more from person to person than most other measurements crochet deals with.
Wool or a wool blend in worsted or DK weight suits this project well, since it stretches naturally and keeps warmth in without bulking up the hand. Acrylic is a fine substitute, though it has less give on its own, so dropping the hook size a touch further helps make up the difference.
On hook size generally: go a size smaller than the yarn label suggests. That’s true across most fitted crochet, but it matters even more here, where the whole design depends on a snug fit rather than room to spare.
2 Proven Ways to Build Crochet Patterns for Gloves Without Fingers
You’ll mostly see fingerless gloves made one of two ways.
Some patterns crochet a flat rectangle to length, leave a gap partway up for the thumb, then seam the whole thing up one side once it’s off the hook. It’s straightforward to troubleshoot because the entire piece is visible and flat while you’re working — if the thumb gap looks off, you can see that immediately, before any seaming locks it in.
Others build the tube continuously from the cuff up, setting aside a small cluster of stitches at the thumb point instead of seaming afterward. No seam means a smoother feel against the skin for some people, but keeping stitch counts consistent around that gusset takes more attention mid-round, where mistakes are harder to spot until several rows later.
For a first pair, the flat-then-seamed route is the kinder one. You can lay the whole rectangle out, check the thumb placement against your actual hand, and adjust before committing to anything permanent.
The Simple Sizing Guide for Crochet Patterns for Gloves Without Fingers
Two numbers really drive the fit: hand circumference across the widest point (knuckles, fingers together, hand relaxed) and wrist circumference just above the wristbone.
Whatever those numbers come out to, trim a bit off both before setting your target circumference. Crochet fabric stretches, but not infinitely — build the pattern to match your exact measurement with zero negative ease, and odds are it feels baggy within a week of wear.
| Size | Hand Circumference | Wrist Circumference |
|---|---|---|
| Small | 6.5–7 in | 5.5–6 in |
| Medium | 7–7.5 in | 6–6.5 in |
| Large | 7.5–8 in | 6.5–7 in |
Treat this table as a jumping-off point. Measuring the actual hand this pair is meant for beats any chart, every time.
The 7-Step Build for Crochet Patterns for Gloves Without Fingers
This section follows the flat, seamed build, since it’s the friendlier one to learn on. Exact row counts aren’t given here — they’d depend entirely on your specific gauge and size — so what follows is the logic you’d apply once you’ve got your own numbers from the swatch and size table above.
Step 1: Swatch and confirm your gauge. Before anything else, block your swatch and compare it against your actual wrist and hand measurements from the table above. This single step decides how well the rest of the pattern holds up.
Step 2: Build the cuff. Chain to your wrist circumference at gauge, add one for turning, and work a ribbed stitch — front-post/back-post double crochet, or half double crochet through the back loop only — for roughly an inch and a half to two inches. Skip the rib and go straight to plain single crochet here, and the cuff will flare instead of holding onto the wrist the way it should.
Step 3: Move into the hand section. If your hand measurement runs noticeably wider than your wrist, add a gradual increase or two going into this part — not every hand needs it, but plenty do. Keep working even rows until you hit the spot, usually about an inch below where the fingers start, where the thumb naturally separates from the palm.
Step 4: Open the thumb gap. Work across to that point, then skip roughly a third of the row’s width — adjust based on your own thumb, since they’re not all the same — and finish the row past the gap.
Step 5: Bridge the gap. On the row after that, chain across where you skipped instead of leaving it open, which closes the gap in a way that doesn’t leave an actual hole above the thumb.
Step 6: Finish the top edge. Keep going a few more even rows past the thumb opening, until you reach where the fingers begin, then finish with another round or two of the same rib stitch from the cuff. That keeps the top edge from curling the way plain stitches tend to.
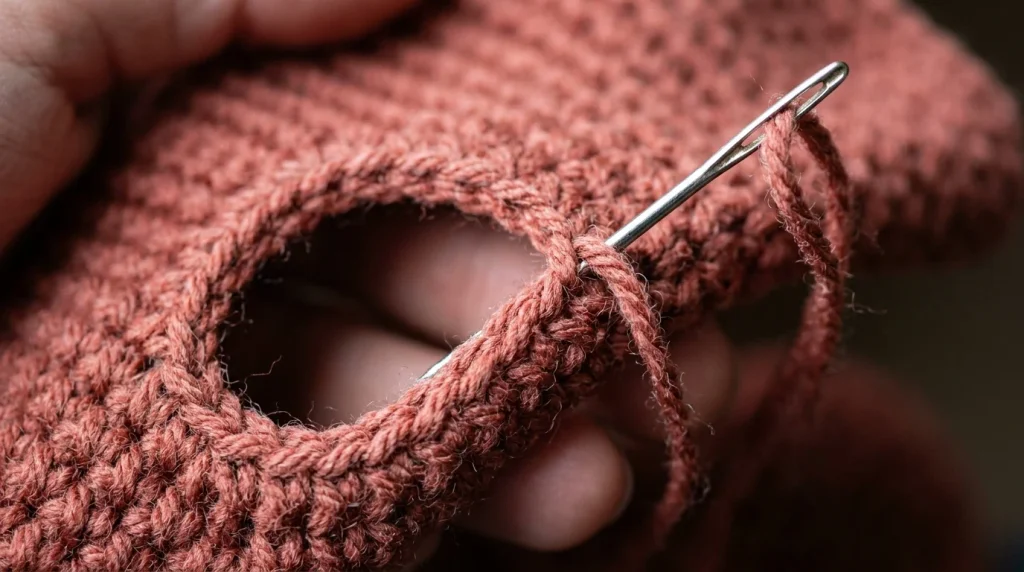
Step 7: Seam and try it on. Fold the piece and stitch up the side from cuff to top edge, stepping around the thumb gap so it stays open. Weave in your ends, and before you tie off the very last few stitches, try the glove on — if the thumb sits slightly off, this is your last easy chance to fix it.
5 Mistakes That Ruin Crochet Patterns for Gloves Without Fingers
A thumb hole that ends up in the wrong spot almost always traces back to measuring up from the wrist without checking it against the actual hand along the way. Slip the unfinished piece on partway through and adjust before you seal anything shut.
A cuff that slides instead of staying put usually means the ribbing wasn’t tight enough, or wasn’t given enough rows to actually grip. An extra half-inch of ribbing, or a smaller hook just for those rows, both help.
Tightness across the knuckles points to a mismatch between your hand and wrist numbers rather than a stitch problem. If the hand runs a good bit wider than the wrist, work in a few gentle increases rather than keeping one flat stitch count the whole way up.
A puckered or lopsided thumb gap generally comes from the bridging chain over the gap being worked tighter or looser than the rest of that row. Match its tension to the surrounding stitches instead of pulling it snug out of habit.
A pair that feels fine on the hook but wrong once worn usually means the gauge swatch got skipped, or wasn’t blocked before measuring. This is the one mistake that quietly undoes every other correct decision in the pattern, since every measurement above assumes the swatch was accurate.
3 Clever Variations on Crochet Patterns for Gloves Without Fingers
Extend the cuff several inches further up the forearm and you’ve essentially made an arm warmer instead of a glove — nothing else about the construction changes, you just keep going longer before starting the hand section.
Cut the cuff short, ending right at the wristbone, and you get something closer to a texting glove — less forearm coverage, but full finger dexterity kept intact.
Add a small button or toggle flap near where the fingers start, and the piece becomes a convertible mitten — sometimes called a “glitten” — where the flap folds over for warmth and folds back when you need your fingers free again. Wikipedia’s entry on gloves covers this hybrid design and the broader distinction between gloves, mittens, and fingerless styles if you want more background on where these variations come from.
Faqs
Is it possible to make these with zero seaming?
Yes, if you build the tube in the round with a thumb gusset instead of a flat rectangle. It skips the side seam entirely, though the tradeoff is more careful counting around the gusset to keep everything even.
Why do mine stretch out after only a few wears?
More likely with acrylic, or with a gauge that ran a touch loose. Wool bounces back better on its own, and a firmer cuff specifically helps the whole piece hold shape longer.
Does one pattern work for both hands, or do I need a left and right version?
Most fingerless designs sit symmetrical enough that one pattern covers both hands without adjustment — the thumb gap stays close enough to center that it doesn’t need the left/right split a full five-finger glove would.
Could I extend this into a full-finger glove later on?
Not from this base pattern. Individual fingers need their own shaping worked separately past the hand section, and that changes the stitch count and overall build quite a bit from a simple fingerless tube.
What’s the best stitch for keeping the cuff snug?
Alternating front-post and back-post double crochet gives the most reliable hold, since the raised-and-recessed texture creates real stretch built into the stitch itself — not just loose fabric that happens to land at the wrist.

Leave a Reply