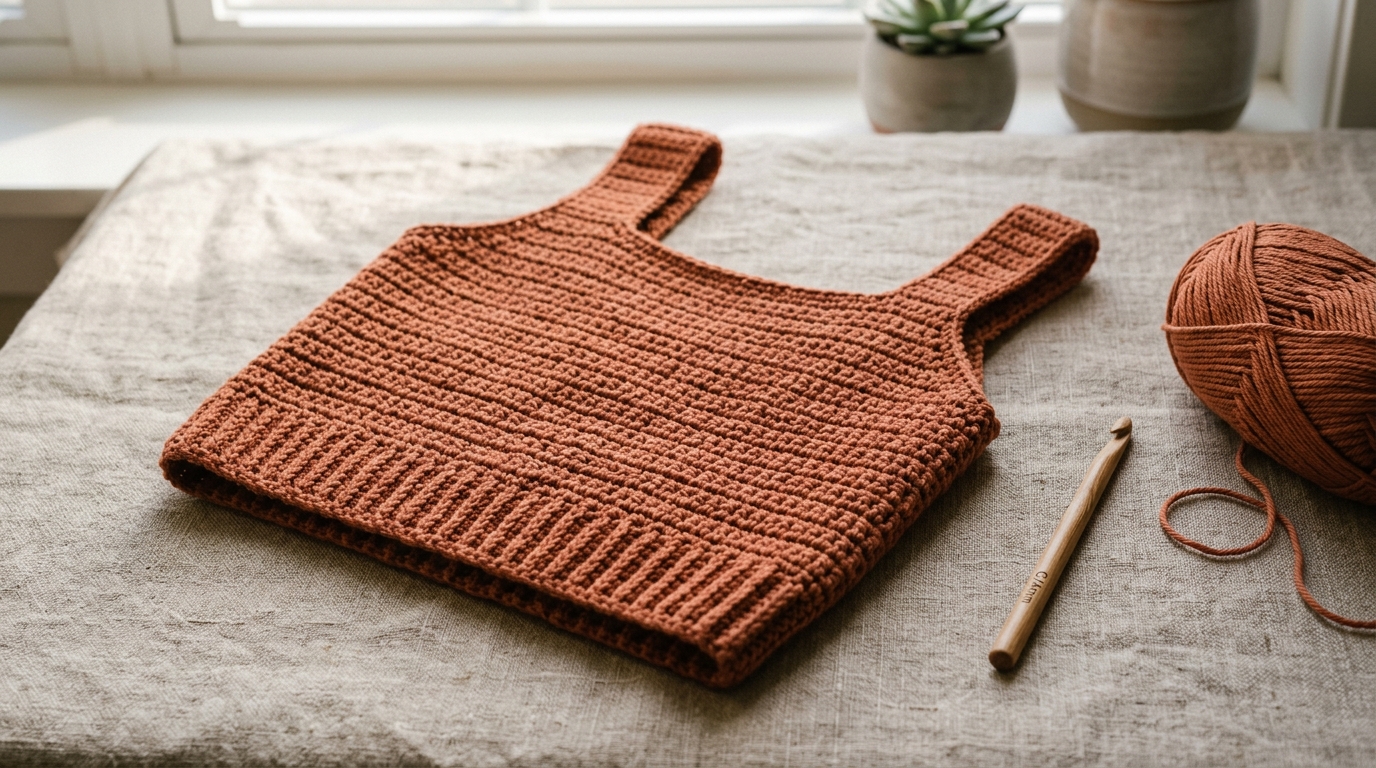
A crochet top is a different project than a jersey or sweater, even though they’re both garments. There’s no sleeve shaping to worry about, no shoulder seam bearing weight, and usually a lot less yardage involved. That makes an easy crochet top pattern like this one a solid entry point into garment-making, especially if full panels and sleeves have felt like a bigger jump than you’re ready for.
That said, a crochet top pattern still has its own fit points that are easy to get wrong — strap placement, how much stretch the fabric has across the bust, and how the neckline and armholes sit once the piece is actually on a body instead of lying flat. Whether you’re picturing a simple crop top, a fitted tank, or something closer to a halter or bralette silhouette, the same core fit questions apply.
This post works as a full crochet top pattern tutorial: what to prep before you start, the sizing logic behind it, a complete step-by-step build, and the specific things that go wrong most often, so you’re not left guessing why a finished piece doesn’t sit the way you pictured it.
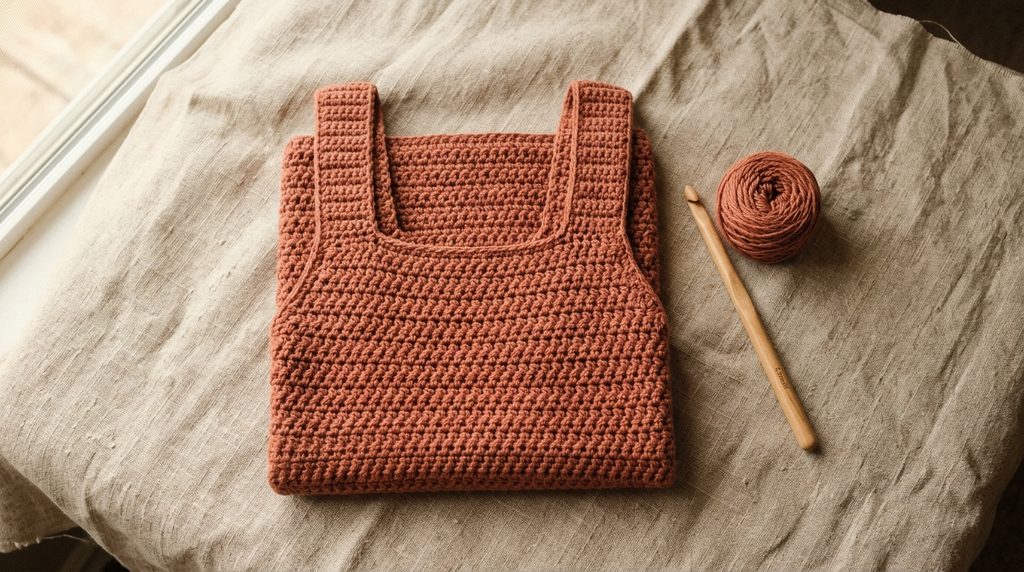
Table of Contents
What This Easy Crochet Top Pattern Needs to Fit Right?
Gauge still matters here, even though a top is a smaller project than a full jersey. A crochet top usually skims closer to the body than a jersey does, so a fabric that’s too loose shows every gap, and one that’s too tight won’t have the give to move with you.
Swatch in the actual stitch pattern the top uses, not a generic single crochet square, then measure it after blocking rather than off the hook. This matters more with a fitted top than it does with looser garments, since there’s less slack in the design to absorb a gauge that’s slightly off.
Cotton or a cotton-blend yarn in DK or worsted weight is the standard choice for crochet tops, mainly because it holds its shape without adding the extra warmth or bulk a wool or acrylic might. Mercerized cotton in particular gives a slight sheen and crisper stitch definition, which a lot of summer top and cami designs lean on. If you want some stretch built into the fabric itself, a stitch pattern with some natural give — like a shell stitch or a mesh — works better across the bust than a dense, solid stitch, which tends to feel rigid against the body.
Hook size follows the usual pattern: one size down from what the yarn label recommends, for a fabric that holds structure without feeling stiff or see-through in a way you didn’t intend. It’s also worth double-checking whether a pattern is written in US or UK crochet terms before you start, since a US single crochet and a UK single crochet aren’t the same stitch — a mismatch here throws off gauge and stitch count in ways that have nothing to do with your actual tension.
Crochet Top Pattern Ideas: Choosing a Style
Most crochet top patterns fall into one of two builds, and picking the right one for your skill level and the look you want matters before you touch a single stitch.
Tank-style, worked in panels. A front and back panel, each shaped slightly at the sides for waist definition if you want it, joined at the shoulders with straps and at the sides from hem to underarm. This is the easier of the two to get right on a first attempt, since the panels are worked flat and any mistake stays contained to one piece. If you’re after a simple crochet top pattern with the least amount of guesswork, this is the version to start with.
Halter or racerback style, worked as one continuous piece. These usually start at the underbust or waist and build upward, with the straps crocheted directly as an extension of the front or back panel rather than added separately. It gives a cleaner shoulder line with no visible seam, but it takes more planning up front, since the strap placement has to be decided before you start rather than adjusted after the fact. A bralette-style top or a racerback cami usually falls into this category, since both rely on the strap and back panel being worked as one piece rather than joined afterward.
If this is your first top, panels with separate straps are the more forgiving choice — you can try the piece on before attaching the straps and adjust the length or placement based on how it actually sits.
Sizing Guide for This Crochet Top Pattern
Three measurements matter most for a top: bust circumference, torso length from underarm to hem, and strap length or shoulder width, depending on the style.
Just like with a jersey, measuring from a top you already own and like the fit of is more reliable than measuring straight off the body — a bit of positive ease keeps the piece from feeling like a second skin, unless a snug fit is exactly what you’re going for. Some crop top and bralette designs are built with negative ease on purpose, meaning the finished measurement comes out slightly smaller than the body, relying on the stitch pattern’s stretch to close the gap. That’s a deliberate design choice, not a sizing mistake, so it’s worth knowing which approach a given pattern is using before you start.
| Size | Bust | Torso Length (underarm to hem) |
|---|---|---|
| XS/S | 32–34 in | 13–14 in |
| M | 36–38 in | 14–15 in |
| L | 40–42 in | 15–16 in |
| XL | 44–46 in | 16–17 in |
As with any garment table, these are starting ranges. Adjust the stitch and row counts to match your actual gauge and body measurements rather than forcing the numbers in the table onto a gauge they weren’t built for.
How to Make a Crochet Top Pattern: Panel Construction?
This is the construction logic for a classic tank-style top — front panel, back panel, straps, joined at the end. Like the jersey pattern, this is written as a technique guide rather than fixed row numbers, since your actual stitch and row counts depend on your gauge and the size you’re targeting from the table above. A free crochet top pattern with invented row counts that don’t match your gauge would do you more harm than good, so the steps below focus on the logic instead.
Front and back panels. Chain to your target bust width at gauge, plus one for turning. Work even rows in your chosen stitch until the panel reaches your target torso length. If you want some waist shaping, decrease a stitch on each side every few rows through the midsection, then increase back out toward the bust — a gentle, gradual change reads much better than an abrupt jump in width.
Straps. Measure from the top of the front panel, over the shoulder, to the top of the back panel, and chain a strap to that length in a simple single crochet or a matching stitch. Two straps per side is standard for a tank silhouette; a single wider strap works for a more halter-inspired look.
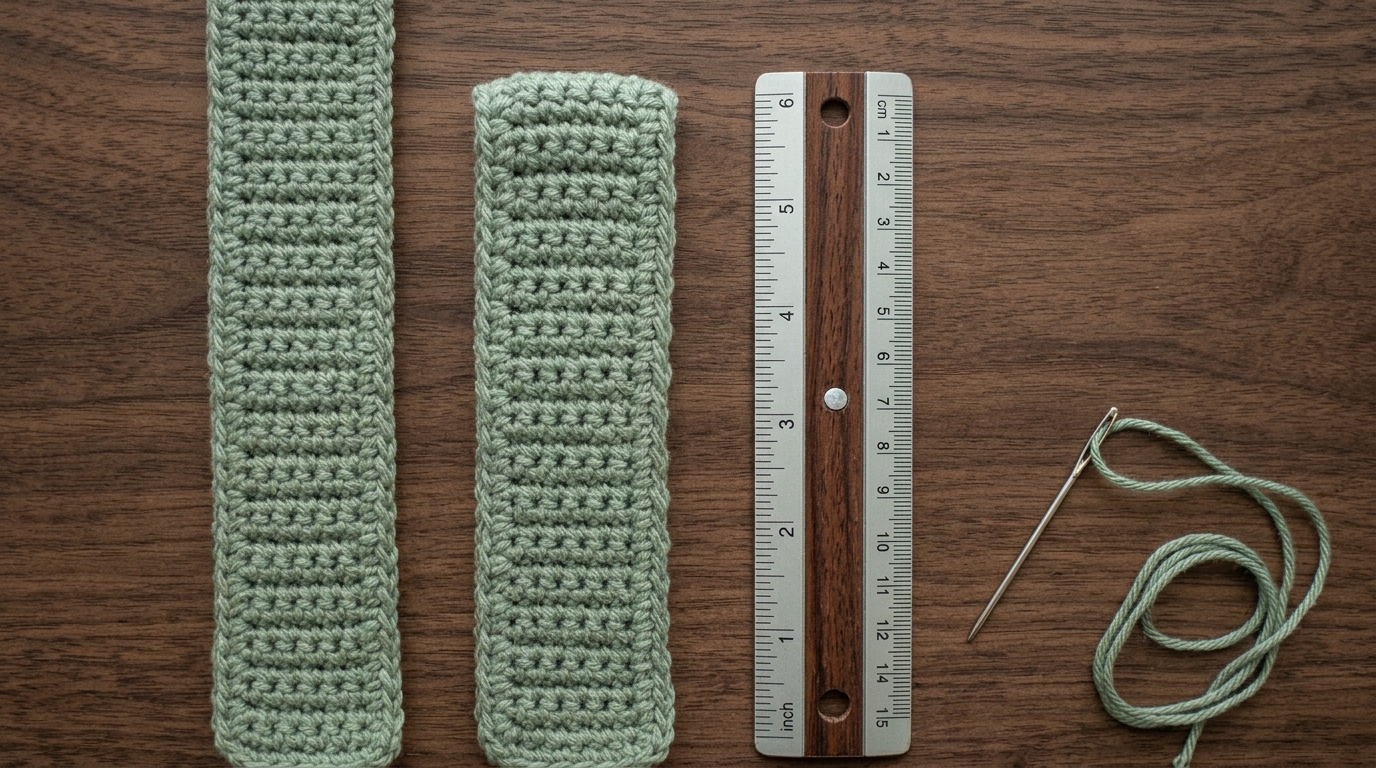
Joining. Seam the side seams first, from hem to underarm, leaving enough of a gap at the top for your arm to move freely. Attach the straps at the top corners of the front and back panels, trying the piece on before you fasten them permanently if you can — strap length is one of the easiest details to get slightly wrong, and it’s much easier to adjust before the final stitches are in than after.
Neckline and armholes. Once the straps are attached, work a round of single crochet around the neckline and each armhole to clean up the edge and add a bit of stability. This step also catches any unevenness in the panel shaping before the piece is finished.
Crochet Top Pattern Tips for Fixing Common Mistakes
The bust area gapes or shows too much stretch. Usually the stitch pattern chosen doesn’t have enough structure for the fit intended — a very open, lacy stitch across the bust needs either a lining or a firmer gauge to hold its shape under any movement.
Straps are uneven or twisted. This happens when straps are made separately without measuring both at the same time. Crochet both straps back to back, checking the row count matches exactly, rather than eyeballing length by feel.
The torso length feels off once worn, even though it measured correctly flat. Crochet fabric can behave differently under the actual weight and movement of being worn versus lying flat on a table. Trying the panel on before final seaming, even in an unfinished state, catches this before it becomes a permanent problem.
Armholes feel tight or restrict movement. The armhole opening needs a little more room than it looks like it needs when the piece is flat — leave a slightly larger gap at the side seam than your measurements suggest, since fabric under arm movement behaves differently than fabric lying still.
Crochet Top Pattern for Beginners: Neckline and Length Options
A scoop neckline is the simplest adjustment to a basic panel top — just curve the top edge of the front panel slightly inward rather than working it straight across, using small decreases spread evenly rather than one large decrease in the center.
A deeper V-neck needs the front panel split into two sides partway up, worked separately until they meet the strap points, which takes more planning around the row counts on either side to keep them symmetrical.
A cropped length simply means a shorter torso measurement in the sizing table above — the construction method doesn’t change, only where you stop before joining the straps. This is also the version most often styled as a festival top, a boho-inspired piece, or a swimwear cover-up, since a shorter length pairs naturally with high-waisted bottoms. Even among the best crochet top pattern styles for warm-weather wear, a cropped panel top tends to be the one people reach for first, simply because it needs the least yardage and the least finishing work.
Faqs
Can I add sleeves to a crochet top pattern like this one? Not without reworking a good chunk of the construction — this pattern is built around an armhole and strap structure, and adding sleeves means turning the armhole into a proper shoulder seam and shaping a sleeve cap to match, closer to how a jersey pattern comes together.
How do I know if my chosen stitch pattern has enough stretch for a fitted top? Test it on your gauge swatch before committing to the whole top — gently stretch the swatch widthwise and see how much it gives and how well it springs back. A stitch with very little give will feel rigid across the bust; one with too much may lose its shape under wear.
Why does my top feel tighter after washing it once? This depends on the fiber. Cotton can shrink slightly with heat, so always follow the yarn label’s washing instructions and, if unsure, wash your gauge swatch the same way you plan to wash the finished top before committing to final measurements.
Can I convert a tank-style top pattern into a halter-style one? Not directly, since the strap and panel construction differ structurally between the two styles. The bust and torso measurements can carry over, but the panel shaping and strap placement need to be planned around the halter construction method rather than adapted mid-pattern from a tank build.
Is this crochet top pattern suitable for a first garment project? Yes, especially the tank-style version with separate straps. It has fewer moving parts than a jersey or a fitted halter design, and any fit adjustment can be made before the final seams go in rather than after the piece is finished.

Leave a Reply