A crochet vest sits in an odd middle ground between a top and a full garment. It’s sleeveless like a tank, but it’s meant to be worn open over something else, so drape and closure matter in a way they don’t for a fitted top. Get the fabric too stiff and it stands away from the body instead of falling naturally. Get the front bands loose and the whole piece gapes open when you don’t want it to.
This kind of project rewards a bit of planning before the first stitch, more than most quick accessory patterns do. Below is a full crochet vest pattern — gauge, sizing, construction, and the specific choices that decide whether a crochet vest drapes well or just sits there looking stiff. Whether you’re after a free crochet vest project for the weekend or a simple crochet vest to build your first garment skills on, the same fit fundamentals apply.
Table of Contents
What an Easy Crochet Vest Actually Needs?
Drape is the whole game with a vest, more than it is with a fitted top or a tighter garment. Since the piece hangs open rather than clinging to the body, the fabric itself needs enough movement to fall naturally instead of standing rigid. That’s the clearest difference between an easy crochet vest and something like a fitted jersey or a snug tank top.
A worsted or DK weight cotton, linen blend, or a lighter wool works well here, mostly because these fibers have some natural weight and drape without stiffening the fabric the way a bulkier acrylic sometimes does. If you’re set on a chunkier yarn for warmth, pair it with a slightly larger hook than you’d normally choose, since a looser stitch gives the fabric room to hang rather than hold a rigid shape.
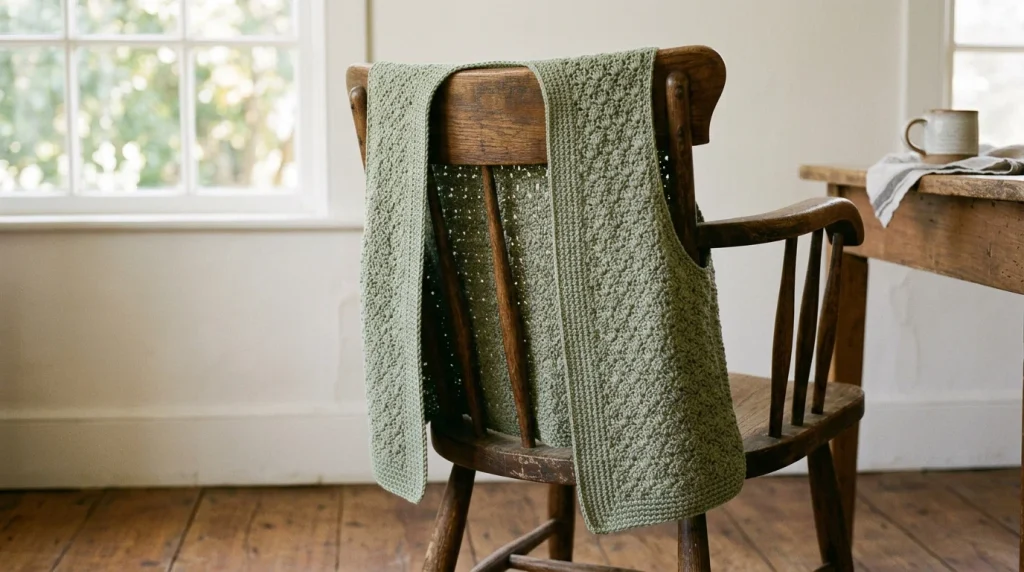
Gauge swatching matters here for a different reason than it does on a fitted piece: you’re not just checking size, you’re checking how the fabric behaves once it’s off the hook and hanging under its own weight. Crochet a swatch, then literally hang it over something — the back of a chair works fine — for a few minutes before judging whether the stitch pattern has the drape you’re picturing.
Hook size follows the usual logic, sized to the yarn weight, though for a vest specifically it’s worth erring toward the larger end of what’s recommended rather than sizing down the way you would for something fitted like a hat or a pair of fingerless gloves. An open-front, buttoned style like this is technically a crochet take on a waistcoat, and that garment’s traditional construction is worth a look if you want more background on where the open-front, layered silhouette actually comes from.
Crochet Vest Ideas: Choosing Your Style
There’s more range in vest construction than in most other crochet garments, since a vest can be built almost any way and still function as a vest. If you’re browsing crochet vest ideas and feel a little overwhelmed by the options, it usually comes down to one of three builds.
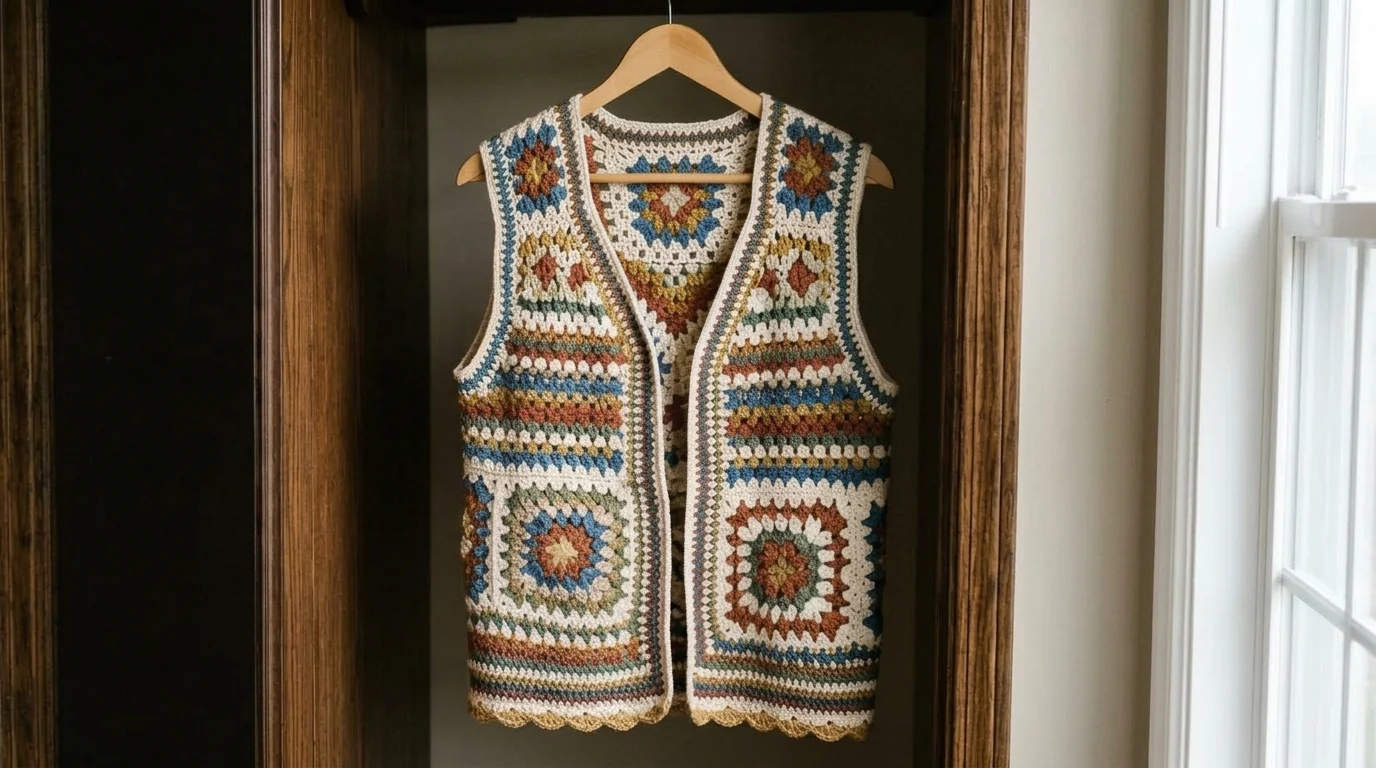
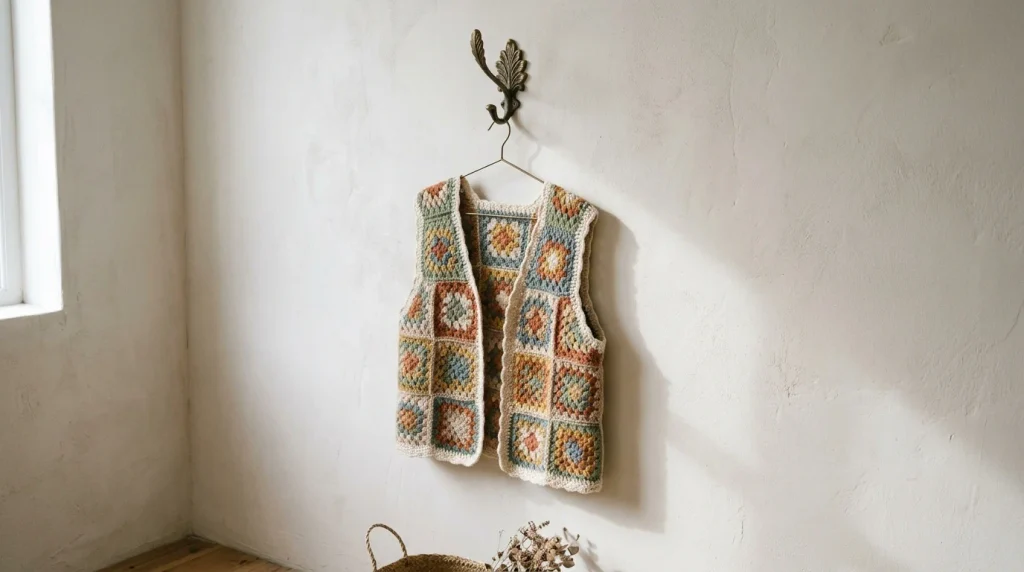
A granny square vest joins individual motifs into two front panels and a back panel, then seams them at the shoulders and sides. This forgiving build suits a first crochet vest well, since each square is small and self-contained, and a miscounted row stays contained to one motif rather than throwing off an entire panel. The granny square itself has a long history in crochet — it became especially popular in the 1970s and was, at one point, so closely tied to American crochet that European crocheters referred to it by that name. That background is part of why this motif still shows up so often in vest and afghan patterns today.
A solid panel vest works the front and back as continuous rectangular or lightly shaped pieces, closer to how a jersey or top comes together, just without the sleeves. This gives a cleaner, less textured look than a granny square build and tends to drape more evenly across a larger surface.
An open-front waistcoat style leaves the front panels separate rather than joined at the center, closed with buttons, ties, or left open entirely as a layering piece. This is the style most people picture when they think “vest,” and it needs a bit more attention to how the front bands are finished, since that edge is the most visible part of the whole garment.
If you’re building your first vest, the granny square route or a simple solid-panel design are both more approachable than an open-front waistcoat with a full button closure — save that one for a second attempt once you’ve got the basic construction down. Beginners searching for crochet vest for beginners guidance specifically tend to do best starting with one of these two builds rather than jumping straight to a fully tailored, buttoned front.
Sizing Guide for a Crochet Vest
Three measurements matter most: chest or bust circumference, body length from shoulder to hem, and armhole depth (from shoulder seam down to where the armhole opening ends).
Because a vest is meant to layer over other clothing, add a bit more ease than you would for a fitted top or jersey — somewhere around 2 to 4 inches beyond your actual chest measurement, rather than the 1 to 2 inches typical of a snugger garment.
| Size | Chest/Bust | Body Length | Armhole Depth |
|---|---|---|---|
| XS/S | 34–36 in | 20–21 in | 7–7.5 in |
| M | 38–40 in | 21–22 in | 7.5–8 in |
| L | 42–44 in | 22–23 in | 8–8.5 in |
| XL | 46–48 in | 23–24 in | 8.5–9 in |
As always, treat this as a reference point rather than a fixed rule. If you’ve got a vest or a similar layering piece that already fits the way you want, measure that directly and use those numbers instead.
How to Make a Crochet Vest: Panel Construction?
This covers the logic for a solid-panel, open-front vest — front left panel, front right panel, back panel, joined at the shoulders and sides. Exact stitch and row counts depend on your gauge and chosen size, so what follows is the construction logic rather than fixed numbers. If you’re looking for how to make a crochet vest without following a rigid, one-size-fits-all number set, this is the version of the process to work from.
Back panel. Chain to half your target chest circumference (since this panel spans the full back width) at gauge, plus one for turning. Work even rows until the panel reaches your target body length, minus a couple of inches that you’ll add back with the front band finishing.
Front panels, worked as a mirrored pair. Each front panel is roughly half the width of the back panel, since together the two front pieces make up the same total chest circumference. Work each one to the same length as the back panel, shaping the front opening edge if you want a curved rather than straight front, by working small, even decreases up that edge rather than one large decrease.
Armholes. At the point on both the front and back panels where the armhole should begin — measured down from where the shoulder seam will sit — stop working straight and instead decrease a small, even amount on the armhole edge over the next few rows, then continue straight until you reach the shoulder.
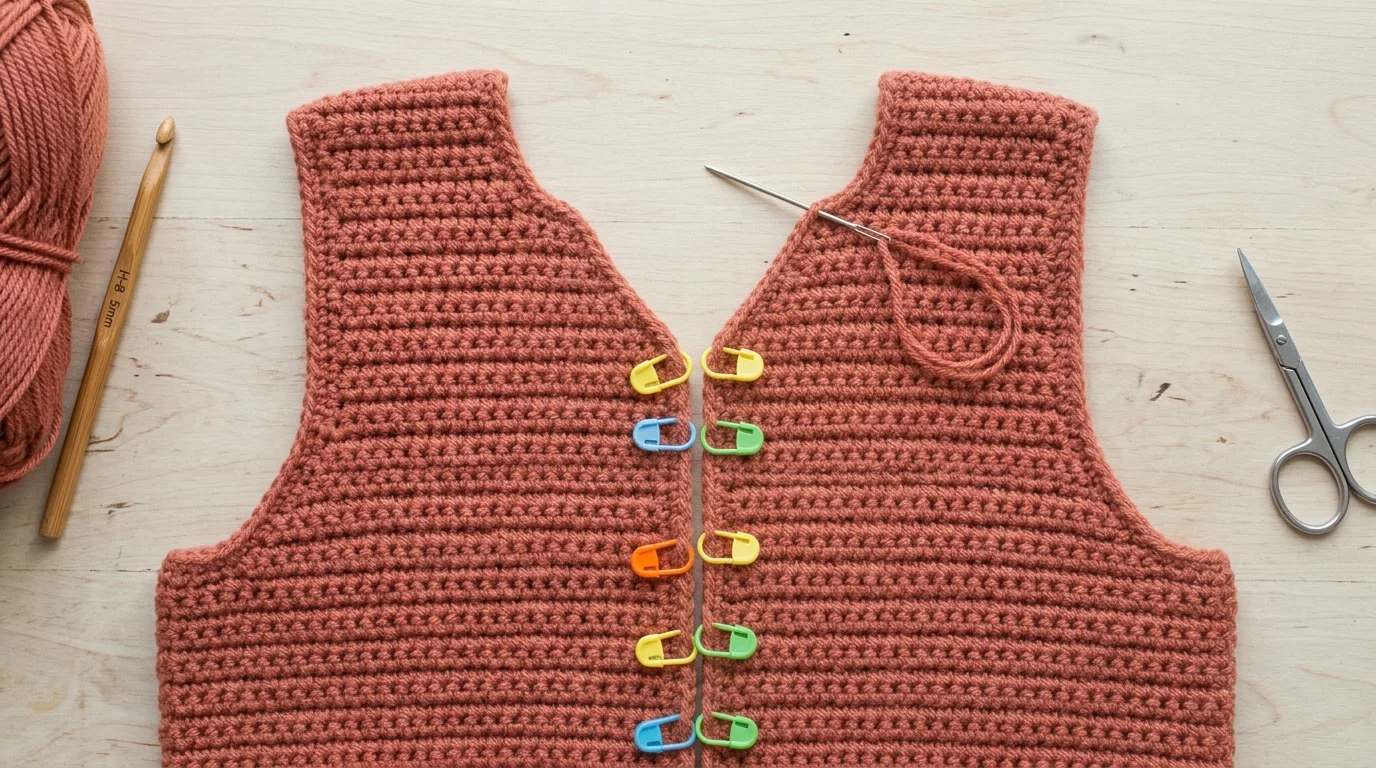
Joining. Seam the shoulders first, then the sides from hem to the base of the armhole opening, leaving the armhole itself unseamed so the arm can move through it freely.
Front bands and armhole edging. Work a round or two of single crochet or half double crochet up both front edges, around the neckline, and around each armhole opening. This step does more than tidy the raw edges — it adds structure exactly where the vest gets the most visible wear, and it’s where you’d add buttonholes if the design calls for a button closure.
Crochet Vest Tips for Getting the Drape Right
The vest stands away from the body instead of hanging naturally. This is almost always a fabric problem rather than a construction one — either the gauge is too tight for the fiber, or the stitch pattern itself is too dense for a crochet vest specifically. Loosening the gauge slightly, or switching to a more open stitch pattern, usually solves it without needing to change anything about the panel shaping.
The front bands ripple or pull the front panels out of shape. This happens when the edging round is worked with more stitches than the edge actually needs. Match the edging stitch count to the number of rows along that edge rather than adding extra for “fullness,” which tends to backfire into rippling instead.
The vest feels too warm or heavy for how it’s meant to be worn. Usually a yarn weight or fiber mismatch with the intended use. A lighter DK or fingering-weight cotton drapes and breathes very differently than a heavier worsted wool, even at a similar finished size.
Buttonholes don’t line up with the buttons once finished. This comes down to counting stitches for buttonhole placement before finishing the opposite band, rather than eyeballing spacing on each side separately. Mark both bands’ buttonhole positions at the same time, using the same row counts on each.
These crochet vest tips apply whether you’re working from a solid panel design or a motif-based build — the drape and finishing issues tend to come from the same handful of causes either way.
Closures and Finishing Options for a Crochet Vest
A simple tie closure — two crocheted cords attached at the front bands — is the easiest finishing option for a first vest, since it avoids buttonhole placement entirely while still giving the option to close the front when needed.
A single oversized button near the top of the front opening gives a sharper, more finished look without the precision multiple evenly-spaced buttonholes require, and it’s a reasonable middle step before attempting a full button-front vest.
Leaving the vest fully open, with no closure at all, is a perfectly valid finishing choice too — plenty of granny square and boho-style vests are designed to be worn open as a layering piece rather than fastened shut, and skipping the closure entirely removes one more place for something to go wrong on a first attempt.
Faqs: Crochet Vest
Can I add this vest pattern’s panels to an existing sweater or cardigan I’ve already started?
Not directly — a vest’s front and back panels are shaped around a sleeveless armhole, which sits differently than a jersey or cardigan’s shoulder and sleeve construction. It’s better to plan a vest from its own measurements than to try adapting mid-project from a different garment type.
How do I make the front bands lie flat instead of curling?
A round of single crochet or half double crochet worked through the back loop only, rather than both loops, tends to hold flatter along a long straight edge like a front band, since it adds a slight rib effect that resists curling better than a plain stitch.
Can I turn this into a longer, coat-style vest instead of a cropped one?
Yes — this only changes the body length measurement in the sizing table above. The panel shaping and armhole construction stay exactly the same regardless of how long the finished body ends up being.
Is granny square construction actually easier than solid panels for a first vest?
For most beginners, yes. Each square is small enough to fix mistakes within a single motif rather than across an entire panel, and joining squares is generally more forgiving of small tension differences than a single continuous panel would be.
What’s the best crochet vest style for keeping a granny square design from looking too busy or cluttered?
Sticking to two or three colors total, repeated in a consistent pattern across the squares, keeps a granny square vest looking intentional rather than scrappy — mixing too many colors randomly is usually what makes this style read as cluttered rather than cohesive.
Is there a crochet vest tutorial approach that works for both flat panels and granny squares?
The core fit logic — chest circumference, body length, armhole depth, and enough ease to layer over other clothing — applies the same way regardless of which construction method you pick. Only the row-by-row execution changes between a solid panel and a motif-based build.

Leave a Reply