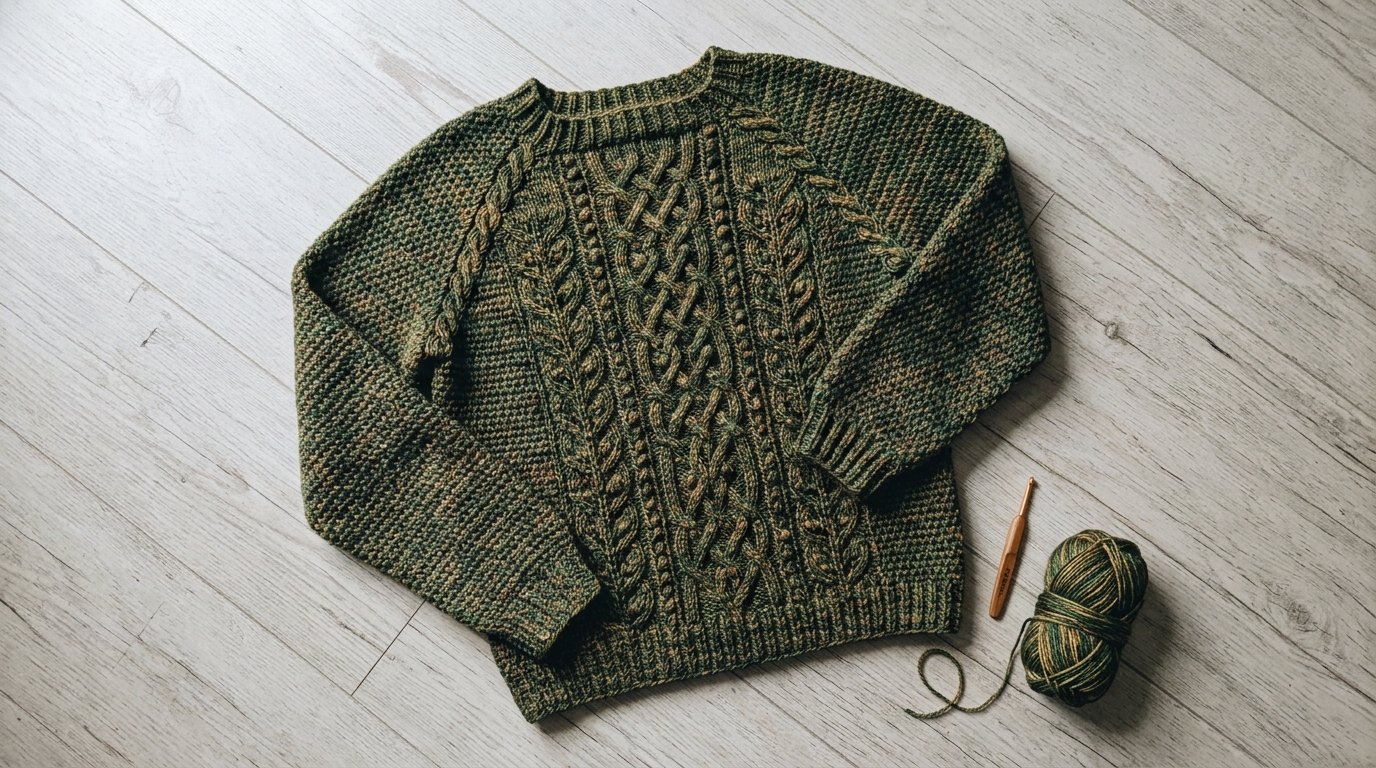
A crochet pullover sweater pattern doesn’t have to mean a pile of separate pieces and an evening of seaming. This crochet pullover sweater pattern is worked from the hem upward in joined rounds: a tube for the body, two tubes for the sleeves, and a single yoke that pulls everything together at the shoulders. When you finish the neckband, the sweater is basically done.
If you’ve read our flat-panel women’s pullover, this crochet pullover sweater pattern is the no-seam alternative, and if you’ve tried the top-down raglan jumper, this is the same shoulder shape built in the opposite direction. Building from the bottom up has a practical advantage: you can hold the unfinished sweater against your body at any point, so length mistakes show up while they’re still easy to fix.
Table of Contents
Why work this crochet pullover sweater pattern from the bottom up?
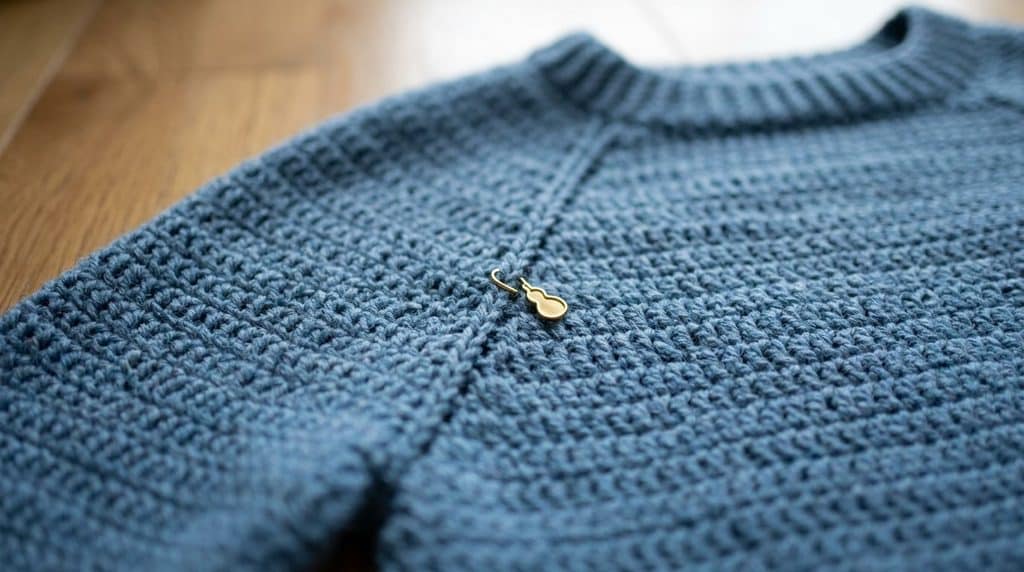
Most beginner sweater patterns are either seamed rectangles or top-down raglans. This bottom-up crochet pullover sweater pattern sits between them. You get the no-seam result of a top-down sweater, but the body and sleeve lengths are settled early, so it’s easy to compare them against a sweater you already own. The only part that needs real attention is the yoke, where all four tubes merge and the decreases create the raglan lines.
Every count in this crochet pullover sweater pattern is calculated: the finished measurement times the gauge. If your gauge is different, the sweater will be too, so make the swatch.
Choosing your size and ease
Pick your size for this crochet pullover sweater pattern by your bust measurement plus the amount of ease you want. Lion Brand’s guide to sweater ease describes a standard fit as roughly 2 to 4 inches larger than your bust, with 4 to 6 inches for a roomier shape. The sizes below are written with about 4 inches of ease, a relaxed everyday fit. If you’d like a closer look, go down one size; for oversized, go up one. Joy of Motion Crochet suggests measuring a sweater you already love and copying its measurements, which is the most reliable way to decide.
| Size | Body bust | Finished bust | Body stitches | Sleeve start | Sleeve at underarm | Total at join | Neck stitches |
|---|---|---|---|---|---|---|---|
| XS | 32″ | 36″ | 116 | 32 | 44 | 204 | 68 |
| S | 36″ | 40″ | 128 | 32 | 48 | 224 | 72 |
| M | 40″ | 44″ | 144 | 32 | 52 | 248 | 72 |
| L | 44″ | 48″ | 156 | 32 | 56 | 268 | 76 |
| XL | 48″ | 52″ | 168 | 32 | 60 | 288 | 80 |
| 2X | 52″ | 56″ | 184 | 32 | 64 | 312 | 88 |
Materials and gauge for this crochet pullover sweater pattern
Yarn: Worsted weight (#4), roughly 1,200 to 2,100 yards depending on size
Hooks: 5.5 mm (I) for the body, 5 mm (H) for all ribbing
Notions: Stitch markers (at least 4 in a contrasting color), yarn needle, tape measure Gauge: 13 stitches and 9 rounds in half double crochet = 4 inches
Yardage is an estimate. To check it for your yarn, weigh your finished swatch, divide the swatch weight into the weight of a skein, and compare how many swatches’ worth of yarn you have against the area of the sweater. Buy one extra skein if the result is close.
The crochet pullover sweater pattern, step by step
Body: With the smaller hook, chain the body stitch count for your size and join with a slip stitch, taking care not to twist the chain. Round 1: chain 1, single crochet in every chain, join. Rounds 2 to 4: chain 1, single crochet in the back loop only of every stitch, join. These four rounds form the ribbed hem. Switch to the larger hook. Next round: chain 2 (does not count as a stitch), half double crochet in every stitch, join with a slip stitch to the first hdc. Repeat that round until the body measures 14 inches from the bottom edge, about 30 rounds, or until it reaches your preferred underarm length. Fasten off and set aside.
Treat the join as the right underarm. Count halfway around and place a marker at the left underarm, so the front and back each contain half the stitches: 58, 64, 72, 78, 84, or 92.
Sleeves (make 2): With the smaller hook, chain 32 and join. Work one round of single crochet, then four rounds of single crochet in the back loop only. Switch to the larger hook and work two rounds of half double crochet. Now begin the increases: in the increase round, work 2 hdc in the first stitch, hdc to the last stitch, and 2 hdc in the last stitch. Everything else is plain hdc rounds. Keep going until you reach the underarm count for your size: 44, 48, 52, 56, 60, or 64 stitches.
That takes 6, 8, 10, 12, 14, or 16 increase rounds. For XS work an increase round every 6th round, S every 5th, M every 4th, L and XL every 3rd, and 2X every 2nd. Then work even rounds until the sleeve measures about 17 inches, or your own arm length measured from the wrist to the underarm. Fasten off, but leave the stitches intact for the yoke.
Joining the yoke: With the larger hook and the right side facing, join yarn at the right underarm of the body. Chain 2, then hdc across all the front stitches. Continue around the top of the first sleeve, working one hdc in every stitch. Hdc across the back stitches, then around the second sleeve. Join with a slip stitch to the first hdc, placing a marker at each of the four junctions. The totals match the table above: for size M, 72 + 52 + 72 + 52 = 248.
Small gaps often appear at the underarms where the tubes meet. Close them with a few whip stitches from the inside when you weave in ends.
Raglan decreases: Each decrease round, half double crochet in every stitch except the two stitches before and the two stitches after each marker, where you work a half double crochet two together (hdc2tog) on each side. That gives you 8 decreases per round. Repeat until you reach the neck stitch count, which takes 17 rounds for XS, 19 for S, 22 for M, 24 for L, 26 for XL, and 28 for 2X.
Try the sweater on or hold it against a garment that fits when you are close to the end. The yoke from the underarm to the neckband should be roughly 7.5 inches deep in XS, rising to about 12 inches in 2X. If yours is already that deep before the stitch count is reached, stop decreasing and accept a slightly wider neck.
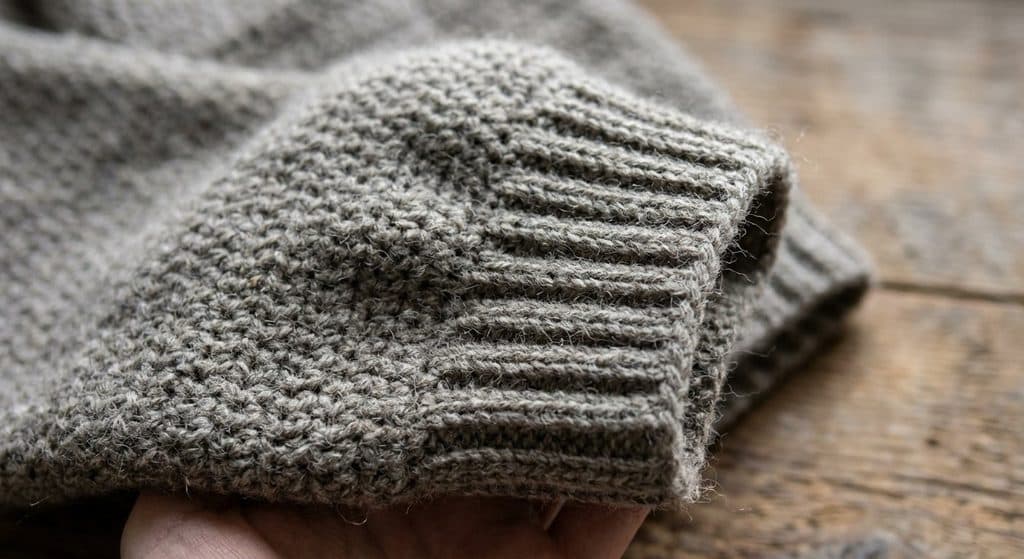
Neckband: Switch to the smaller hook. Round 1: single crochet in every stitch around. Rounds 2 to 5: single crochet in the back loop only. Fasten off, weave in all ends, and block.
Adjusting this crochet pullover sweater pattern
Because every measurement in the crochet pullover sweater pattern is a stitch count, resizing is mostly addition. For a longer body, add rounds before joining the yoke. For a wider hip or bust, add multiples of 4 stitches to the body foundation chain, and then add the same number to the yoke join so the decreases stay symmetrical. A cropped version stops the body at 9 to 10 inches; a tunic adds 6 to 8 inches and works a wider hem band.
For a boat neck, stop the decreases a few rounds early and finish with two rounds of single crochet only. For a funnel neck, add several more rounds of ribbing, folding it down if you want a soft cowl.
Yarn and stitch choices
Acrylic and acrylic blends keep this crochet pullover sweater pattern machine washable and affordable, but they drape a little stiffly. Wool and wool blends give warmth and bounce but may need hand washing. Cotton is cooler and heavier, and it stretches as it hangs, so choose a smaller size or less ease. Half double crochet works best in this crochet pullover sweater pattern because it is dense without being slow. Double crochet would be faster, but it would also change your row gauge, and every round count in the pattern would need recalculating from a new swatch.
Blocking and care
Don’t skip blocking on a crochet pullover sweater pattern like this one. It makes the biggest difference to how the finished sweater looks and hangs. Interweave explains the spray-blocking method: dampen the piece, pin it to its measurements, and let it dry flat. With a sweater, lay the whole thing on towels, shape the body and sleeves to the finished measurements, and let it dry completely. Never hang a wet crochet sweater, because the weight pulls it longer.
Common mistakes to avoid
Skipping the swatch is the biggest mistake with any crochet pullover sweater pattern. Even half a stitch per 4 inches changes a 44-inch body by roughly 5 inches. Twisting the foundation chain before joining is another, and it produces a diagonal ridge that can’t be fixed without starting over. Forgetting to move the markers up each round also makes the raglan lines lopsided, so slide them up as you go or use locking markers.
A fourth issue is stretching the stitches when you join the yoke. Work slightly looser for the first yoke round so the stitches sit flat against the junctions rather than pulling the sleeves toward the body.
FAQs
Is this crochet pullover sweater pattern good for beginners?
Yes, if you’re comfortable with half double crochet and decreasing. There are no seams and no shaping beyond sleeve increases and yoke decreases, so it’s a practical first garment.
How long does a crochet pullover sweater pattern like this take?
For most crocheters it’s a few weeks of regular evening work, mostly because the body and sleeves are long plain rounds.
Can I add stripes to this crochet pullover sweater pattern?
Stripes are easiest: change colors at the start of any round, and carry the yarn up inside the sweater for narrow stripes. Textured stitches change your gauge, so swatch them first.
Will this crochet pullover sweater pattern work with a different yarn weight?
It will, but every count needs recalculating. Swatch the new yarn, measure stitches per inch, and multiply by the finished measurements in the size chart.

Leave a Reply