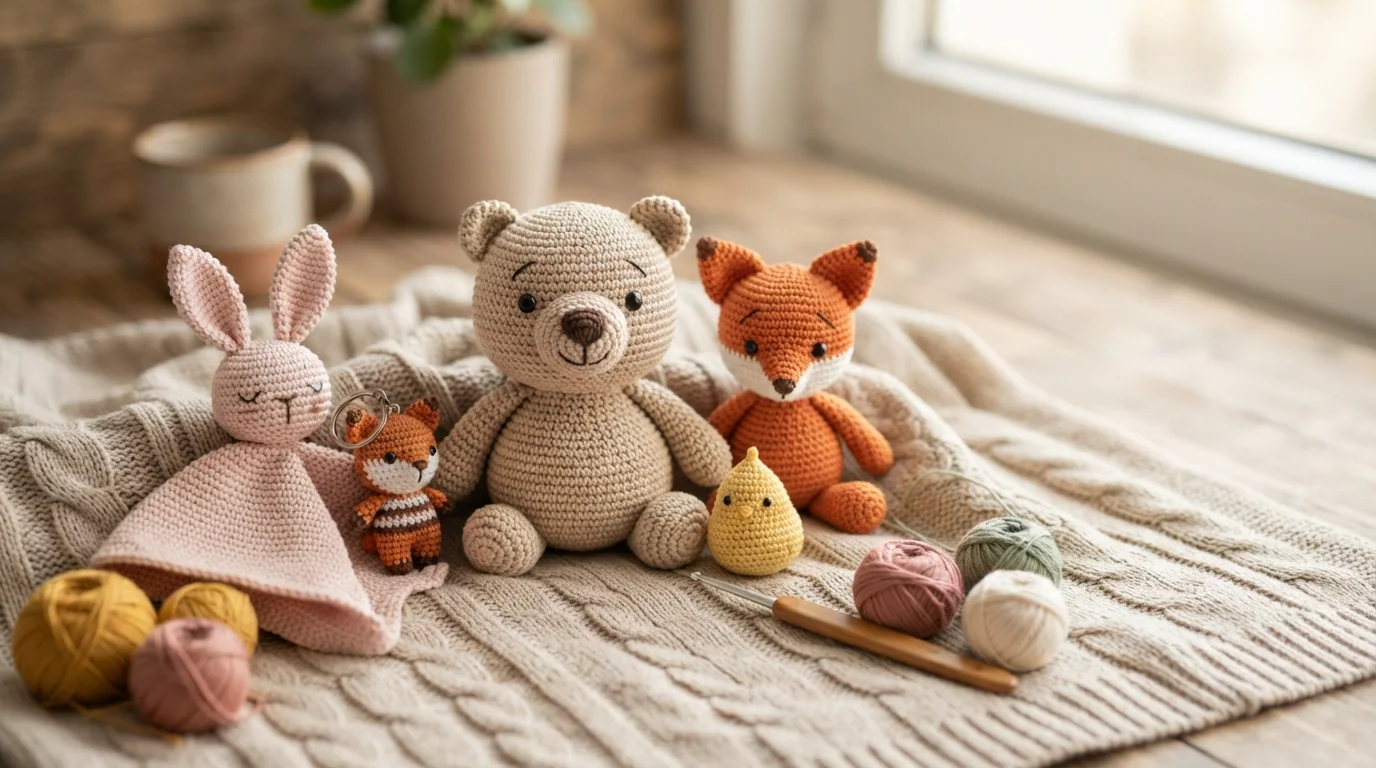
Crochet animals are one of the most addictive corners of the craft, and it’s easy to see why once you’ve made one — a few rounds of single crochet, some stuffing, and suddenly there’s a small, recognizable creature sitting on your table. We can describe this style as amigurumi, the Japanese art of crocheting small, stuffed yarn creatures, typically worked in continuous spiral rounds rather than joined rounds to avoid a visible seam line.
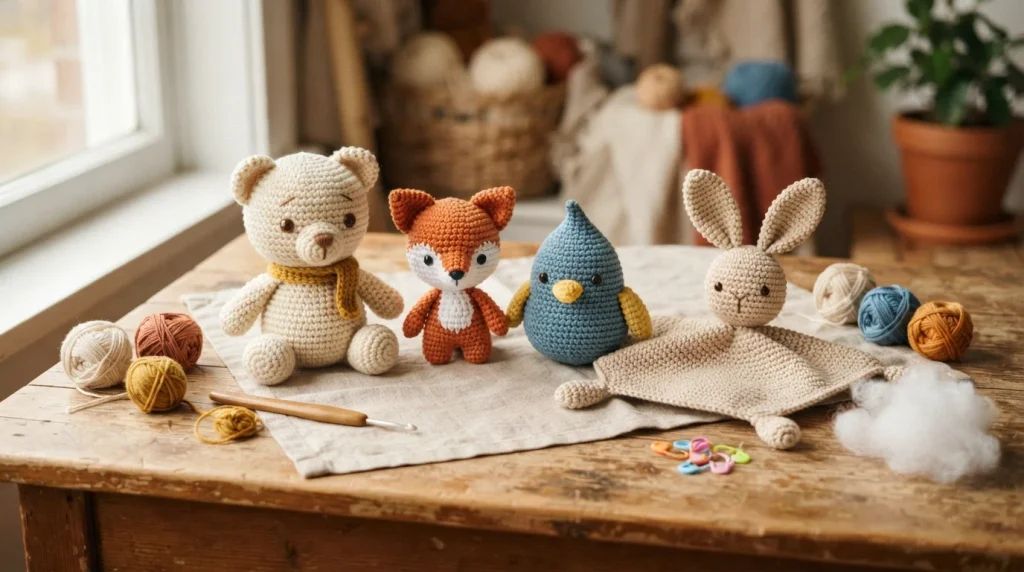
Below are five easy crochet animals built from the same core techniques — magic rings, single crochet worked in continuous rounds, and basic increases and decreases for shaping. Each uses standard, well-documented amigurumi technique rather than a single designer’s copyrighted pattern, so feel free to resize, recolor, or mix pieces between them.
Table of Contents
What makes these easy crochet animals beginner-friendly?
Every pattern below relies on the same handful of skills: a magic ring to start, single crochet worked in a continuous spiral, and increases or decreases to shape a sphere, cone, or teardrop. None of these five need a stitch chart or a complicated combination of stitch types — once the magic ring and basic increase pattern click, the rest is mostly repetition.
Yarn and hook sizing follow the Craft Yarn Council’s standard yarn weight system. Worsted weight (#4) on a smaller-than-usual hook (a size or two below what the yarn label recommends) produces the dense, tight fabric amigurumi needs to hold stuffing without gaps showing between stitches.
A safety note before you start
If any of these crochet animals are headed for a child under 3, skip plastic safety eyes and small sewn-on accessories entirely — they’re designed to lock in place, but they’re still a small part, and the CPSC’s guidance on small parts in children’s products exists because of exactly this kind of choking risk. Embroidering eyes with yarn instead, using satin stitch or french knots, gives the same expressive face without introducing a detachable piece — a reasonable substitute that doesn’t compromise how cute the finished animal looks.
1. Basic Round-Bodied Bear
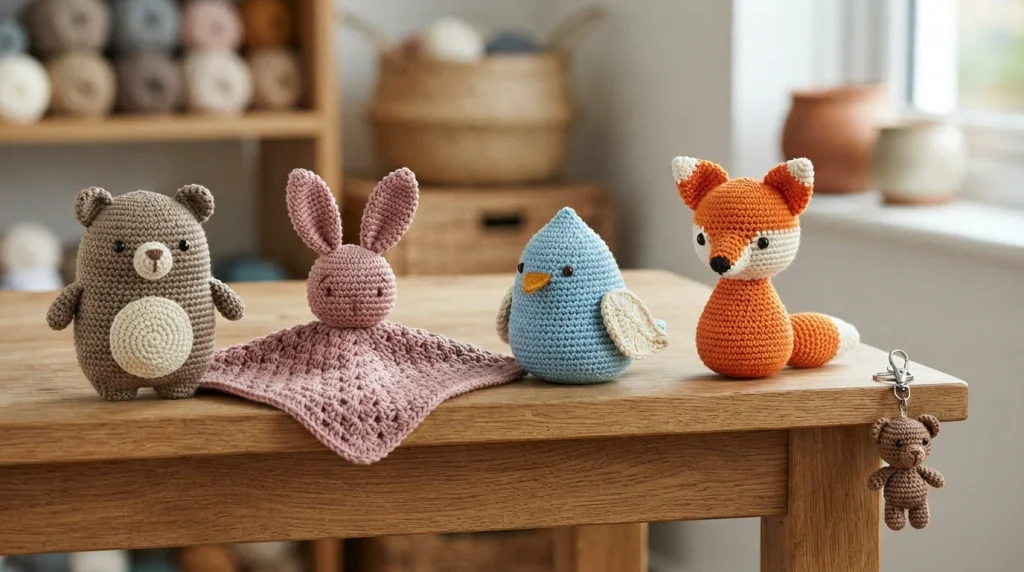
A simple sphere body with small limbs is the most forgiving starting shape for crochet animals in general.
Skill level: Beginner
Yarn: Worsted weight (#4), small amounts in 2 colors
Hook: 3.5 mm (E), one size smaller than the yarn label suggests
Stuffing: Polyester fiberfill
Start with a magic ring, work 6 sc into it, then increase by 6 stitches every round for 4 rounds (reaching 30 stitches), then work even for several rounds to form the rounded body. Begin decreasing by 6 stitches per round once the body is tall enough, stuffing as you go, until the opening closes. Four small limbs (simple tapered tubes, 6–8 stitches around) and a slightly smaller head sphere, attached with a yarn needle, complete the basic shape. This same round-body-plus-limbs structure is the starting point for a huge range of other crochet animals — swap the ear shape and you have a different creature entirely.
2. Simple Flat Lovey Animal
Worked in two flat pieces whip-stitched together with a thin layer of stuffing, a flat lovey is faster than a fully three-dimensional animal.
Skill level: Absolute beginner
Yarn: DK or worsted weight, soft and machine washable
Hook: 4 mm (G)
Crochet two identical flat circles or simple animal-silhouette shapes (a rounded bunny or bear outline works well) using standard increase rounds, the same logic as any flat circular motif. Whip stitch the two pieces together around the edge, leaving a small gap, stuff lightly, and close the gap. Because there’s no three-dimensional shaping to track, this is one of the fastest crochet animals on this list to actually finish, and the flat shape makes it practical for a baby to hold without small, separately-attached parts.
3. Basic Teardrop Bird
A teardrop shape — wider at one end, tapering to a point — makes a surprisingly recognizable bird body with very little extra shaping.
Skill level: Beginner, comfortable with basic stitches
Yarn: Worsted weight (#4), small amounts
Hook: 3.5–4 mm (E–G)
Start with a magic ring and increase for 3–4 rounds to reach the widest point of the body, then work even for a round or two, then decrease gradually over several rounds to taper to a point at the tail end. Add small wing shapes (simple flat triangular motifs) and embroidered eyes, and the recognizable bird silhouette comes from the taper alone, without needing separate head and body pieces the way the bear pattern does.
4. Simple Fox with Pointed Ears
The same round-body structure as the bear, but with a tapered snout and triangular ears that make the animal instantly readable as a fox.
Skill level: Beginner-intermediate
Yarn: Worsted weight (#4), orange, white, and black in small amounts
Hook: 3.5 mm (E)
Build the body the same way as the bear pattern, then shape a tapered snout by decreasing gradually over a few rounds on a smaller sphere, rather than ending it round. Two simple triangular ears, crocheted flat and folded slightly before attaching, complete the fox silhouette. Embroidered white accents around the snout and black for the nose add the color detail that makes the species immediately recognizable, even though the underlying shape is nearly identical to the bear.
5. Mini Keychain Animal
A scaled-down version of any of the above, small enough to finish in under an hour.
Skill level: Beginner
Yarn: DK or sport weight, small amounts
Hook: 3 mm (D)
Work a simplified version of the bear or fox body at roughly half scale — fewer increase rounds, a smaller overall stitch count — stuffed firmly enough to hold its shape despite the smaller size. Attach a keyring or clip through a loop of yarn left at the top. Because the finished piece is small enough to be a genuine choking hazard on its own, this particular project is best reserved for older children or adults rather than infants or toddlers, regardless of how securely any eyes or accents are attached.
Choosing which of these crochet animals to start with
The flat lovey is the most forgiving starting point if you’ve never made any kind of stuffed crochet animal before, since there’s no three-dimensional shaping to track at all. The round-bodied bear is the natural next step, and genuinely useful to learn well, since its basic sphere-and-limb structure underlies most other crochet animals you’ll encounter later. Save the fox for once the bear feels comfortable, since the tapered snout adds a shaping step the simpler shapes don’t need. The teardrop bird is worth trying any time, since it’s a different base shape entirely from the sphere-based patterns and builds a second shaping skill rather than repeating the first one.
Common mistakes to avoid
Visible gaps between stitches are the most common frustration with crochet animals, and they almost always trace back to hook size — using the same hook size the yarn label recommends, rather than sizing down, leaves loose stitches that show the stuffing through small gaps. Sizing down one or two hook sizes from the label’s suggestion produces the dense fabric amigurumi actually needs.
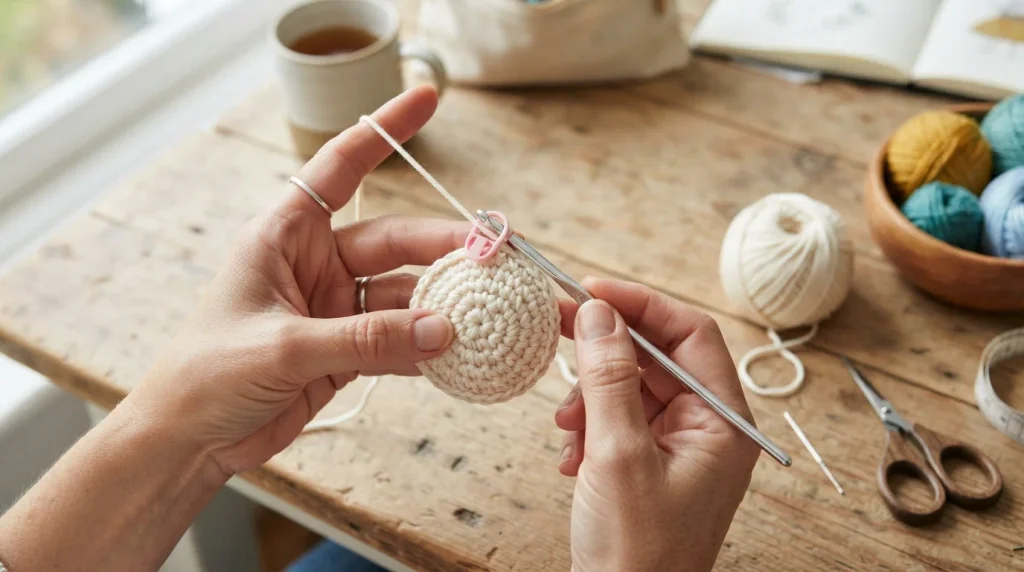
Losing track of which round you’re on is the second common issue, since amigurumi is worked in continuous spiral rounds rather than rounds that are joined and marked with a turning chain. A stitch marker clipped into the first stitch of each round, moved up as you go, solves this without needing to count stitches constantly.
Mismatched piece sizes are a third common issue specific to crochet animals built from several separate parts — a head crocheted at a slightly different gauge than the body it attaches to throws off the proportions of the whole finished animal. Working all the pieces for one project in the same sitting, rather than spread across several days where tension can drift, helps keep gauge consistent across every separate piece of any multi-part crochet animals design.
Frequently asked questions
What stuffing is safest for crochet animals made for babies? Polyester fiberfill is the standard, washable choice, and it’s worth checking that any stuffing used is labeled as non-toxic and appropriate for children’s toys rather than a generic craft filler not intended for that purpose.
Can I use safety eyes on crochet animals for a toddler? It’s best avoided for children under 3 specifically, per the guidance linked above — embroidered eyes give the same expression without introducing a small part that could work loose over time and repeated handling.
How much yarn do crochet animals like these actually need? Each of the five above uses a relatively small amount — generally well under a full skein for the smaller sizes — which makes this a practical category for using up leftover yarn from larger projects.
Do crochet animals need to be machine washable? It depends on who they’re for — a toy meant for regular handling by a child benefits from washable yarn and polyester stuffing, while a decorative piece meant to sit on a shelf has more flexibility in fiber choice.
Why does my crochet animal look lumpy instead of smooth? Uneven stuffing is the usual cause — packing fiberfill in small amounts as you go, rather than stuffing the whole cavity at once near the end, distributes it more evenly and avoids the lumpy, clumped texture that comes from pushing a large handful in through a small opening.
Can I felt or needle-felt details onto crochet animals instead of crocheting them? Yes — small facial details or color accents are sometimes needle-felted onto the surface rather than crocheted or embroidered, though this technique adds loose fiber to the surface, so it’s worth treating the same way as fuzzy yarn: fine for a decorative piece, worth skipping for anything handled by a very young child.

Leave a Reply