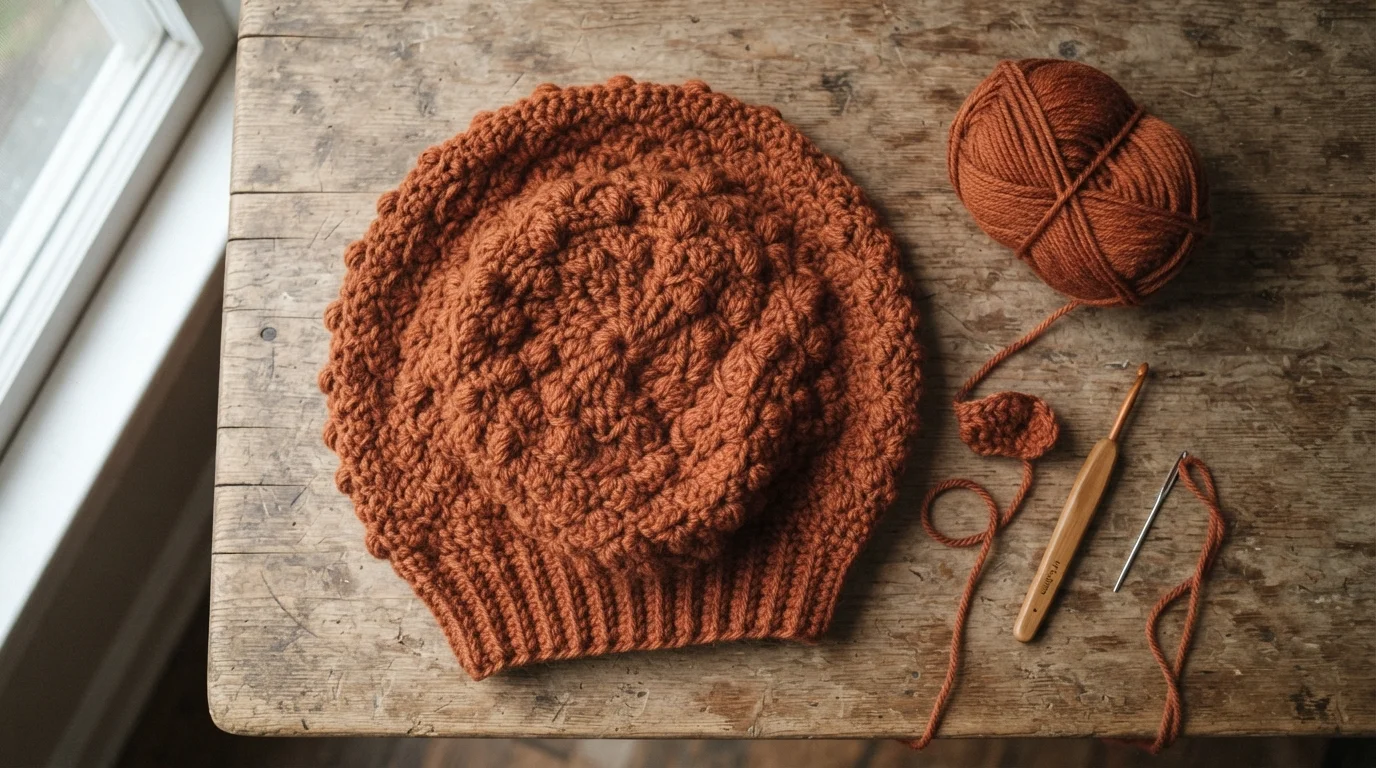
Crochet beret patterns are one of the most efficient hat projects you can make, because almost the entire shape comes from a single repeated action: increase, then decrease. There’s no brim to shape separately and no complicated crown decreases to track — once you understand the two-phase logic, you can make one in an afternoon and adjust it to fit almost any head size.
The beret itself is older than crochet as a craft. Wikipedia notes that berets have been worn in some form since the Bronze Age, long before the flat-crowned wool version associated with 19th-century France and Spain became the shape most people picture today. Crochet just gives you a different route to the same silhouette — a flat, wide crown that narrows into a snug band at the forehead.
Table of Contents
Why this crochet beret pattern works the way it does?
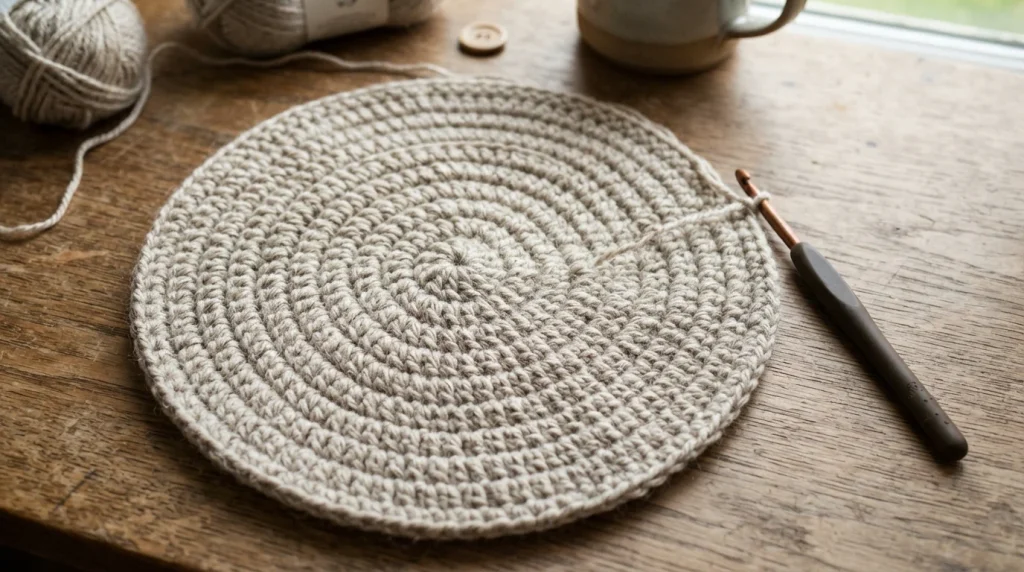
A beret has three parts: a small starting circle, a wide flat crown, and a narrower band that holds it on your head. Getting the shape to actually sit right — rather than looking like a floppy tam or a tight skull cap — comes down to controlling exactly when you stop increasing and start decreasing.
This pattern uses worsted weight yarn (#4) on a 5 mm (H) hook, sized according to the Craft Yarn Council’s standard yarn weight system. If you want a lighter, drapier beret, a DK weight yarn on a 4.5 mm hook produces a similar shape with a softer flop to the crown; heavier bulky yarn on a bigger hook makes a stiffer, more structured beret with less drape.
Smooth, plied yarns generally hold this crochet beret shape better than single-ply or boucle-style yarns, since the increase and decrease rounds rely on stitches sitting cleanly next to each other to keep the crown flat. A very fuzzy or textured yarn can still work, but the increase points become harder to see as you work, which makes it easy to lose track of stitch placement partway through a round. If you’re newer to crochet in general, a plain worsted-weight acrylic in a light or medium color is the easiest option for actually seeing your stitches clearly while you work through the crown shaping.
Yarn: Worsted weight (#4), approximately 150–180 yards
Hook: 5 mm (H), plus a smaller 4 mm (G) hook for the ribbed band
Notions: Yarn needle for weaving in ends
Gauge: 4 rounds of double crochet = approximately 3 inches in diameter, worked in the round
The crochet beret pattern
Crown (Rounds 1–4): Start with a magic ring.
Round 1: work 8 double crochet into the ring, join with a slip stitch.
Round 2: 2 dc in every stitch around (16 stitches).
Round 3: 2 dc in next stitch, dc in following stitch repeat around (24 stitches).
Round 4: 2 dc in next stitch, dc in next 2 stitches repeat around (32 stitches).
Widening the crown (Rounds 5–9): Continue increasing by 8 stitches per round, spacing the increases evenly and moving them one stitch further apart each round, the same increase logic used in any flat circular motif. By round 9 you should have around 72 stitches and a flat circle roughly 10–11 inches across — this is the widest point of the crochet beret, the part that gives it its characteristic slouch.
Decreasing toward the band (Rounds 10–13): Switch direction: instead of increasing, decrease 8 stitches per round using an invisible decrease (insert your hook into the front loops of two consecutive stitches, yarn over, and pull through both at once). Work these decrease rounds until you’re back down to roughly 40–44 stitches, which pulls the wide crown in toward head width.
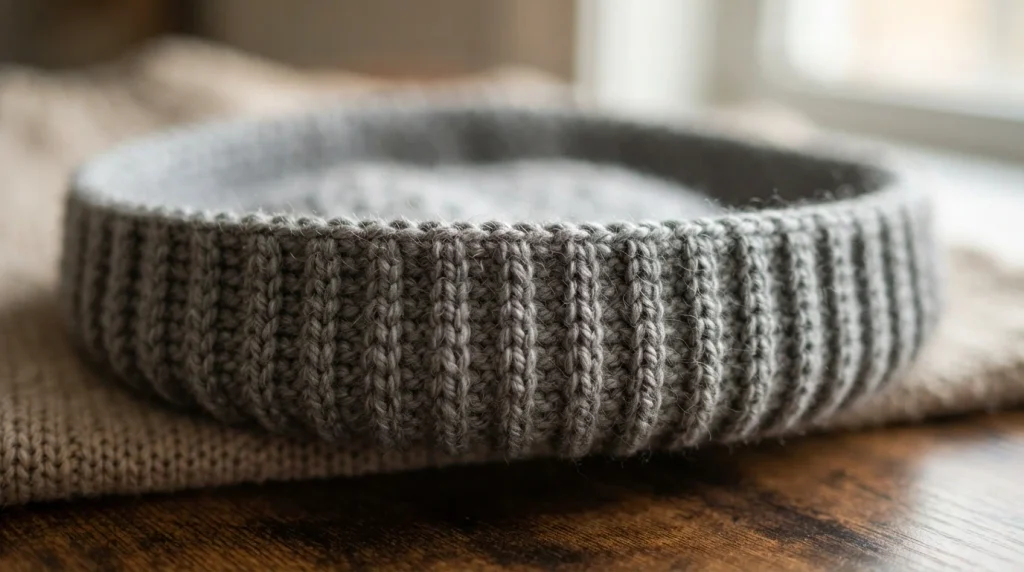
The band (Rounds 14–17): Switch to the smaller 4 mm hook. Work in the back loop only for these rounds to create horizontal ribbing that grips the head. Continue in single crochet, back loop only, without further increasing or decreasing, for 4 rounds, or until the band measures about 1.5–2 inches deep. Fasten off and weave in ends.
Sizing this crochet beret pattern up or down
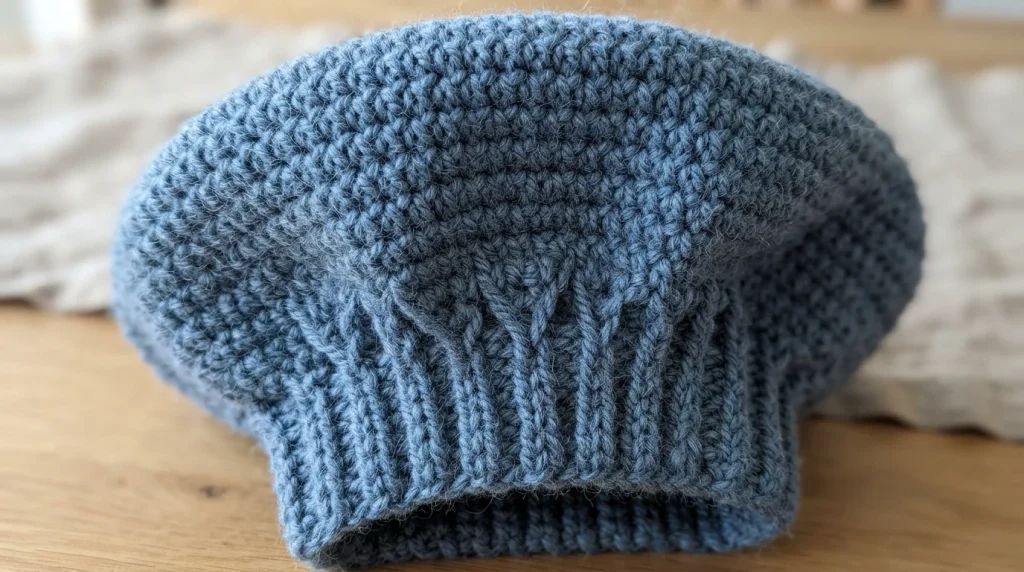
The stitch counts above are built around an average adult head circumference of about 22 inches. To resize:
- Smaller (child or petite adult, ~20 inches): Stop the crown increases one round earlier (round 8 instead of round 9), and reduce the band rounds to 3.
- Larger (~23–24 inches): Add one more increase round before switching to decreases, and work the band for 5 rounds instead of 4 for a snugger fit at a wider crown.
Because the whole pattern is built from repeated, countable rounds rather than fixed shaping, resizing is mostly a matter of adding or removing a round rather than recalculating the whole structure.
Getting the fit right
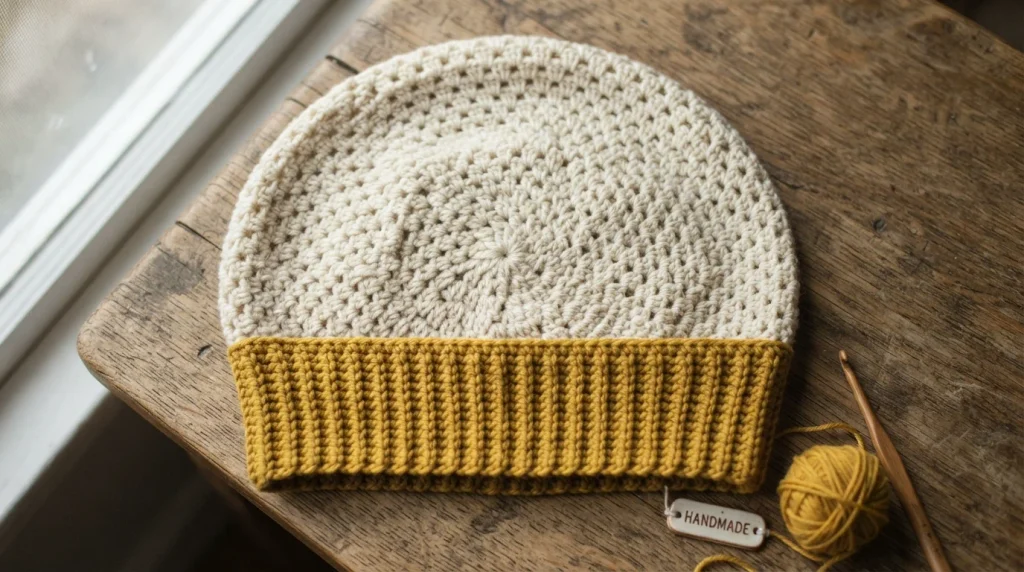
The single biggest fit issue with this shape is a crown that’s too wide relative to the band, which makes it sag flat instead of holding a slouch. If that happens, the fix is usually to work one more decrease round before starting the band, pulling the transition in a bit tighter. The opposite problem — a beret that sits like a tight cap with no slouch at all — usually means the crown wasn’t widened enough before the decreases started.
Blocking helps more with this crochet beret pattern than with most hat shapes. Once finished, dampen the piece and lay it over a plate or bowl close to the intended head size while it dries; this sets the crown’s curve and makes the slouch look more deliberate than a beret that’s simply air-dried flat.
Variations worth trying
Once the base construction feels comfortable, a few simple changes give you a noticeably different crochet beret without altering the stitch counts at all:
- Color-blocked crown: Switch yarn color at the start of round 5, when the crown widening begins. Because each round is a clean join-and-turn point, color changes land neatly at the round seam rather than mid-stitch.
- Chunky yarn version: Bulky weight (#5) yarn on a 6.5–7 mm hook produces a faster, more structured beret — expect to use roughly 130–150 yards instead of the 150–180 yards the worsted-weight version needs, since bulkier stitches cover more ground per round.
- Plain band instead of ribbed: If the back-loop-only ribbing feels fiddly at first, a plain single crochet band (both loops, not just the back loop) still holds the beret on your head — it just won’t have the same horizontal texture or quite as much stretch.
- Slouchier crown: Adding one extra increase round before switching to decreases produces a noticeably deeper slouch, useful if you prefer the beret to drape rather than sit close to the head.
Caring for a finished crochet beret
Most worsted-weight acrylic or acrylic-blend yarns used for this kind of hat are machine washable on a gentle cycle, but check the yarn label specifically — wool or wool-blend yarns generally need hand washing to avoid felting. Lay the beret flat to dry rather than hanging it, since a wet piece can stretch out of shape if left hanging by the band. If the slouch flattens out after washing, a quick reblock over a bowl close to head size restores the original shape.
Common mistakes to avoid
A few issues account for most of the fit and shape problems people run into with this construction. Uneven increase spacing is the most common one — if the increases in rounds 5 through 9 aren’t spread evenly around each round, the crown comes out slightly cupped or wavy instead of lying flat, since one section of the circle grows faster than the rest. Counting stitches at the end of every round, rather than only checking every few rounds, catches this early enough to fix without ripping back far.
Switching to the smaller hook too late is another common one. The band needs a tighter gauge than the crown to actually grip the head, so if you forget to change hooks before round 14, the band comes out the same looser gauge as the crown and the beret won’t hold its position without slipping back.
Finally, working the band in both loops instead of the back loop only isn’t wrong, exactly, but it does change the result — the ribbed texture and the extra stretch that make the band comfortable both come specifically from working back-loop-only, so skipping that step gives you a plainer, slightly less elastic edge.
Tools and setup before you start
Beyond the hook and yarn, a few small details make this crochet beret pattern easier to work through cleanly. A stitch marker — even a scrap of contrasting yarn looped through a stitch — is genuinely useful for marking the start of each round, since this pattern is worked in continuous spirals rather than joined rounds with a chain-3 turning point. Without a marker, it’s easy to lose track of exactly where a round began, especially once you’re past round 10 and stitch counts are changing every round.
A yarn needle for weaving in the two ends (the starting tail and the fastening-off tail) is the only other notion this project needs. Because the whole piece is worked in one continuous spiral with no seams to sew, there’s no need for stitch markers beyond that single round-tracking one, and no blocking pins are strictly required — though pinning the crown flat over a bowl while it dries, mentioned below, does help the shape set more predictably.
More Patterns to Try Next
FAQs
Can I make this crochet beret pattern without an invisible decrease?
Yes — a standard double crochet decrease (working two stitches together in the usual way) works fine; the invisible decrease just produces a slightly smoother, less bulky transition at the point where the crown narrows.
What yarn weight works best for a crochet beret?
Worsted weight is the most forgiving starting point, but DK or bulky both work with the hook-size adjustments noted above — the Craft Yarn Council’s chart is the reference to check if you’re substituting a yarn not listed here.
Why does my crochet beret look more like a beanie than a beret?
This almost always means the crown wasn’t widened enough before the decrease rounds started — a beret needs a noticeably wider flat section than a beanie does before it narrows back down to head width.
How long does a crochet beret pattern like this take to finish?
For someone comfortable with basic stitches, this one is a realistic one- to two-evening project, since it’s a small piece worked entirely in continuous rounds with no seaming.
Can I add a decorative pin or brooch to a crochet beret?
Yes — unlike a newborn or child’s item, an adult crochet beret doesn’t carry the same small-parts safety concerns, so a pin, button, or brooch attached to the band is a straightforward way to personalize the finished piece.
Does the yarn weight change how slouchy the finished crochet beret looks?
Somewhat — a lighter DK-weight version tends to drape and slouch more naturally, while a bulky-weight beret holds its shape more stiffly and looks more structured than slouchy, even with the same stitch counts.

Leave a Reply