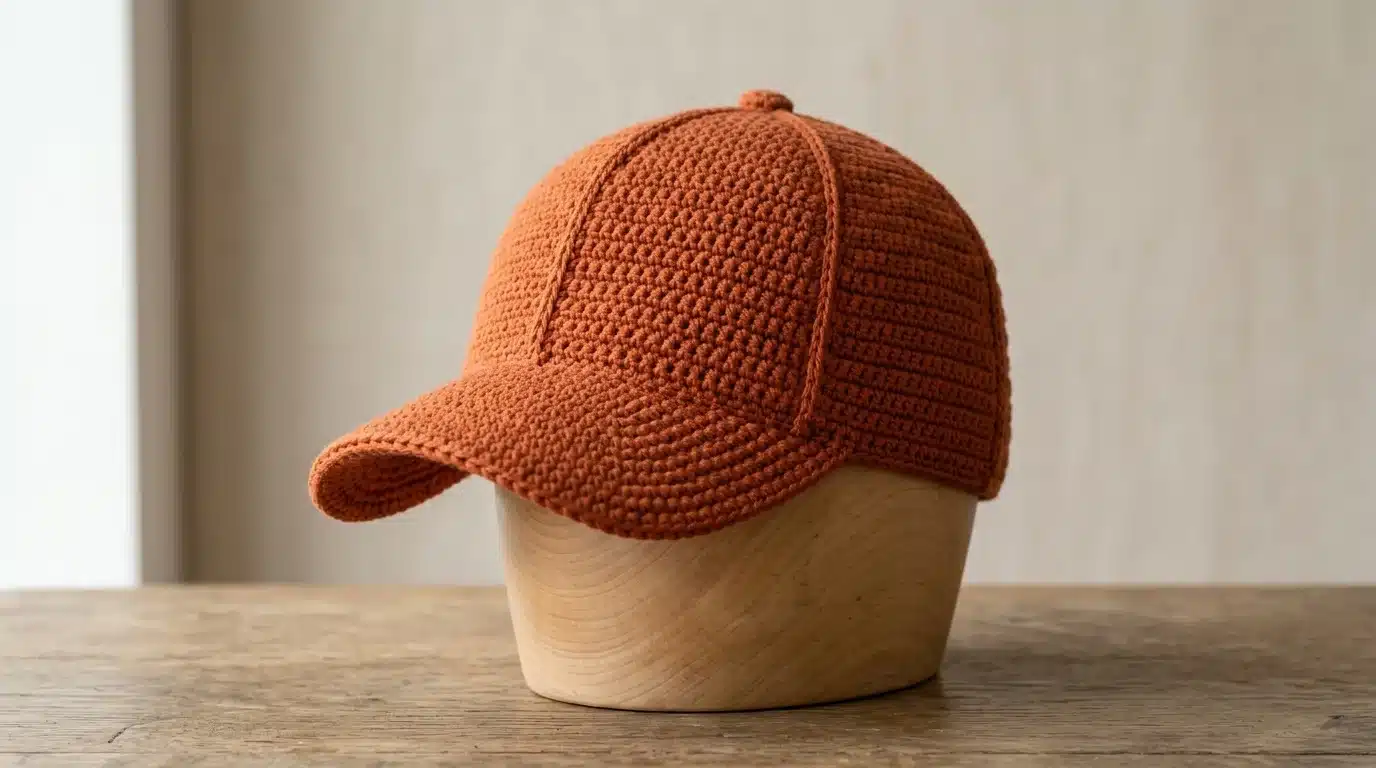
A cap isn’t just a hat with a different name. A beanie is a round, brimless dome that grips the head through stretch alone. A baseball cap has a flat brim, a more structured crown built from panels rather than continuous rounds, and usually some kind of adjustable closure at the back rather than relying on stretch to hold its shape. The construction has almost nothing in common between the two.
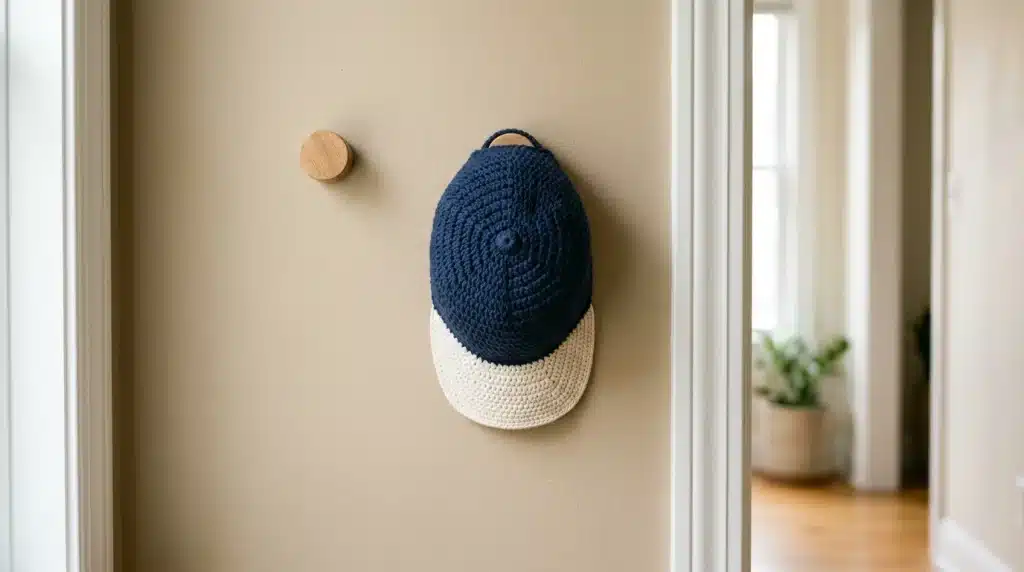
That structure is also what makes a crochet pattern cap trickier than a beanie on a first attempt. The brim needs stiffening to hold flat instead of curling. The panels need to match each other closely enough that the crown doesn’t look lopsided. This post covers a full baseball-style crochet cap, the materials that actually give it structure, and the specific points where a first build tends to go wrong.
Table of Contents
What an Easy Crochet Pattern Cap Actually Needs?
Structure is the entire challenge here, and it starts with yarn choice. A soft, drapey yarn that works beautifully in a beanie will leave a cap’s brim floppy and its crown shapeless. Cotton or a cotton blend holds a crisper stitch definition than wool or acrylic, which is part of why so many crochet caps default to cotton even in cooler climates.
The brim specifically almost always needs some kind of stiffening beyond the yarn alone. A double or triple layer of single crochet, a plastic canvas insert cut to shape, or a purpose-made brim stiffener such as buckram — the same traditional stiffening fabric long used in millinery for exactly this reason — are the common approaches. Skipping this step is the single most common reason a finished cap’s brim droops instead of holding flat.
Hook size here follows the yarn weight as usual, but err toward a slightly smaller hook than you might for a beanie in the same yarn. A denser fabric holds the panel shaping and brim structure far better than a looser one, even at the cost of a bit more rigidity in the finished piece.
Gauge swatching matters just as much for a cap as for any fitted garment, though what you’re checking differs a little: alongside the usual stitch-and-row count, test how firm the fabric feels once it’s off the hook, since that firmness is what determines whether the crown panels will hold their shape once assembled.
Crochet Pattern Cap Ideas: Panel Crown vs. Round Crown
Most crochet caps handle the crown one of two ways, and the choice affects both the look and the difficulty of the build.
A six-panel crown, the style closest to a traditional sewn baseball cap, joins six wedge-shaped panels at a center point. This gives the most authentic structured-cap silhouette, with visible seam lines radiating from the crown’s peak, but it asks for more precision — each panel needs to match the others closely in both width and row count.
A modified round crown, worked in continuous rounds like a beanie but stopped and shaped earlier with a stiffened brim attached separately, is the simpler build. It doesn’t have the same faceted look as a true six-panel cap, but it’s a far more approachable starting point if seaming six matching panels feels intimidating.
For a first crochet pattern cap, the modified round crown is the easier route in by a good margin. The six-panel build is worth attempting once you’ve got a feel for how much structure the brim and crown actually need.
Sizing Guide for a Crochet Pattern Cap
Head circumference is really the only measurement that matters for the crown, though cap-specific fit also depends on brim depth and the adjustable closure at the back, both of which give some built-in flexibility a beanie’s fixed circumference doesn’t have.
| Size | Head Circumference | Notes |
|---|---|---|
| Child | 19–20 in | Shallower crown depth, smaller brim |
| Adult (average) | 21–23 in | Standard brim and crown depth |
| Adult (large) | 23–24 in | Slightly deeper crown for comfort |
Because most caps include an adjustable back closure — a strap, a tie, or a simple button-and-loop — exact sizing matters a little less here than it does for a fixed-circumference beanie. Building slightly smaller than the target measurement and relying on the closure to fine-tune the fit is a common, reliable approach.
How to Make a Crochet Pattern Cap: Step-by-Step Construction?
This covers the modified round crown method, since it’s the more approachable build for a first structured cap. Exact stitch and row counts depend on your gauge and target size, so the steps below focus on the construction logic.
Starting the crown. Begin with a magic ring and increase in rounds the same way you would for a beanie, but stop the increases earlier than a beanie pattern would — a cap’s crown sits shallower and flatter on the head than a beanie’s does, so the flat circle at the top of the crown should end up smaller in diameter.
The crown depth. Once the increases stop, work even rounds down to your target crown depth, which runs shallower than a beanie’s body section — usually just enough to comfortably cover the top and sides of the head before the brim takes over.
Building the brim. Crochet the brim as a separate, flat, curved piece, working in rows rather than rounds, shaping it with short rows or partial rounds to create the classic curved wedge shape of a cap brim. This is the piece that needs stiffening, whether through a doubled layer of stitches or an inserted stiffener.
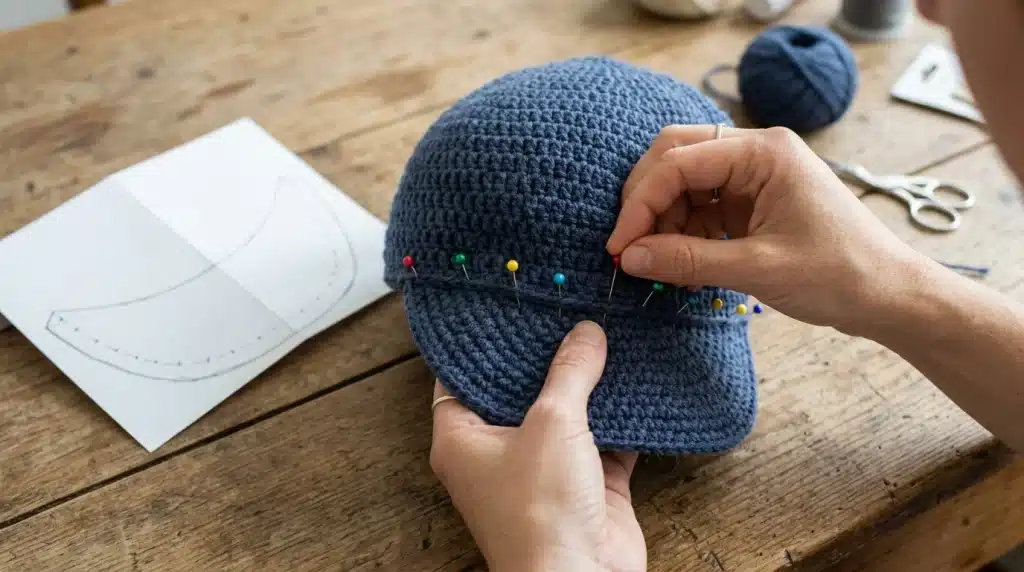
Attaching the brim. Position the brim at the front of the crown’s lower edge, centering it carefully before pinning, then single crochet or seam it in place. Getting the center point right here matters more than almost any other step — an off-center brim throws off the whole look of the finished cap.
The back closure. Leave a gap at the back of the crown’s lower edge, and finish each side with either a crocheted strap and button, a simple tie, or a smaller adjustable tab, depending on how much fine-tuning you want built into the fit.
Simple Crochet Pattern Cap Fixes for Common Problems
The brim droops instead of holding flat. This is almost always a stiffening issue rather than a shaping one. Doubling the stitch layers in the brim, or adding a cut plastic canvas insert between two crocheted layers, resolves this more reliably than simply working a tighter gauge on its own.
The crown looks lopsided or one panel sticks out. More common with the six-panel build, when the panels weren’t measured against each other before joining. Laying all six panels flat side by side and comparing width and row count before seaming catches a mismatched panel early.
The cap sits too high or too low on the head. Usually a crown depth issue rather than a head-circumference problem. If the crown depth runs too shallow, the cap perches high; too deep, and it sits low enough to cover the ears in a way a proper cap normally doesn’t.
The brim isn’t centered once attached. This comes down to marking the true center point on both the crown and the brim before pinning, rather than eyeballing the placement during attachment. A simple fold-in-half crease on both pieces marks the center reliably.
Crochet Pattern Cap Tips for a More Structured Look
A contrasting color panel or a small applied patch at the crown’s center point gives the finished cap a more intentional, less plain look, and it’s a common way to dress up an otherwise simple six-panel build.
Blocking the crown pieces before assembly, especially for the six-panel method, helps each panel hold a consistent shape going into the seaming stage, which matters more here than it would for a single continuous beanie crown.
A slightly firmer gauge throughout, not just at the brim, gives the whole cap a longer-lasting structured look, since a looser overall gauge tends to relax and lose shape with wear in a way a firmer fabric resists.
FAQs
Can I make a crochet cap without any brim stiffener at all?
Yes, though the brim will have noticeably less structure and may fold or droop with wear. A tightly worked double layer of single crochet, even without an added stiffener, holds up better than a single loose layer, so it’s worth trying that first if you’d rather avoid extra materials.
Why does my cap’s brim curl upward at the edges instead of lying flat?
This usually points to a stitch pattern with natural curl, like plain single crochet worked too loosely, combined with insufficient stiffening. A firmer gauge on the brim specifically, plus an edging round worked through the back loop only, both help counteract the curl.
Can I convert a beanie pattern into a structured cap instead of starting from scratch?
Not easily. A beanie’s continuous, brimless construction and a cap’s paneled crown with a separate stiffened brim are different enough structurally that adapting one into the other usually takes more rework than building the cap from its own measurements and steps.
What’s the easiest way to add an adjustable back closure?
A simple crocheted tie, made from two chains long enough to knot behind the head, is the least fiddly option for a first cap. Button-and-loop closures look more polished but require matching buttonhole placement precisely, which is worth saving for a second attempt once the rest of the construction feels familiar.

Leave a Reply