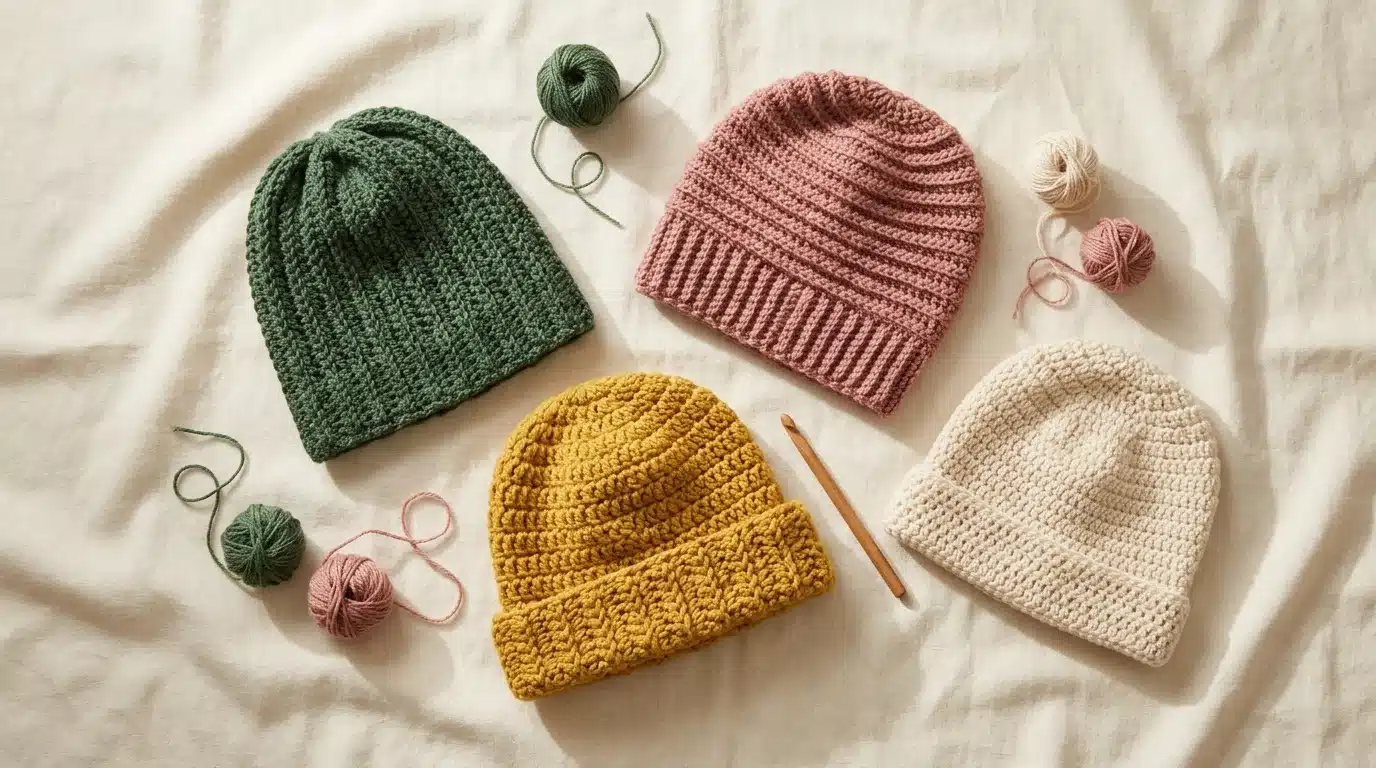
Easy crochet hat patterns usually start with a magic ring and a crown that grows by a set number of stitches every round. That works, but it’s also where most first-timers quit: the ring slips, the counts drift, and the circle ruffles. The four hats here sidestep that. Two have no increases at all, one starts with a plain chain ring, and the last is a simple beanie for when you’re ready to try the standard crown.
You’ll need only chain, slip stitch, single crochet, and half double crochet, all in US terms. If any abbreviation is unfamiliar, EasyCrochet’s abbreviation guide lists the common ones. The counts below are calculated from the gauge, not test-crocheted, so swatch first.
Table of Contents
What makes these easy crochet hat patterns easy?
Most of the difficulty in a hat is the crown. A flat circle needs increases spaced evenly, and a miscount shows as a ruffle or a bowl. A tube has no crown to shape: it’s the same number of stitches every round, so you only need to count once. Closing the top by gathering it takes about a minute. These easy crochet hat patterns trade a perfectly rounded top for much simpler counting, and with a pom-pom or a folded brim, nobody notices the difference.
Materials and gauge
Yarn: Worsted weight (#4), about 100 to 140 yards
Hooks: 5.5 mm (I) for the body, 5 mm (H) for ribbing
Notions: Stitch marker, yarn needle, tape measure
Gauge: 13 half double crochet stitches and 9 rounds = 4 inches
Not sure which hook suits your yarn? EasyCrochet’s hook size guide is a clear reference. Choose a soft, smooth acrylic for your first hat, since it’s forgiving and washable.
Sizes
Measure around the head at the forehead, then crochet a hat 1 to 2 inches smaller. The heights come from EasyCrochet’s hat size chart, and our crocheted hat patterns free guide has counts for babies and toddlers too.
| Size | Hat circumference | Stitches (tube hat and chain ring) | Finished height |
|---|---|---|---|
| Child | 18–19″ | 60 | 8″ |
| Adult small | 20″ | 64 | 8.5″ |
| Adult medium | 21″ | 68 | 9″ |
| Adult large | 22″ | 72 | 9.5″ |
1. The cinch-top tube hat
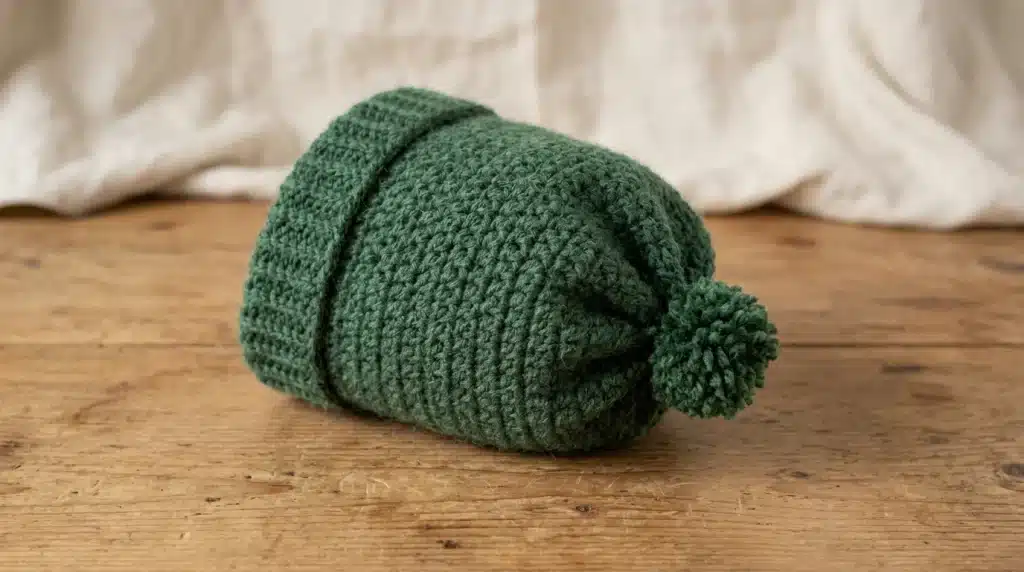
This is the easiest hat there is: a tube, closed at the top.
Skill level: Absolute beginner
Chain the stitch count for your size, using a slightly larger hook than normal so the chain isn’t tight. Join with a slip stitch to the first chain, checking that the chain isn’t twisted. Round 1: chain 1, single crochet in every chain, join. Rounds 2 to 6: chain 1, single crochet in the back loop only of every stitch, join. This is your ribbed brim, about 1.5 inches. Switch to the 5.5 mm hook. Now work rounds of half double crochet (chain 2, hdc in every stitch, join) with no increasing or decreasing.
Keep going until the tube, laid flat and not stretched, is about 2 inches longer than the finished height in the table. Gathering the top shortens the tube, so it’s better to be a little long. Cut the yarn, leaving a 12-inch tail. Thread it on a needle, run it through the front loop of every stitch in the last round, and pull tight. Pass the needle through the gathered center a few times to secure it, then weave in the end. Add a pom-pom if you like. If the hat ends up too tall, fold the brim up once to shorten it.
2. The sideways ribbed hat
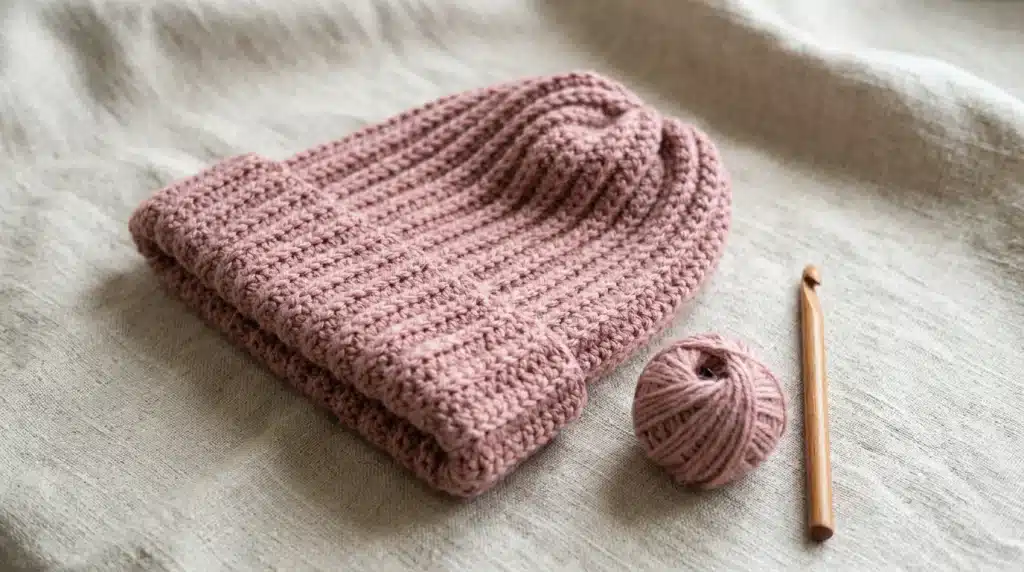
This one is worked in rows, then seamed, and it gives you vertical ribs that look like knitting.
Skill level: Beginner
Chain 33 for child, 34 for small, 36 for medium, or 37 for large, which sets the hat’s height (the table height plus about 2 inches for gathering). Work half double crochet in the third chain from the hook and across. Chain 2, turn, and work half double crochet in the back loop only of every stitch across. Repeat that row. Working in the back loop creates ridges, and because the rows run around the head, the ridges end up running up the hat.
Don’t count rows. Instead, keep measuring. The ribbing stretches, so the unstretched strip should be shorter than the head: about 16 inches for child, 17 for small, 18 for medium, and 19 for large. Wrap the strip around the head to check, since it should meet with a little stretch. Then fold the strip so the two short ends meet and seam them with whip stitch or slip stitch. Gather one long edge the way you did for the tube hat, and the other long edge becomes the brim. Because there’s no separate brim to work, this is the quickest hat to finish if you like the ribbed look.
3. The chain-ring beanie
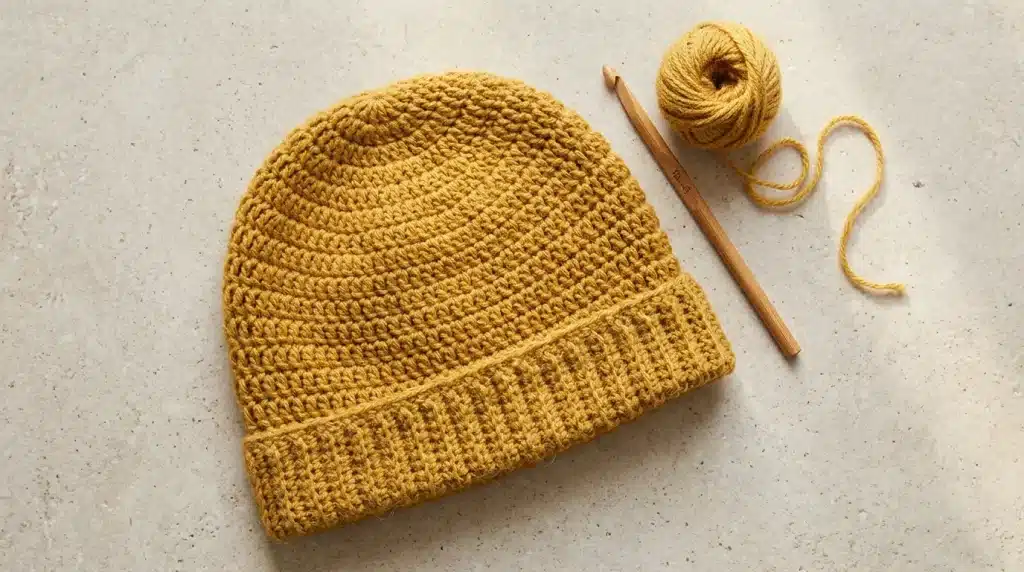
If you’d like a rounded crown but find the magic ring fussy, start with a chain ring instead.
Skill level: Beginner
Chain 4 and join with a slip stitch to form a ring. Round 1: chain 2, work 8 half double crochet into the center of the ring, and join. Round 2: chain 2, 2 half double crochet in every stitch (16 stitches). From round 3, the rule is simple: in round number n, work half double crochet in the next (n minus 2) stitches, then 2 half double crochet in the next stitch, and repeat around. Round 3 gives 24, round 4 gives 32, and each round adds 8. Stop at the stitch count in the table for your size. Our crocheted hat patterns free post shows the extra rounds for stitch counts that aren’t multiples of 8.
Work even rounds until the hat is the right height, minus 1.5 inches. Then switch to the 5 mm hook and add the ribbed brim from pattern 1.
4. The standard beanie, once you’re ready
When the three hats above feel comfortable, move on to the standard method with a magic ring. Our five crochet patterns for beanies covers the classic version, a folded brim, a slouchy one, and a textured hat, and our six adult hat styles adds a bucket hat and an ear-flap version. If you want practice with the magic ring first, the small stuffed shapes in our easy crochet animals post are a good way to do it.
Before you start: the basics
Joining a round. At the end of a round, slip stitch into the first stitch of that round, not into the turning chain. The turning chain at the start does not count as a stitch.
Marking the start. Clip a marker into the first stitch of each round so you always know where you are.
Counting. Count your stitches at the end of the first few rounds. If you get the number right three times, the pattern is probably going right.
Tension. Hold the yarn so it moves smoothly. If the stitches are very tight, go up a hook size. If they’re floppy, go down.
Troubleshooting a first hat
The brim curls up: Work the ribbing with the smaller hook and in the back loop only. A brim worked at the same size as the body won’t hold.
The hat is too loose: It’s usually gauge. Make a new hat with fewer stitches, or use the smaller hook for the whole hat.
The gathered top has a hole: Pass the needle through the center a few more times, and pull the yarn tight from the inside before you secure it.
The crown ruffles or cups (chain-ring beanie): If it ripples, you increased too many stitches. If it forms a bowl that curves inward, you increased too few. Check the stitch count against the table.
Yarn and care
Acrylic is the best starting yarn for easy crochet hat patterns because it’s cheap, soft, and machine washable on a gentle cycle. Wool is warmer but may need hand washing. Whatever you use, lay the hat flat to dry, because a wet hat can stretch out of shape if you hang it.
FAQs
Which of these easy crochet hat patterns should I make first?
The cinch-top tube hat. It has no shaping, and you only need to count once.
Can I make these easy crochet hat patterns in bulky yarn?
Yes, but use a larger hook and a lower stitch count, because bulky yarn has fewer stitches per inch. Swatch to find your own count.
Do easy crochet hat patterns need a pom-pom?
Not at all. A pom-pom hides the gathered top on the tube hat, but a folded brim or a plain cinched top also looks fine.
How long does the first hat take?
The tube hat usually takes an evening or two. The sideways hat is similar, and the chain-ring beanie takes a little longer, because of the crown rounds.

Leave a Reply