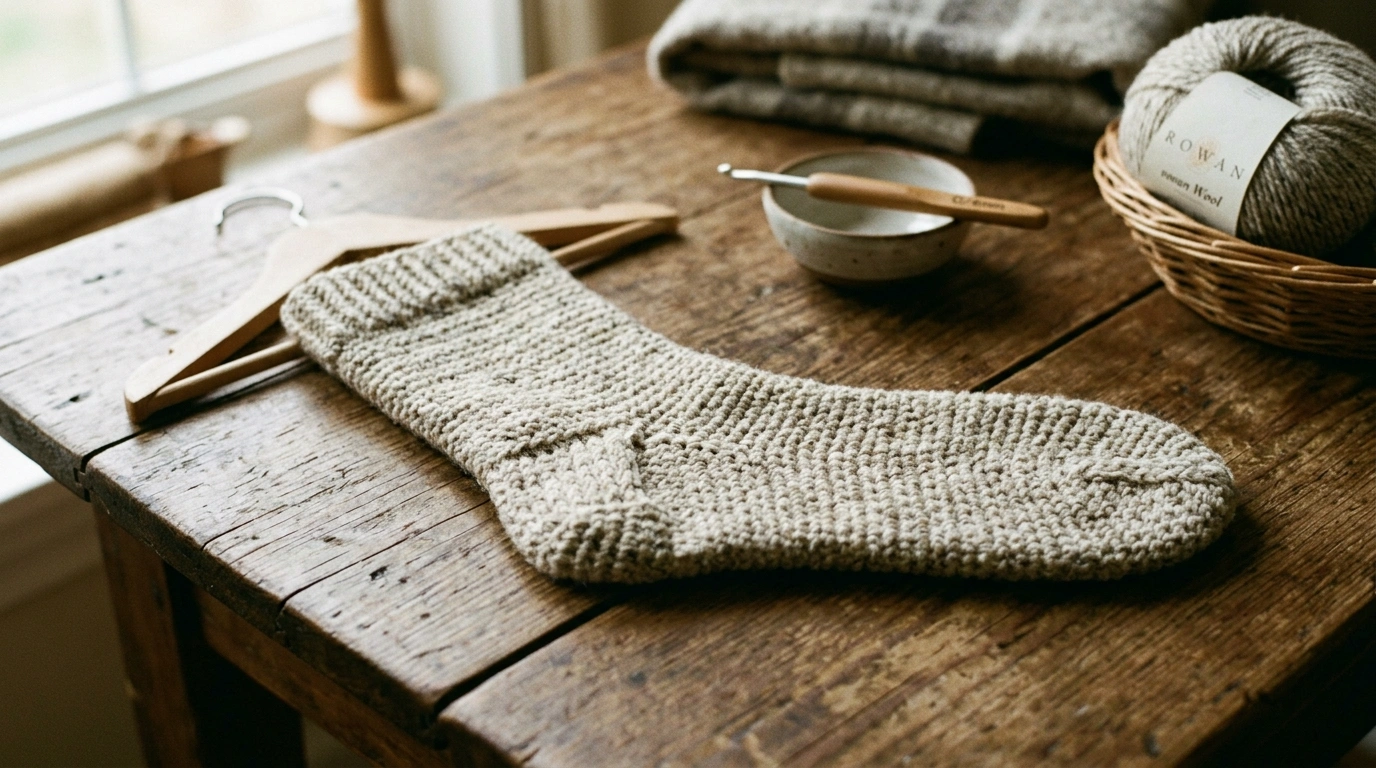
A crochet socks pattern asks for something most other accessories on this site don’t: real stretch combined with real durability, since a sock takes more repeated stress at the heel and toe than almost anything else you’d wear. A sock has been a functional, foot-hugging garment for thousands of years, and crochet’s naturally denser fabric compared to knitting means getting that same comfortable stretch takes a bit more deliberate stitch choice than simply following any stitch pattern you already know.
That difference in fabric behavior is exactly why a plain single crochet sock, worked the same way you might approach a pair of fingerless gloves, often comes out stiffer than expected. This post walks through a full crochet socks pattern, the stitch and yarn choices that keep the fabric wearable, and the heel-turning technique that trips up most first attempts.
Table of Contents
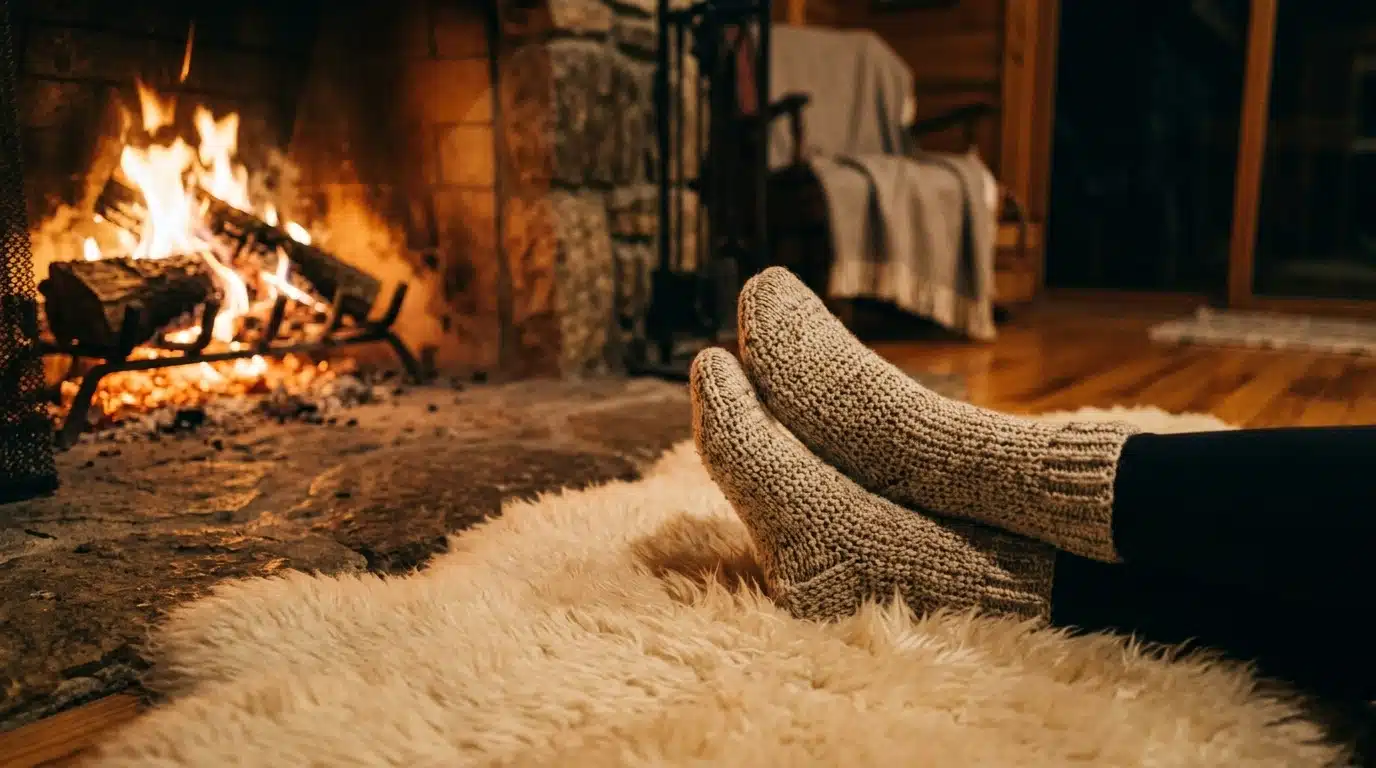
What a Comfortable Crochet Socks Pattern Actually Needs
Fingering or sock-weight yarn is the traditional choice for socks, mostly because it’s thin enough to fit inside regular shoes without bulk. A lot of crochet-specific sock patterns use a worsted weight instead, trading some of that sleekness for stitches that are easier to see and count while you’re learning heel construction, which makes it the more practical starting point for a first attempt.
Stitch choice matters more here than yarn weight does. Plain single crochet, worked at a standard gauge, produces a fabric with very little give, which is part of why crochet socks have a reputation for feeling stiffer than their knitted counterparts. Working in the back loop only, or using a stitch with natural elasticity like half double crochet worked through both loops but at a slightly looser gauge, closes most of that gap.
A wool or wool-blend sock yarn, ideally with a bit of nylon reinforcement, holds up to the friction and repeated stretching a sock endures far better than pure cotton or acrylic. If you already know your way around basic single crochet, the stitch itself isn’t the hard part of this project — the shaping around the heel is.
Crochet Socks Pattern Ideas: Toe-Up vs. Cuff-Down
Most crochet socks patterns commit to one of two overall directions, and the choice affects both the construction order and how easy it is to try the sock on as you go.
Toe-up construction starts with a small closed toe, increases outward to the full foot width, works straight through the foot and heel, then finishes with a ribbed cuff at the top. This makes it easy to try the sock on repeatedly as you approach the finished length, since the working end is always the open cuff rather than a section buried partway through the piece.
Cuff-down construction starts at the top with the ribbed cuff, works down through the leg, turns the heel, then finishes at the toe. This is closer to how many traditional sock patterns are written, and it front-loads the trickiest part — the heel — earlier in the project rather than saving it for near the end.
For a first crochet socks pattern, toe-up is generally the more forgiving choice, mainly because trying the sock on as you go catches sizing issues early, before you’ve invested time in a heel and full leg.
Sizing Guide for a Crochet Socks Pattern
Foot length and foot circumference are the two measurements that matter most, alongside ankle circumference if the sock extends past the ankle into a longer leg.
| Size | Foot Length | Foot Circumference |
|---|---|---|
| Small | 8.5–9 in | 7.5–8 in |
| Medium | 9–10 in | 8–8.5 in |
| Large | 10–11 in | 8.5–9 in |
Because socks need real negative ease to stay up and avoid bagging at the ankle, size the circumference slightly smaller than the actual foot measurement — roughly half an inch smaller is typical, depending on how much stretch your chosen stitch pattern has.
How to Make a Crochet Socks Pattern: Toe-Up Construction
This covers the logic for a toe-up build, since it’s the friendlier starting point. Exact stitch and row counts depend on your gauge and target size, so the steps below focus on the construction method.
Step 1: Start the toe. Begin with a small chain or magic ring, and increase evenly on both sides until the toe reaches your target foot circumference from the sizing table above.
Step 2: Work the foot. Continue in the round with no more shaping until the piece reaches your target foot length, minus the length you plan to use for the heel.
Step 3: Turn the heel. This is the step most first attempts stumble on. Work short rows over roughly half the total stitches, turning before the end of each row and gradually working fewer stitches each pass, then reverse the process to build back out to the full stitch count. The Craft Yarn Council’s project instructions for a heel turn are worth reviewing if you want to see the short-row shaping demonstrated in full before attempting your own.

Step 4: Rejoin and work the leg. Once the heel is turned and the full stitch count is restored, continue working even rounds up the leg to your desired length.
Step 5: Add the ribbed cuff. Switch to a stretchy rib stitch — front-post and back-post double crochet, or half double crochet through the back loop only — for the last inch or two, so the top of the sock grips the leg rather than sliding down.
Step 6: Fasten off and try it on. Weave in ends, and try the finished sock on before considering the project done, checking specifically that the heel sits where it should rather than riding too high or low.
Common Problems in a Crochet Socks Pattern
The heel doesn’t sit in the right place. This almost always comes down to starting the heel turn too early or too late relative to actual foot length. Measure your own foot from toe to the back of the heel before deciding how many rounds to work before starting the short rows, rather than relying on a generic row count.
The fabric feels stiff or board-like once worn. This points to a gauge that’s too tight for the stitch pattern chosen. Sizing up the hook slightly, or switching to a stitch with more natural give, both help without needing to change the actual pattern’s shaping.
The cuff doesn’t stay up. Usually the ribbed section wasn’t worked long enough, or wasn’t tight enough at gauge to actually grip the leg. An extra half inch of ribbing, or a slightly smaller hook for just that section, both address this.
The heel turn leaves visible holes at the corners. This is a common short-row issue, caused by not properly working into the gap stitch where the turns happen. Working an extra decrease or a single crochet directly into that gap on the following round closes it cleanly.
Crochet Socks Pattern Tips for a Better Finished Pair
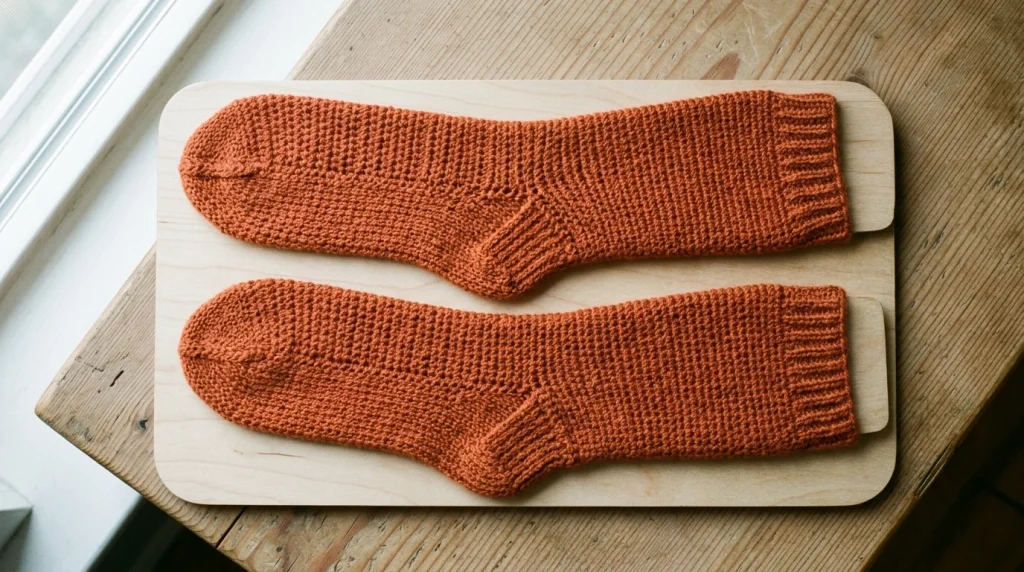
Blocking a finished sock over a sock blocker, or even a rolled towel shaped to the right dimensions, helps even out the stitch definition and can reveal sizing issues before you commit to a second matching sock.
Weighing your yarn before starting the second sock, based on how much the first one used, is the most reliable way to make sure both socks end up an identical length rather than running short partway through the pair.
FAQs
Is turning a heel really as hard as people say?
It’s more about unfamiliarity than actual difficulty. Short-row shaping uses skills you likely already have — just applied in a back-and-forth pattern rather than a full round. A small practice swatch of just the heel turn, before starting the real sock, makes the technique click faster than learning it on the actual project.
Can I make crochet socks without turning a heel at all?
Yes, with an afterthought heel, worked by leaving a section of contrasting waste yarn in place of stitches early on, then coming back to add the heel shaping into that gap once the rest of the sock is finished. It’s a reasonable alternative if short-row shaping feels intimidating on a first attempt.
Why do my crochet socks feel less stretchy than knitted ones?
Crochet stitches are inherently denser than knit stitches worked at a comparable gauge, which is a structural difference rather than a mistake in your work. Choosing a stitch with built-in elasticity, like back-loop-only single crochet or a ribbed pattern, narrows that gap considerably.
How much yarn does a typical pair of crochet socks need?
This varies by size, yarn weight, and stitch density, so there’s no single reliable figure without those specifics. Weighing your finished first sock and doubling it gives a far more accurate total than any generic number.
Can I adjust this pattern for ankle socks instead of a full-length pair?
Yes — simply shorten the leg section worked after the heel turn, and finish with the ribbed cuff closer to the ankle rather than continuing further up the leg. The toe, foot, and heel construction stay exactly the same regardless of how tall the finished leg ends up being.

Leave a Reply