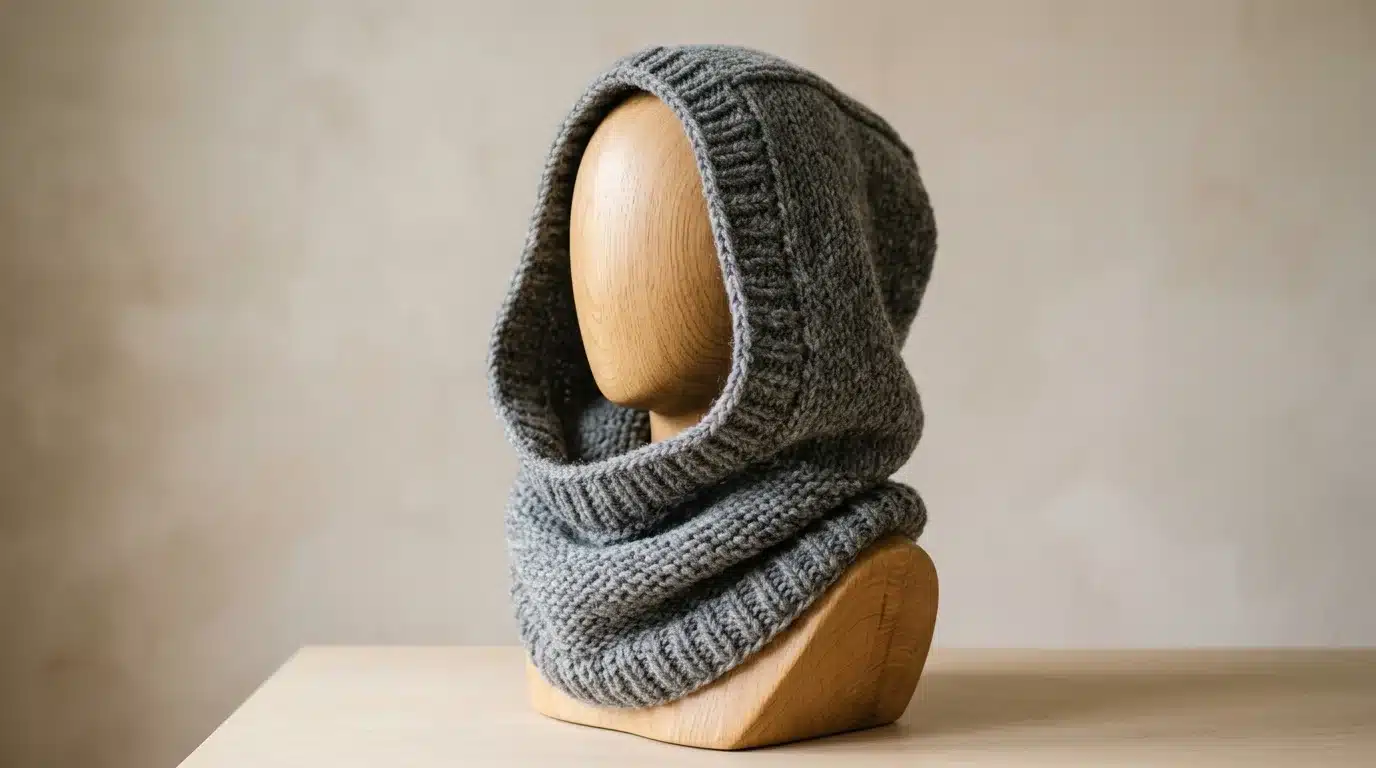
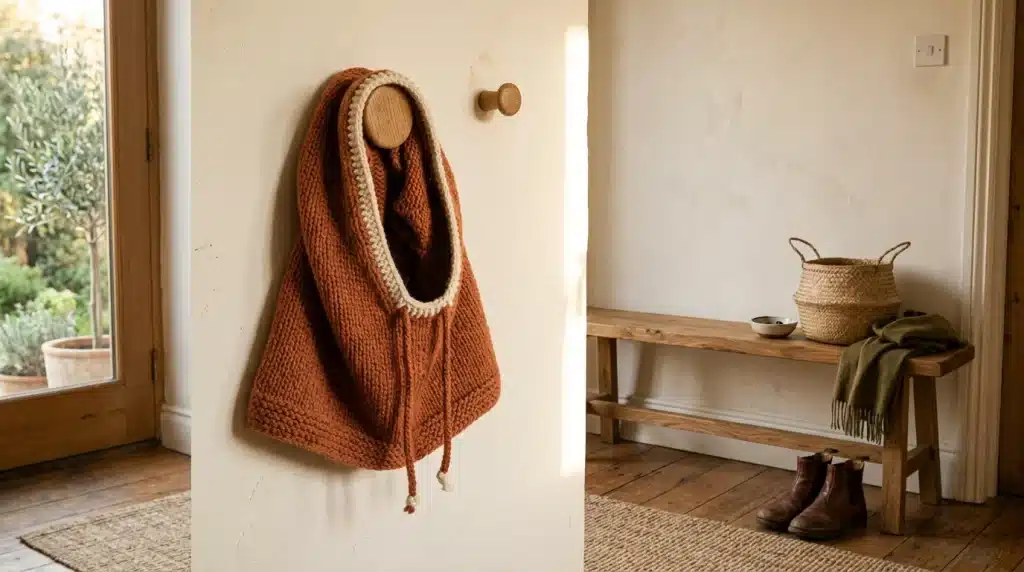
A hooded cowl solves a problem plain scarves and cowls never quite fix — it covers the neck and gives you a hood to pull up when the wind picks up, without the bulk of a full hooded sweater. It sits somewhere between a snood and a small poncho, built as one continuous piece rather than two separate accessories stitched together.
Because the hood and the cowl body share the same opening, the fit between them matters more than it does on either piece alone. A hood that’s too small pulls the whole cowl tight around the neck. One that’s too large flops instead of sitting close to the head. This post walks through a full hooded cowl pattern, the gauge and construction choices behind it, and where a first attempt tends to go wrong.
Table of Contents
What an Easy Hooded Cowl Needs Before You Start
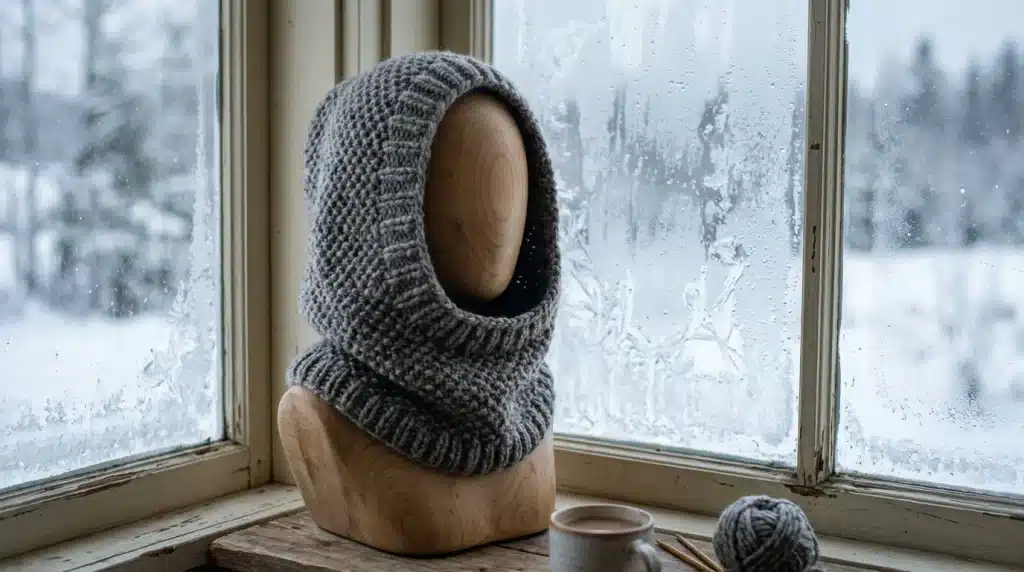
Gauge matters here in a way that’s easy to underestimate, since a hooded cowl is really two different fit zones joined at one opening: a looser, draping cowl body and a more fitted hood. A swatch tells you how the fabric behaves in general, but it won’t tell you how the two sections will read differently once they’re shaped.
Bulky or chunky weight yarn is the most common choice for this project, mostly because a hood needs some structure to hold its shape rather than collapsing flat against the shoulders. A worsted weight works too, just expect a lighter, less structured hood that needs a firmer gauge to compensate.
Hook size follows the yarn weight as usual, though it’s worth swatching the hood section specifically before committing to the whole piece. A hood worked too loosely droops instead of framing the face, and that’s a much harder problem to fix after the fact than a slightly snug cowl body.
Wool or a wool blend holds its shape at the hood better than most acrylics, since the fiber has a bit more structure on its own. If you’re using pure acrylic for washability, a slightly firmer gauge helps make up the difference.
Hooded Cowl Ideas: Two Ways to Build the Hood
Most hooded cowl patterns handle the hood-to-cowl transition one of two ways.
A hood worked as a folded rectangle, seamed at the top. The hood starts as a flat rectangle, folded in half, and seamed along the top edge to create the peaked shape. This is the simpler of the two builds, since there’s no shaping to track — just a fold and a seam once the rectangle reaches the right dimensions.
A hood shaped with gradual decreases toward the crown. Rather than a flat fold, the hood narrows gradually as it’s worked upward, similar to how a hat crown comes to a point. This gives a rounder, more fitted hood shape, but it takes more attention to keep the decreases even on both sides so the finished hood doesn’t lean or twist.
For a first hooded cowl, the folded-rectangle method is the more forgiving choice. Any small measurement error is easy to spot and adjust before the seam goes in, whereas a shaping mistake in the decrease method might not show until the hood is already halfway built.
Sizing Guide for a Hooded Cowl
Two measurements decide the fit: neck circumference for the cowl body, and head circumference plus a bit of extra room for the hood, since it needs to sit over the head without pressing tight against it.
The cowl body typically sits with a bit of negative ease at the neck, similar to a snug scarf, while the hood needs positive ease — extra room — since it has to accommodate hair and sit comfortably rather than clamp down.
| Size | Neck Circumference (Cowl) | Head Circumference (Hood) |
|---|---|---|
| Petite/Teen | 14–16 in | 20–21 in |
| Adult (average) | 16–18 in | 21–23 in |
| Adult (roomy fit) | 18–20 in | 23–24 in |
As always, these numbers are a starting point rather than a fixed rule. If you have a hood-style garment that already fits well, measuring that directly beats working from a chart alone.
How to Make a Hooded Cowl: Step-by-Step Construction
This walks through the folded-rectangle hood method, joined to a simple cowl body worked in the round. Exact stitch and row counts depend on your gauge and the size you’re targeting from the table above, so what follows is the construction logic rather than fixed numbers.
The cowl body. Chain to your target neck circumference at gauge, join into a round, and work even rounds in your chosen stitch until the cowl reaches your preferred depth — anywhere from 6 to 10 inches is typical, depending on how much coverage you want over the chest and shoulders.
Marking the hood opening. Along the top edge of the cowl, mark off a section equal to roughly your head circumference measurement. This is where the hood will attach, so getting this span right matters more than almost any other single measurement in the pattern.
Building the hood rectangle. Separately, crochet a rectangle roughly the width of the marked opening and about 10 to 12 inches tall, adjusting the height based on how much coverage you want from crown to nape. Fold the rectangle in half and seam along the top edge to create the peaked hood shape.
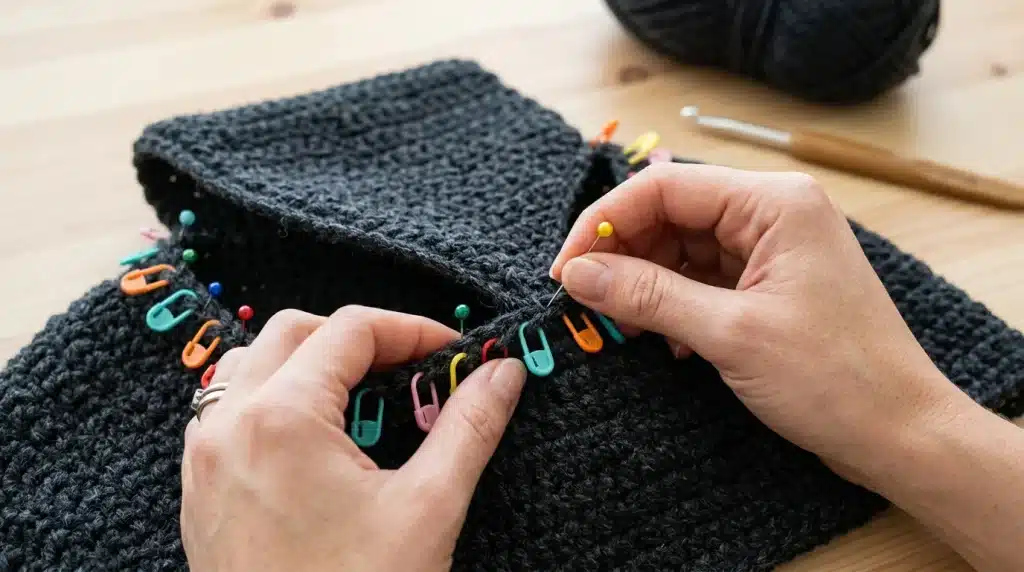
Attaching the hood. Pin or clip the open edge of the folded hood to the marked section on the cowl body, matching the centers first, then working outward toward the edges to keep the attachment even. Seam or single crochet the hood in place along this join.
Finishing. Work a round of single crochet around the entire outer edge of the piece — cowl hem and hood opening both — to clean up any unevenness from the seaming and give the whole piece a tidier finished edge.
Simple Hooded Cowl Fixes for Common Problems
The hood flops instead of sitting up properly. Almost always a gauge issue rather than a construction one. A firmer gauge, or switching to a slightly bulkier yarn for just the hood section, gives it the structure needed to hold its shape.
The cowl feels too tight once the hood is attached. This usually means the marked hood opening was too narrow relative to the cowl’s total circumference, pulling the surrounding fabric taut. Remeasure the opening against your actual head circumference before attaching, rather than eyeballing the span.
The hood sits crooked or twists to one side. Common with the shaped, gradually-decreased hood method specifically, when the decreases weren’t kept even on both sides. Counting stitches after every decrease round, not just at the end, catches this early.
The finished piece feels heavy or bulky around the neck. This points to a yarn weight mismatch between the hood and cowl sections, or a cowl body worked deeper than actually needed. Scaling back the cowl depth, or using a lighter yarn for the body while keeping a sturdier one for the hood, both help balance the weight.
Hooded Cowl Tutorial Extras: Adjusting the Style
A drawstring threaded through the hood opening, cinched with a simple tie or toggle, lets the hood sit looser when down and pull snug when up — a small addition that changes how functional the piece feels without changing the core construction.
Adding a border of contrasting color around the hood’s face opening frames the face and gives the piece a more finished, less improvised look, especially useful if the main body is worked in a single solid color.
A shorter cowl body, closer to 5 or 6 inches, reads more like an infinity scarf with a hood attached, while a longer body closer to 10 or 12 inches starts to function more like a small poncho — the same construction logic applies either way, just adjust the body length in the steps above.
Faqs: Hooded Cowl
Can I make a hooded cowl without any seaming at all?
Mostly, yes — the cowl body itself has no seam at all if worked in the round, though the hood typically still needs one seam along its top edge to create the peaked shape, regardless of which hood-building method you use.
Why does my hood keep sliding off instead of staying up?
This is almost always a sizing or gauge issue rather than something wrong with the pattern itself. A hood built with too much ease, or in a very slippery or lightweight yarn, has less to grip against hair and shoulders. A slightly snugger fit and a yarn with a bit more texture both help it stay put.
Can I add pockets to a hooded cowl pattern like this one?
Not directly to the cowl body itself, since it’s a closed loop rather than a flat panel, but a small patch pocket can be seamed onto the outside of the cowl after the main construction is finished, the same way you’d add a pocket to any other closed piece.
What’s the difference between a hooded cowl and a poncho with a hood?
Mainly proportion and coverage. A hooded cowl stays close to the neck and upper chest, while a hooded poncho extends further down the body and often includes some kind of arm opening or drape over the shoulders — the hood construction itself is similar in both, but the body underneath is built very differently.
Is bulky yarn actually necessary, or can I use worsted weight for the whole thing?
Worsted weight works fine, especially for the cowl body, but expect to compensate with a firmer gauge on the hood specifically if you want it to hold its shape rather than sit flat. Bulky yarn simply makes that structure easier to achieve without extra effort.

Leave a Reply