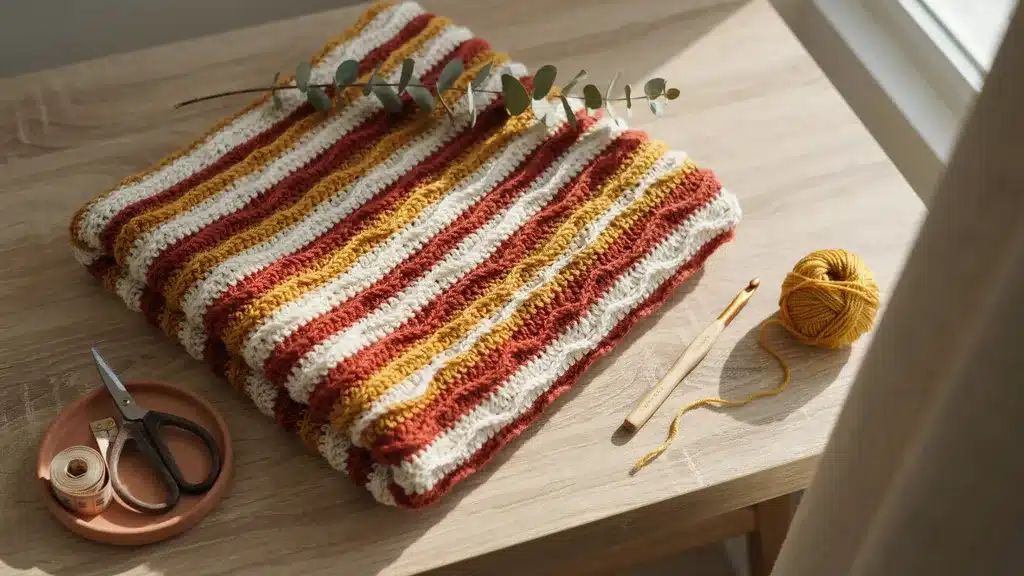
A crochet blanket is one of the first big projects most crocheters attempt, and it’s a good one to start with. There’s no shaping to worry about, mistakes are easy to spot and fix before they get buried under fifty more rows, and the finished piece actually gets used instead of sitting in a drawer. This covers what you need before you start, how to work the blanket itself row by row, which patterns are worth trying first, and how to fix the problems that show up most often.
Contents
What You Need to Crochet a Blanket
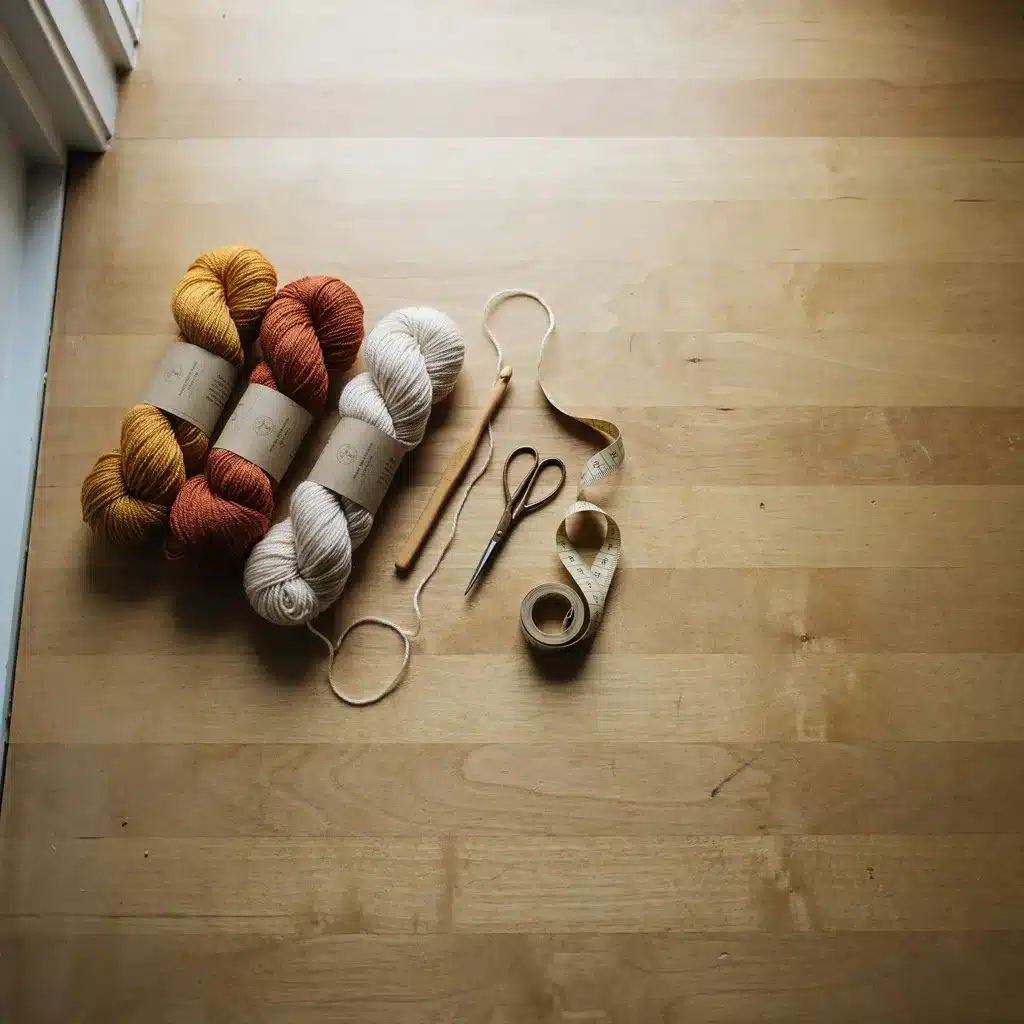
The three things that actually matter are yarn, a hook that matches it, and enough of both to finish. A worsted weight yarn (labeled 4 on the yarn label’s standard weight system) paired with a 5.0mm to 5.5mm hook is the easiest combination to learn on. It’s thick enough that you can see your stitches clearly and thin enough that a blanket doesn’t take a year to finish.
Yarn amount depends on size, but as a rough baseline, a baby blanket takes about 1,000 to 1,400 yards, a lap blanket takes 1,800 to 2,400 yards, and a full throw takes 3,000 yards or more. Buying an extra skein beyond what a pattern calls for is worth it. Running out three rows from the end and not being able to match the dye lot is a common and avoidable frustration.
Beyond yarn and a hook, you’ll want a pair of scissors, a yarn needle for weaving in ends, and something to measure your work with. Most blanket patterns are worked to a width rather than a stitch count, so a tape measure gets used constantly.
Choosing a Stitch for Your Crochet Blanket
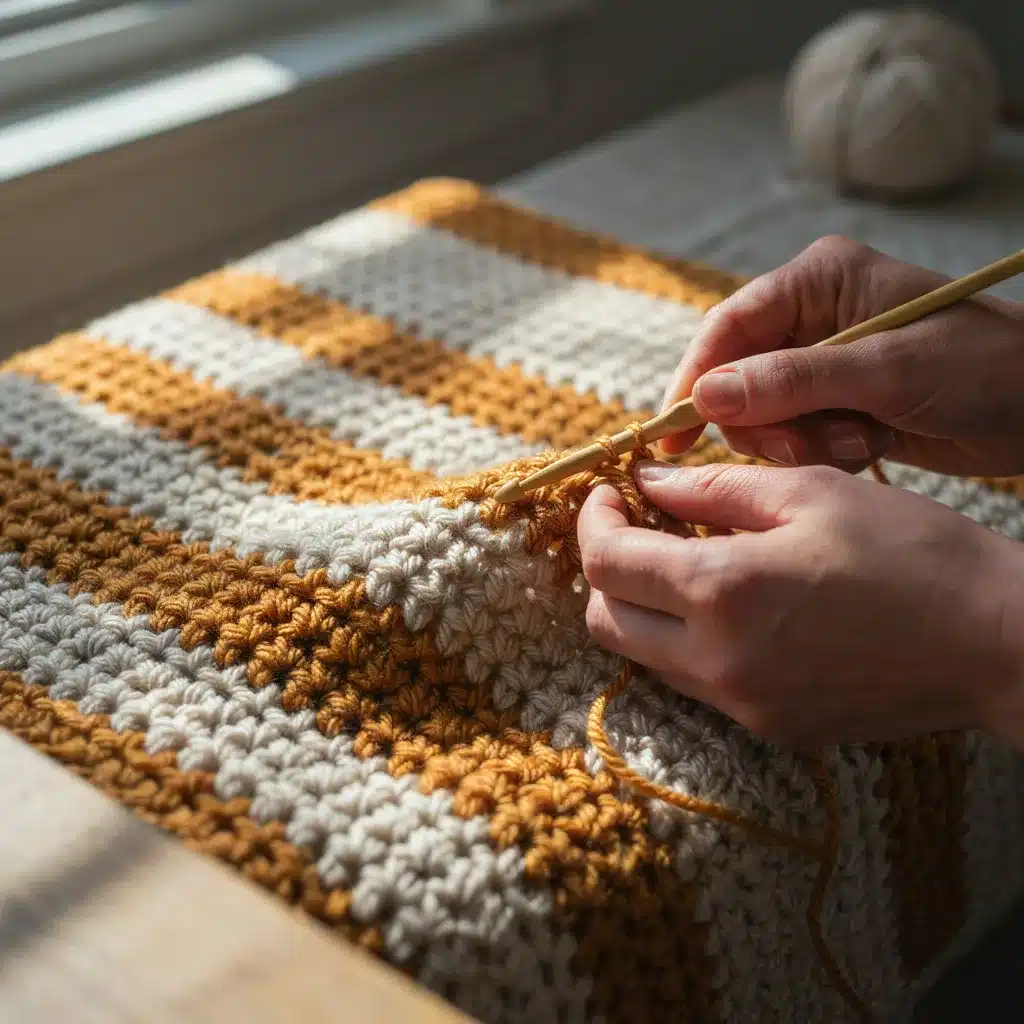
The stitch you pick affects how the blanket looks, drapes, and how fast it works up. Single crochet makes a dense, sturdy fabric with almost no stretch, which is durable but can feel stiff for something you want to snuggle under. If you haven’t worked this stitch yet, our guide on the single crochet stitch covers it step by step.
Half double crochet is a common middle ground for blankets. It’s taller than single crochet, so rows go faster, and the fabric has more drape without being loose. Double crochet goes even faster and drapes more, but the fabric is looser and shows tension mistakes more easily, which makes it a little less forgiving for a first blanket.
Granny squares deserve a separate mention, because they don’t behave like a straight rows-and-columns fabric at all. Each square is worked in rounds and joined afterward, so a mistake on one square stays contained to that square instead of unraveling the whole project. It’s a genuinely good option if working the same long row for hours doesn’t appeal to you.
How to Crochet a Blanket, Step by Step
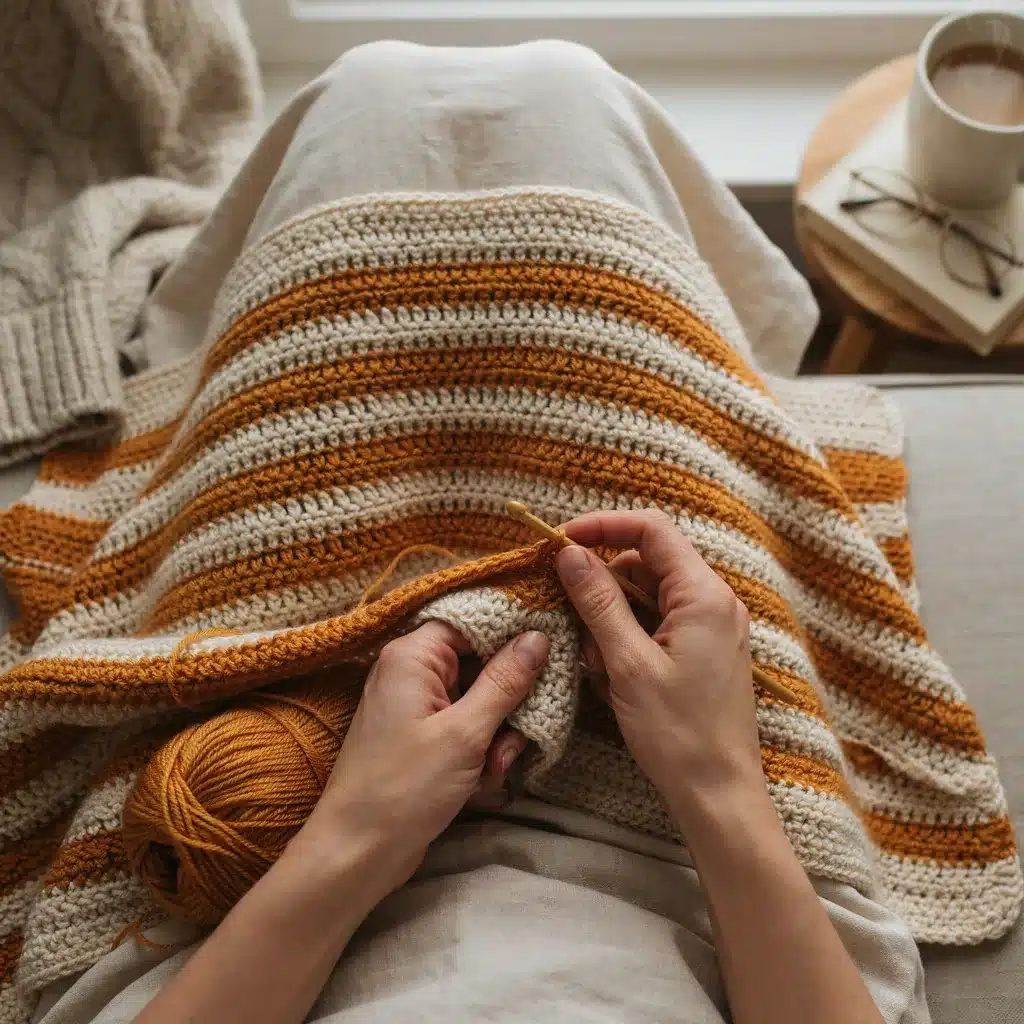
Once you’ve picked a stitch and yarn, the blanket itself comes down to five parts.
- Work a gauge swatch first. Chain 20 and work about 15 rows in your chosen stitch. Measure it. This tells you how your actual tension compares to the pattern’s, which matters more for a blanket than almost anything else. A small tension difference multiplied across 60 inches of width adds up fast.
- Chain your foundation row. Most blanket patterns tell you how many stitches to chain for the width you want. If you’re improvising your own size, use your gauge swatch to calculate roughly how many stitches per inch you’re getting, then multiply that by your target width.
- Work your first row into the chain, using whichever stitch you picked. Count your stitches at the end of the row against your starting chain count. This is the easiest point to catch a miscount, before you’ve built ten more rows on top of it.
- Turn and repeat, working the same stitch across every row. Chain the appropriate turning chain for your stitch (one for single crochet, two for half double crochet, three for double crochet) before starting each new row, and count your stitches every few rows so a dropped or added stitch doesn’t drift the edges out of line.
- Keep going until the blanket reaches your target length, checking your measurement periodically rather than only at the very end. It’s much easier to add a few rows partway through than to notice you’re short after binding off.
Crochet Blanket Patterns Worth Trying First
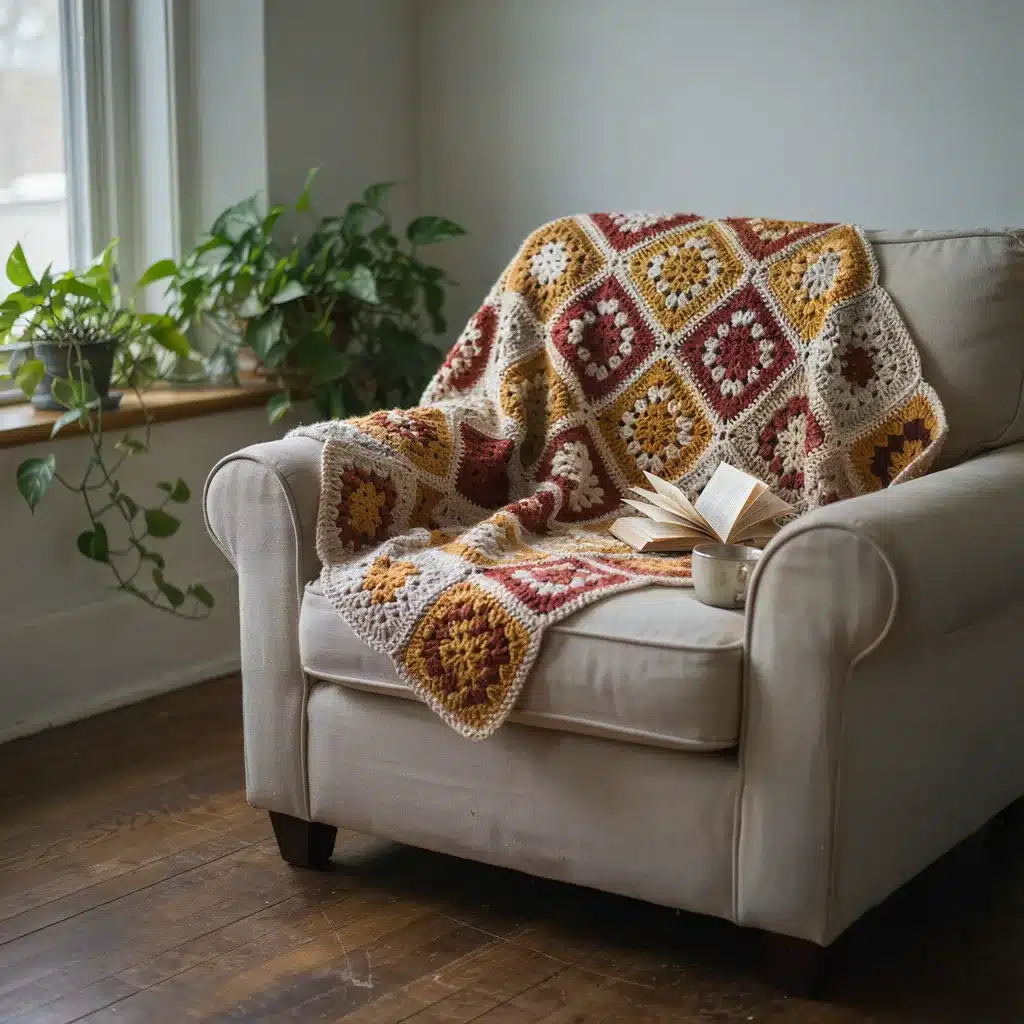
A handful of crochet blanket patterns come up again and again as first projects, mostly because they’re forgiving of uneven tension and don’t require much counting.
The granny square blanket is the most commonly recommended first pattern, and for good reason. Each square is small, quick to finish, and mistakes stay contained to a single square instead of spreading across the whole piece.
Corner-to-corner (C2C) blankets are worked diagonally in blocks rather than straight rows, which makes them a good option if you want a pattern with visible structure without switching colors constantly. It reads a little confusing from a written pattern the first time, but the motion itself repeats the same few steps.
The ripple or chevron blanket uses increases and decreases across the row to create a zigzag pattern. It’s one of the more visually rewarding easy crochet blanket patterns for beginners, because the shape reads clearly even in a single color.
If you’d rather skip patterns with shaping entirely, a simple striped rectangle in single or half double crochet is about as forgiving as it gets. It’s not the most exciting project, but it’s an honest way to practice consistent tension before moving to something with more structure.
Sizing a Crochet Blanket
Blanket sizes vary by intended use more than by any fixed standard, but a few rough ranges help before you start. A baby blanket usually falls between 30 and 36 inches square. A lap blanket, meant to cover your legs while sitting rather than the whole bed, runs about 36 by 48 inches. A throw blanket for a couch is typically 50 by 60 inches, and a full bed-sized blanket starts around 60 by 80 inches and goes up from there depending on the bed.
If you’re not following a written pattern, decide on a size before you start rather than guessing as you go. Blankets are one of the few crochet projects where “just wing it” tends to result in something noticeably lopsided.
Fixing Common Crochet Blanket Mistakes
A few problems show up in almost every first blanket, and all of them have a straightforward fix.
Tight tension, or a stitch like single crochet that naturally curls when the fabric is small, is behind most curling edges. Blocking the finished piece, which means dampening it and pinning it flat until it dries, corrects most curling that doesn’t resolve on its own as the blanket gets bigger.
If a blanket ends up wider at one end than the other, stitches were almost certainly added or dropped somewhere along the way, usually from missing the last stitch in a row or accidentally working into the turning chain. Counting your stitches every few rows catches this early, before you’re forty rows in and can’t find where it happened.
Running out of yarn mid-row is easier to prevent than to fix after the fact. Weigh or measure your remaining yarn against how much a row is using once you’re a third of the way through a skein, so you have time to order more before you’re stuck without a matching dye lot.
Visible banding, where some rows look noticeably tighter than others, is just uneven tension between rows. It’s common early on and mostly resolves with practice. Working at a consistent pace rather than rushing through rows helps more than trying to consciously control tension stitch by stitch.
Finishing a Crochet Blanket
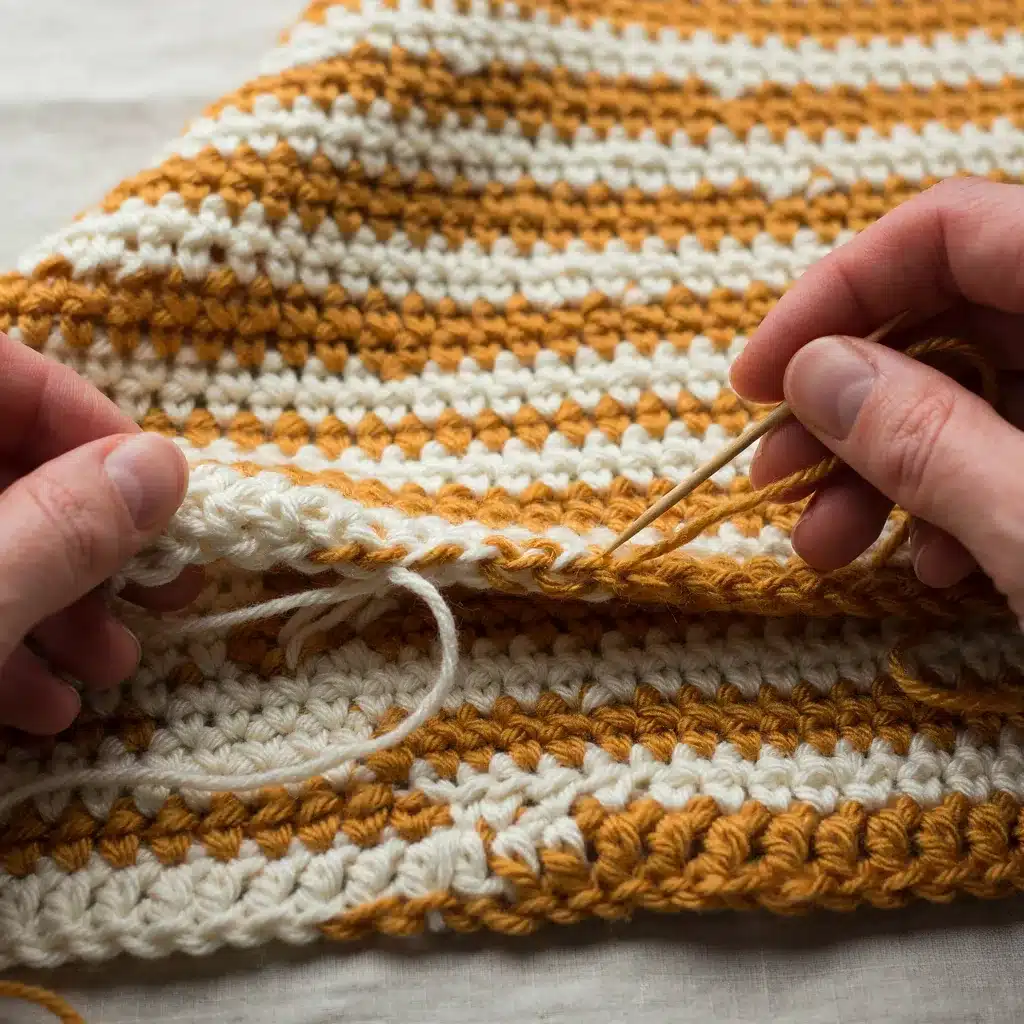
Once you’ve reached your target length, bind off by cutting the yarn (leaving a six-inch tail) and pulling it through the last loop on your hook. Weave in every loose end with a yarn needle, running it through several stitches on the back of the work so it won’t pull free with washing.
Many crochet blankets benefit from a simple border, even just a round or two of single crochet around the whole edge. It squares up any slightly uneven sides and gives the blanket a finished look. From there, blocking is optional but helps anything that isn’t lying flat, especially blankets crocheted in stitches with more drape.
Frequently Asked Questions
How much yarn do I need to crochet a blanket?
It depends on size and stitch, but a baby blanket typically needs 1,000 to 1,400 yards, a lap blanket needs 1,800 to 2,400 yards, and a full throw needs 3,000 yards or more. Buying one extra skein beyond the estimate is a reasonable safety margin.
What is the easiest stitch for crocheting a blanket?
Single crochet and half double crochet are both good starting points. Single crochet is denser and slower to work up, while half double crochet goes faster and drapes a little better, which makes it a common pick for a first full-size blanket.
How long does it take to crochet a blanket?
A baby blanket in a fast stitch can take a weekend to a week of regular evening work. A full throw or bed-sized blanket usually takes several weeks to a couple of months for a beginner, depending on how much time you put in and how fast your chosen stitch works up.
Are crocheted afghans the same as crochet blankets?
Yes. Afghan is an older term for the same thing, a crocheted or knitted blanket, and you will still see it used in a lot of pattern names and older instruction books even though blanket has become the more common word.

Leave a Reply