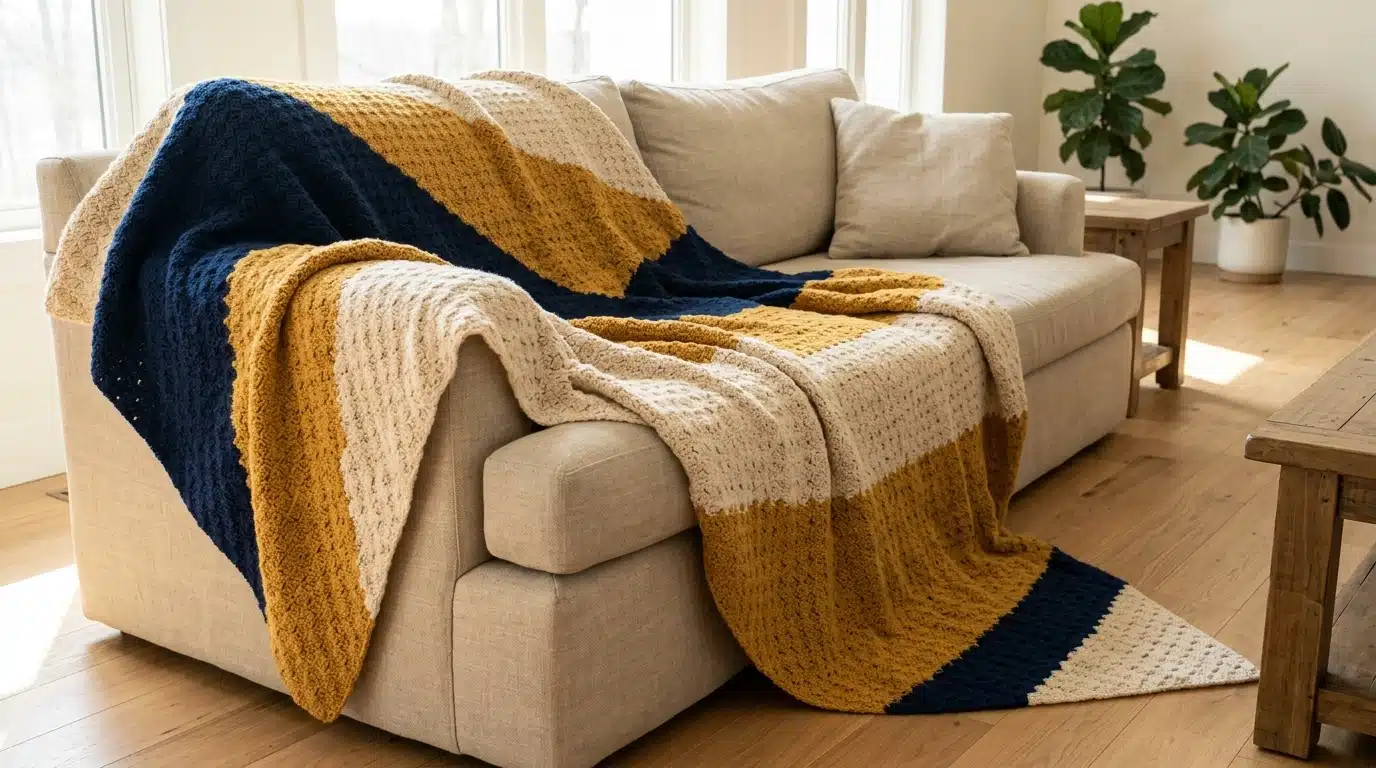
This crochet throw blanket pattern uses corner-to-corner construction, usually shortened to C2C — a technique that builds the blanket diagonally, one small block at a time, starting from a single corner and growing outward until it reaches full width, then narrowing back down to the opposite corner. It’s a genuinely different construction method from a plain straight-row blanket or a motif-joined afghan, and it’s worth learning on its own terms.
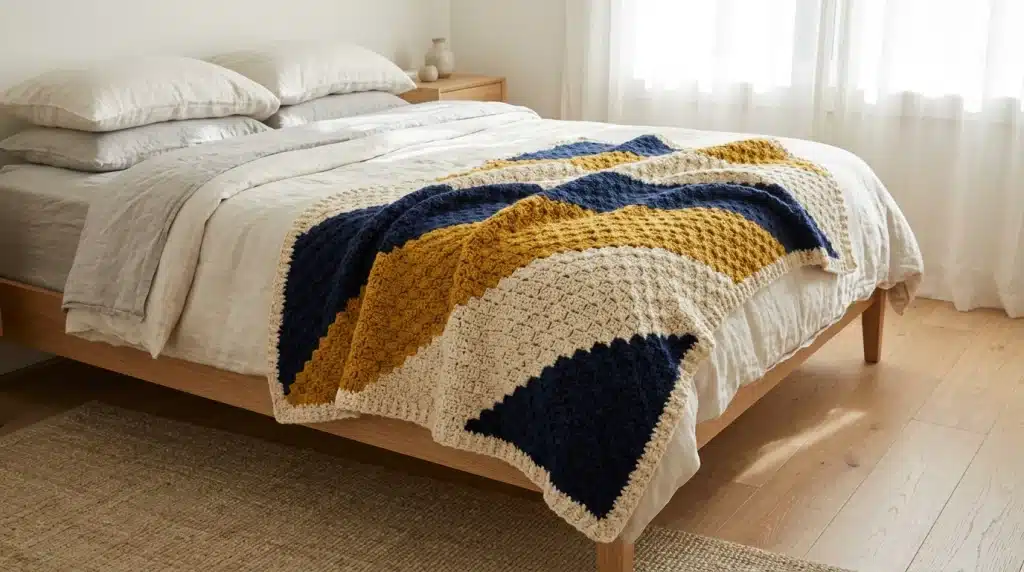
What makes C2C worth the learning curve is the blocky, pixelated look it produces, which lends itself naturally to stripes, color graphs, or even simple pictures worked directly into the fabric. This post walks through a full C2C build for a throw-sized blanket, the materials that make the technique easier to pick up, and where a first attempt tends to go sideways.
Table of Contents
The 3 Materials This Crochet Throw Blanket Pattern Actually Needs
Worsted weight yarn is the standard starting point for this crochet throw blanket pattern, mainly because the individual blocks are large enough to see and count clearly while you’re still learning the rhythm of increasing and decreasing. A finer yarn works fine once you’re comfortable with the technique, but it makes early mistakes harder to spot.
Acrylic or a wool-acrylic blend holds up well to the washing a throw blanket gets regularly, and it’s usually the more budget-friendly option for a project that needs a fair amount of yardage across a full-size piece. If you’re working in more than one color, buy a bit extra of your main color, since C2C tends to use more of the background shade than the accent colors in most graph-based designs.
Hook size follows the yarn weight as usual. Gauge matters here mainly for predicting your finished size accurately — measure how large a single block comes out at your gauge, then multiply that by your planned block count in each direction to estimate the finished dimensions before you commit to a full project.
The Simple Sizing Guide for This Crochet Throw Blanket Pattern
A throw sits in the middle of the usual blanket size range — bigger than a lap blanket, smaller than something meant to cover a bed.
| Size | Approximate Dimensions | Typical Block Count (worsted weight) |
|---|---|---|
| Lap throw | 36 x 48 in | Roughly 36 x 48 blocks |
| Standard throw | 50 x 60 in | Roughly 50 x 60 blocks |
| Large throw | 60 x 70 in | Roughly 60 x 70 blocks |
Because C2C is worked one block at a time, scaling the size up or down is mostly a matter of deciding how many blocks wide and long you want the finished piece to be, then working the increase and decrease rows to match. This is one of the easier aspects of the technique to adjust on the fly compared to a shaped garment.
This Crochet Throw Blanket Pattern’s 6-Step C2C Construction

This covers the core C2C technique from starting corner to finished edge. Exact block counts depend on your gauge and target size from the table above, so the steps below focus on the method itself.
Step 1: Swatch and confirm your block size. Work a small sample of a few blocks and measure how large each one comes out. This tells you how many total blocks you’ll need to reach your target dimensions before you start the full piece.
Step 2: Start the first corner. Chain 6, then work a double crochet in the 4th chain from the hook and in each remaining chain. This makes your first block, worked from one corner of the eventual rectangle.
Step 3: Work the increase rows. For each new row, chain 6 again and work the same first-block sequence, then slip stitch into the corner space of the previous row’s first block, chain 3, and work 3 double crochet into that same space to attach a second block. Repeat this increasing pattern, adding one more block per row, until you reach your target width.
Step 4: Hold steady at full width. Once you’ve reached your target width, stop increasing and instead work straight rows — the same number of blocks on each row — until the piece reaches your target length, minus the number of rows needed for the decrease section at the end.
Step 5: Work the decrease rows. Mirror the increase pattern in reverse: instead of adding a block at the start of each row, slip stitch across the first block entirely and begin the next block one space in, reducing the block count by one each row until you’re back down to a single block at the final corner.
Step 6: Border and finish. Work a few rounds of single crochet around the entire finished piece to clean up the diagonal edges and give the throw a tidier, more finished outer line. This step also helps square off the slightly stair-stepped edges that C2C naturally produces along its sides.
4 Problems That Ruin a Crochet Throw Blanket Pattern (and How to Fix Them)
The edges look jagged or stair-stepped instead of straight. This is actually normal for C2C along the two non-corner sides, since each block is a small square rather than a smooth continuous line. A solid border round, as in step six, evens this out visually without changing the underlying construction.
The blanket comes out rectangular when you wanted it square, or the reverse. This comes down to how many rows you held steady at full width in step four. A perfectly square throw needs the straight-row section to roughly match your total block width; a rectangular one needs more or fewer straight rows depending on which direction you want it to lean.
Color changes look messy or leave visible strands across the back. Cutting and reattaching yarn for each color block, rather than carrying an unused color across several blocks, keeps the back of the work tidy and avoids long floating strands that can snag or pull.
The blanket flares out or narrows unexpectedly partway through. This is one of the more frustrating issues to catch late in a crochet throw blanket pattern, since it usually means a row accidentally added or skipped a block during the increase or decrease sections. Counting your total block count at the end of every single row, especially during shaping, catches this before it compounds across many more rows.
3 Pro Tips for a Cleaner Crochet Throw Blanket Pattern Finish
Working from a printed or on-screen graph, if you’re doing a color or picture design, makes it far easier to track your place block by block than trying to hold a complex pattern in memory, especially across a large throw with many rows.
The official Red Heart corner-to-corner throw pattern on Yarnspirations is a solid reference if you want to see the technique demonstrated on an actual finished project before starting your own.
Weighing your yarn periodically through a large project, rather than only checking near the end, helps you catch early whether you’re on track to have enough for your planned size, since running short partway through a C2C throw is a frustrating problem to solve mid-project.
FAQs
Is C2C harder to learn than a regular row-by-row blanket? It’s a different rhythm rather than a harder one. Once the block-building sequence clicks, most people find it faster to work than plain rows, since there’s a repeatable pattern to follow rather than tracking stitch counts across a long, flat row.
Can I turn any picture or graph into a C2C design? In principle, yes, as long as the design is simple enough to translate into a block grid at your chosen size. Highly detailed images lose clarity at typical block sizes, so simpler graphs with bold shapes tend to translate more successfully than intricate photographs.
Why is my C2C throw coming out narrower than the size table suggested? This usually means your individual block size, measured during the swatch step, ran smaller than the estimate used to calculate your planned block count. Re-measure a few blocks partway through and adjust your total block count if needed, rather than assuming the original swatch measurement still applies.
Is there a difference between “afghan” and “throw” that matters for this pattern? Not really — a throw is essentially another name for a smaller afghan, historically tied to the same tradition of handmade knitted or crocheted blankets. The terms overlap enough in modern use that this C2C construction method works under either name without any changes.
Can I make a C2C throw without following a color graph at all? Yes — a solid-color C2C throw uses exactly the same construction method described above, just without the color-change tracking a graph-based design requires. It’s actually a reasonable way to learn the technique itself before attempting a more complex color pattern.

Leave a Reply