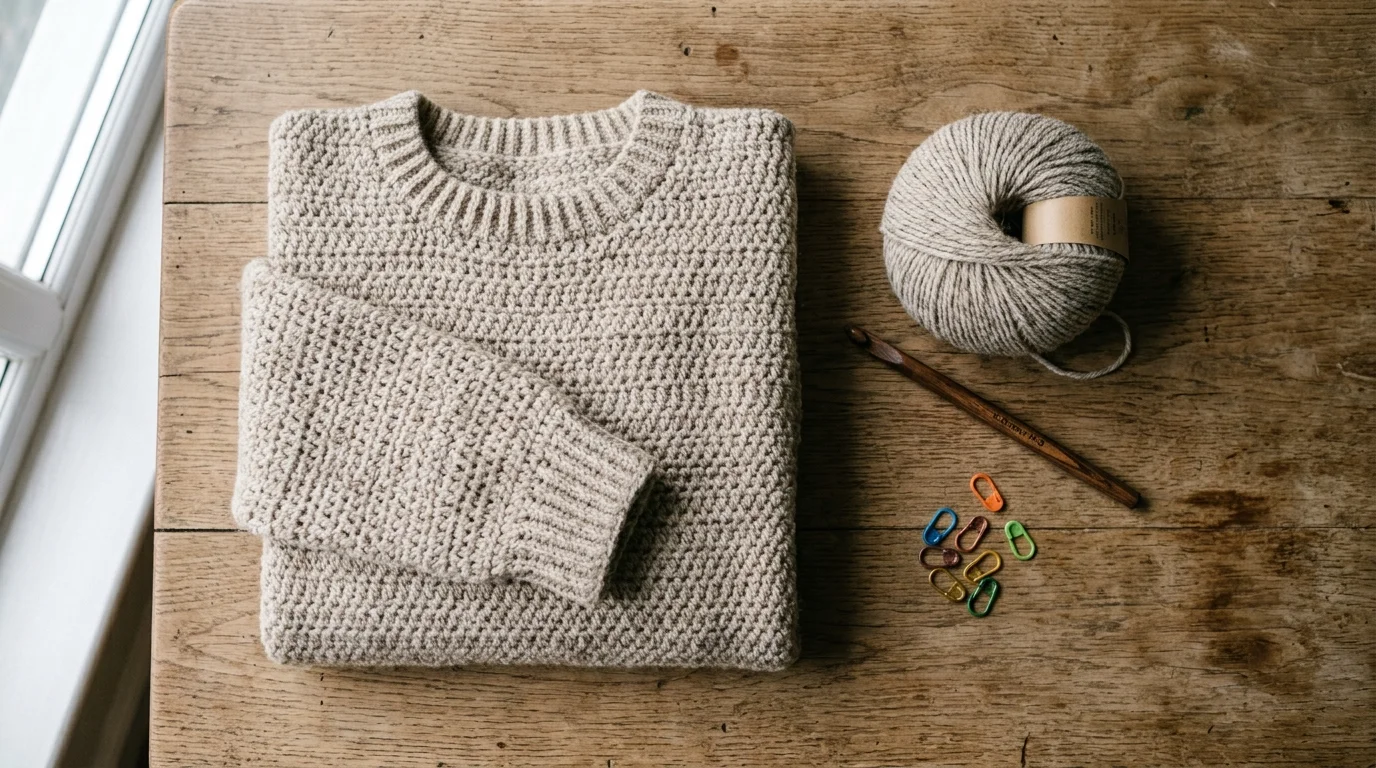
A raglan jumper crochet pattern is one of the more satisfying garment projects to finish, mostly because a top-down raglan construction removes almost all the guesswork that makes sweaters intimidating. There’s no separate pieces to seam together at the end — the whole thing grows outward from the neckline in one continuous piece, and the sleeves split off naturally once the body and arms need to go their separate ways.
“Jumper” is the British and Australian English term for what North American English usually calls a sweater or pullover — a knitted or crocheted garment covering the upper body, traditionally made from wool but just as commonly worked in cotton or acrylic today. Whichever word you use, the construction below is the same.
This guide walks through one complete raglan pattern from neckline to hem, built from standard raglan-sleeve technique rather than a single designer’s copyrighted pattern, so you’re free to adjust the length, sleeve style, or yarn to suit what you actually want to wear.
Table of Contents
Why a top-down raglan is the easiest jumper pattern to start with?
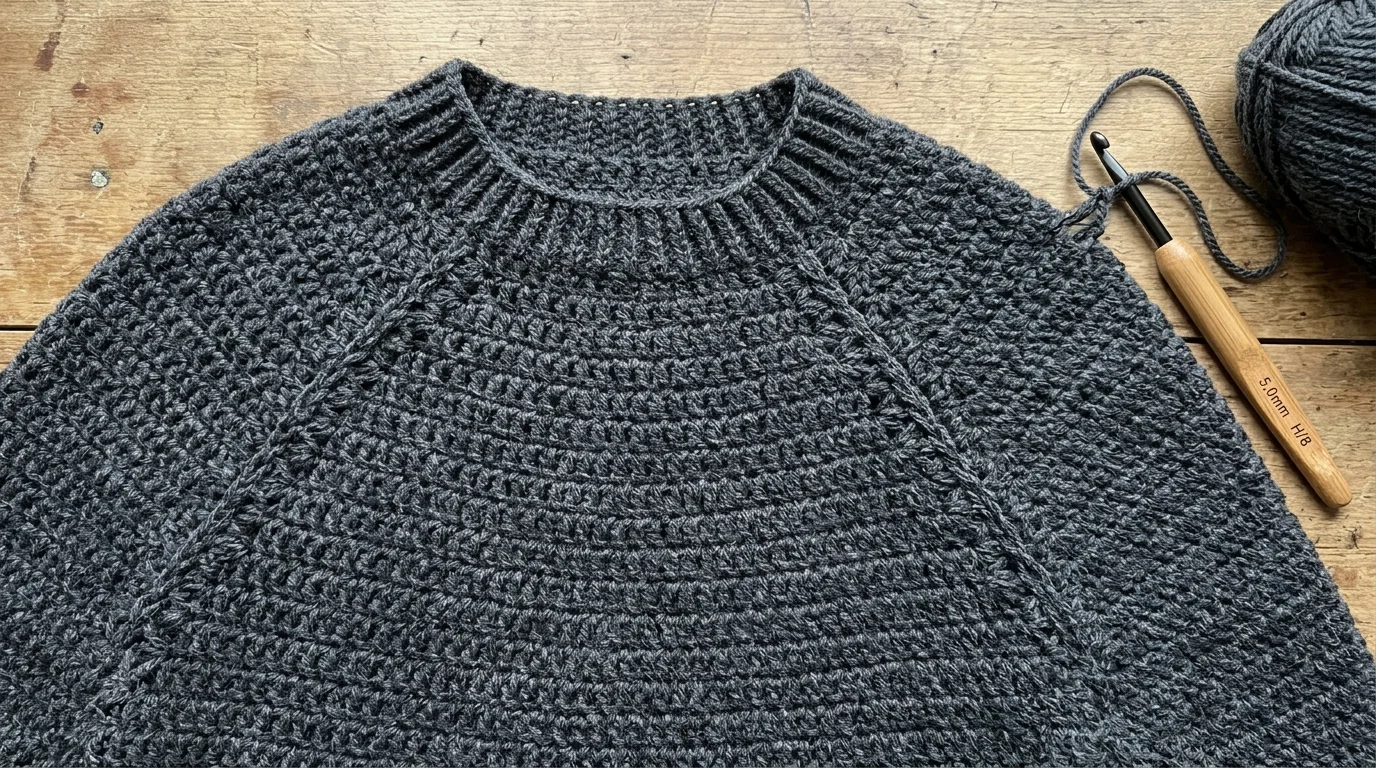
Raglan construction gets its name from the diagonal seam lines running from the underarm to the neckline — in a top-down piece, those lines are increase points rather than actual seams, since the whole garment is worked in one piece. That single design choice is what makes this jumper crochet pattern approachable for a first sweater: there’s no picking up stitches around an armhole afterward, no separate sleeve caps to shape and sew in, and no risk of the two sides coming out slightly different sizes the way separately-worked pieces sometimes do.
Yarn and hook sizing follow the Craft Yarn Council’s standard yarn weight system. This pattern uses worsted weight (#4) on a 5.5 mm (I) hook, which produces a fabric with enough structure to hold a garment’s shape without being too stiff or heavy to wear comfortably for a full day.
Materials and gauge
Yarn: Worsted weight (#4), approximately 1,200–1,800 yards depending on size (see sizing chart below)
Hook: 5.5 mm (I) for the body, plus a 5 mm (H) hook for ribbing at the cuffs, hem, and neckline
Notions: Stitch markers (at least 4, to mark the raglan increase points), yarn needle for weaving in ends
Gauge: 13 stitches and 8 rows in half double crochet = 4 inches square, worked flat
Gauge matters more for this raglan pattern than for almost anything else in a typical crochet project list, since a garment meant to fit a specific body needs to actually measure what the pattern says it will. Take the time to crochet and measure a swatch before starting — a stitch count that’s off by even half a stitch per inch adds up to several inches of difference across a full garment width.
Choosing yarn for this raglan jumper crochet pattern
Fiber choice changes how the finished garment behaves as much as color or weight does.
Wool and wool-blend yarns are the traditional choice for any raglan pattern, since wool has natural stretch and recovers its shape after wear better than most plant-based fibers — useful for a garment that gets pulled on and off over the head repeatedly.
Acrylic is the more practical everyday choice: it’s machine washable, holds up well to frequent wear, and costs less per skein, though it doesn’t breathe or insulate quite the way wool does. Cotton makes a heavier, less elastic fabric that suits a lighter-weight raglan pattern meant for milder weather better than a true cold-weather sweater, since cotton stitches tend to stretch and grow slightly over a day of wear rather than springing back the way wool does.
Blended yarns — wool-acrylic or wool-cotton mixes — are a reasonable middle ground if you want some of wool’s recovery without the higher cost or the hand-washing most 100% wool yarns need. Whichever fiber you choose, the gauge swatch step matters just as much, since different fibers can produce noticeably different gauge even at the same stated yarn weight and hook size.
Sizing chart
| Size | Chest (inches) | Yardage (approx.) |
|---|---|---|
| XS (32–34″) | 34 | 1,200 |
| S (36–38″) | 38 | 1,350 |
| M (40–42″) | 42 | 1,500 |
| L (44–46″) | 46 | 1,650 |
| XL (48–50″) | 50 | 1,800 |
The stitch counts in the pattern below are written for the M size, with adjustment notes for the other four sizes at each stage.
The pattern
Neckline (Rounds 1–4): Chain 60 (M size — adjust by roughly 4 chains per size up or down) and join into a ring, being careful not to twist the foundation chain. Round 1: half double crochet in each chain around, placing 4 stitch markers evenly spaced to mark the four raglan increase points — one at each shoulder line and one at each underarm point. Rounds 2–4: work even, without increasing, in continuous rounds of half double crochet.
Raglan increases (Rounds 5–16): Every round from here, increase by working 2 hdc into the stitch immediately before and after each of the 4 markers (8 stitches added per round total). Continue for 12 rounds, moving the markers up as you go so they stay next to the increase points. By round 16, you should have four clearly defined diagonal increase lines radiating from the neckline — this is the visual signature of a raglan-sleeve raglan pattern, and it’s worth checking the increase lines are staying straight and evenly spaced every few rounds rather than only at the end.
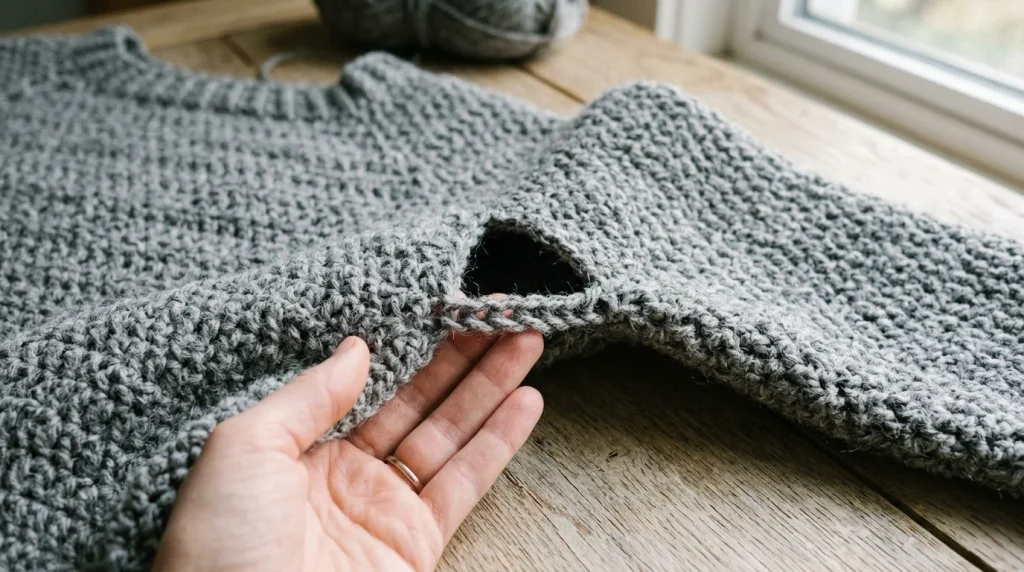
Splitting body and sleeves (Round 17): This is the point where the piece divides. Work across the back stitches to the first underarm marker, then chain 4–6 stitches (M size) to bridge the gap where a sleeve will be added later, skip the sleeve stitches entirely, continue across the front to the second underarm marker, chain 4–6 again to bridge the second underarm, and work across the remaining back stitches to complete the round. The skipped stitches at each side become the sleeve openings.
Body (Rounds 18–40+): Continue in continuous rounds of half double crochet with no further increasing, working straight down over the underarm bridge chains, until the body reaches your desired length — typically 14–16 inches from the underarm for a standard hip-length jumper. Switch to the smaller 5 mm hook for the final 4–5 rounds, working in back-loop-only single crochet to form a ribbed hem, then fasten off.
Sleeves: Rejoin yarn at one underarm bridge and work in continuous rounds around the sleeve opening (the skipped stitches from round 17 plus the bridge chain), decreasing 2 stitches every 4th round to taper toward the wrist. Continue until the sleeve reaches your desired length, then switch to the 5 mm hook and work 4–5 rounds of back-loop-only single crochet for a ribbed cuff. Repeat for the second sleeve.
Adjusting this raglan jumper crochet pattern for fit
Because every measurement in this raglan pattern comes from a repeatable round count rather than fixed shaping, resizing mid-project is more forgiving than it looks. If the chest measurement feels too snug once you reach the split at round 17, working two or three extra increase rounds before splitting adds width evenly across the whole garment rather than only at one point. Sleeve and body length are both open-ended by design — stop whichever section when it measures what you actually want, rather than following the round counts as a fixed target.
Common mistakes to avoid
Uneven raglan increases are the most common issue with this style of raglan pattern. If the 4 marked increase points don’t get exactly 2 extra stitches each round, the diagonal lines drift instead of running straight to the neckline, and the chest ends up a slightly different width on each side. Recounting stitches at each marker every few rounds, rather than only when something already looks off, catches this early enough to fix without ripping back multiple rounds.
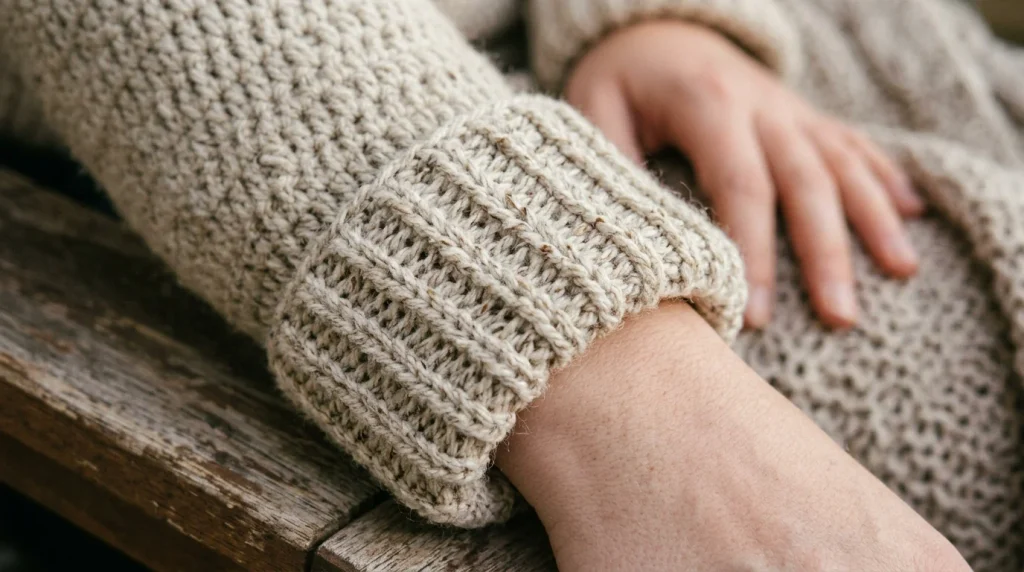
Forgetting to switch to the smaller hook for the ribbed sections is the second common mistake — working the cuffs and hem at the same gauge as the body produces a looser, less snug edge that won’t hold its shape the way true ribbing does. The size difference between the two hooks is small, but it’s the detail that makes a cuff actually grip the wrist instead of flopping open.
More Patterns to Try Next
FAQs
Can I make this raglan pattern with a different stitch than half double crochet?
Yes — double crochet produces a taller, more open fabric and single crochet a denser, tighter one; either works with the same raglan-increase logic, though you’ll need to adjust the stitch and round counts since taller stitches need fewer rows to reach the same length.
How do I know which size to make?
Measure around the fullest part of your chest and compare against the sizing chart above, then choose the size closest to that measurement, adding an inch or two of ease if you prefer a looser fit rather than a close one.
Why does my raglan pattern look tight across the chest even though I made the right size?
This usually traces back to gauge rather than the size itself — if your swatch gauge was tighter than the pattern’s target, the whole garment comes out smaller than the size chart suggests, which is exactly why swatching before starting matters more here than for most projects.
Can I add pockets or a hood to this raglan pattern?
Both are reasonable additions once the base garment is finished — a hood can be added by picking up stitches around the neckline and working upward with decreases at the top, and pockets are typically crocheted separately and sewn onto the front of the finished body.

Leave a Reply