
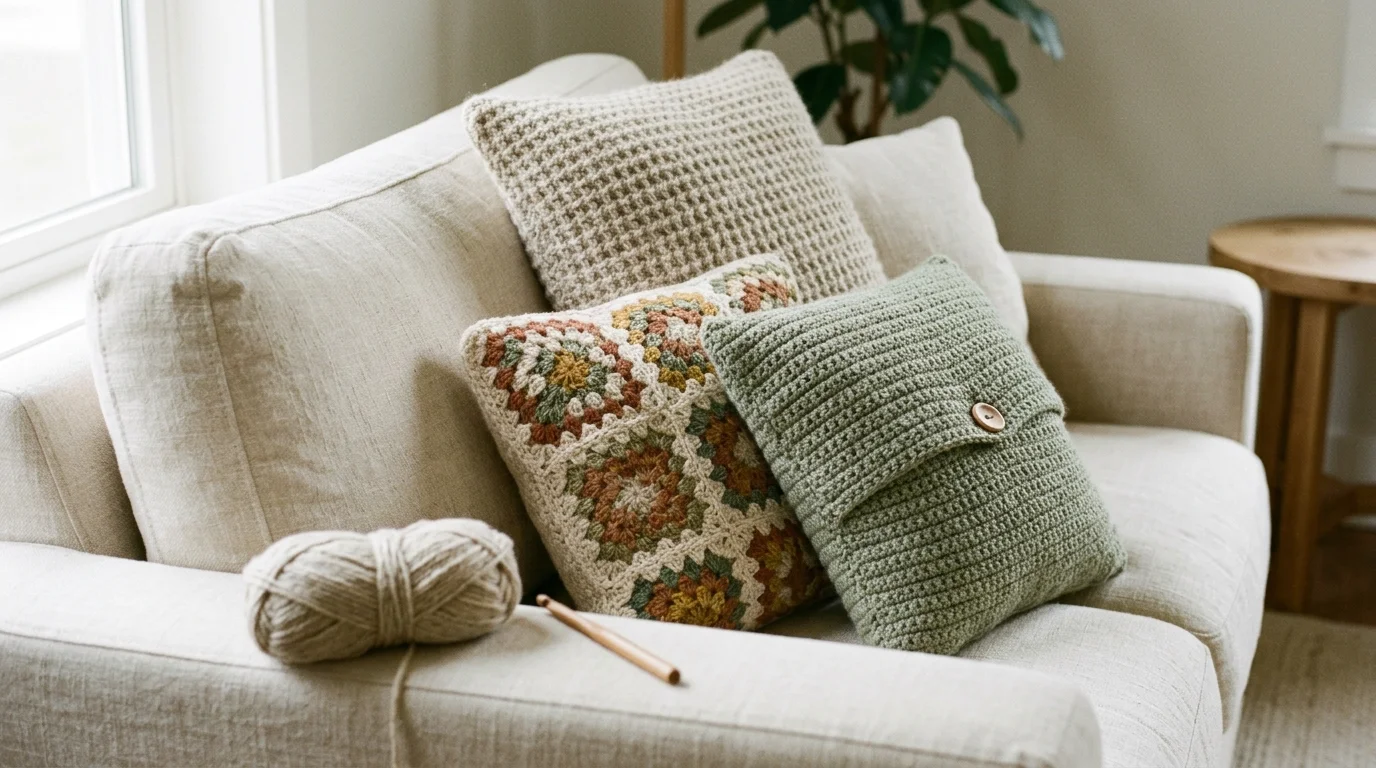
A crochet pillow cover is two fabric panels joined around a pillow insert, with an opening so the insert can come out for washing. That’s the whole structure. The insert supplies the shape and the cushioning, so the crochet only has to be a good-looking, correctly sized rectangle. That makes a crochet pillow cover a forgiving project for a first piece of home decor.
This guide covers sizing first, because most failures start with wrong dimensions. Then it gives three free construction methods: an envelope back with buttons, a granny square front, and a zippered back. These are construction methods built on gauge math, not one tested set of stitch counts. You’ll swatch your own yarn and calculate your own numbers, which is the reliable way to fit any crochet cushion cover to an insert anyway. All terms are US.
Table of Contents
Start With the Insert, Not the Stitch Pattern
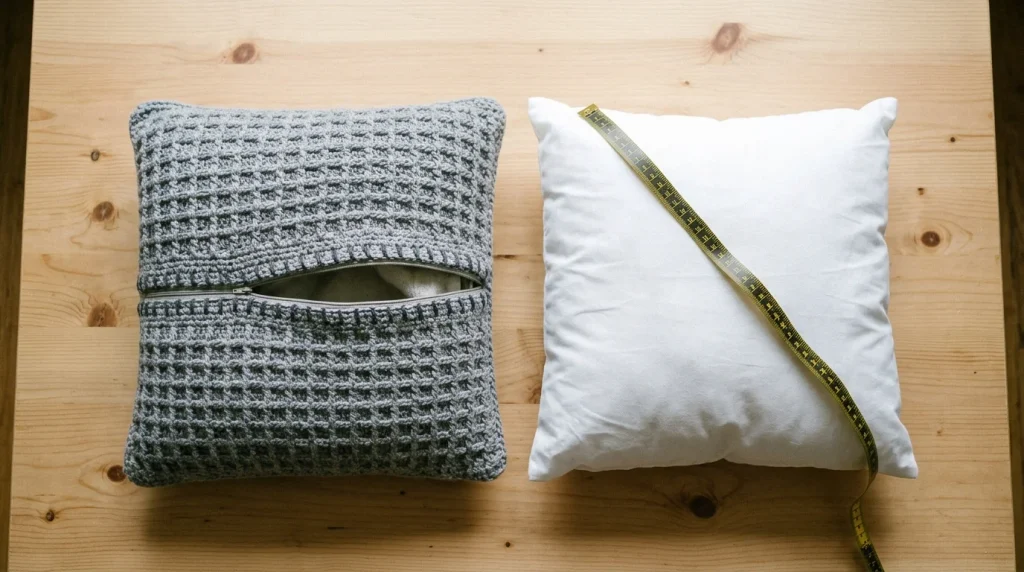
Square inserts in 16-inch, 18-inch, and 20-inch sizes are the ones you’ll see most in shops, along with rectangular lumbar inserts for beds and sofas. Measure your actual insert flat, edge to edge, before you pick a stitch. Labels give nominal sizes, and a plump insert can measure differently from its tag.
Then plan the finished crochet pillow cover slightly smaller than the insert. Crochet fabric stretches, and a crochet pillow cover made to the exact insert size looks loose and wrinkled at the corners. Aiming for about an inch smaller in each direction is a common starting point. For an 18-inch insert, that means a panel near 17 inches.
Now the arithmetic. Work a swatch in your chosen stitch, count how many stitches fit in one inch, and multiply by the panel width. Say your swatch gives 3 stitches per inch (an example only, not a recommendation) and you want a 17-inch panel: 3 × 17 = 51 stitches, plus any turning chain. If your stitch pattern works in multiples, round to the nearest multiple. Rows work the same way, using rows per inch.
Yarn and Hook Choices
Worsted weight, category 4 in the Craft Yarn Council’s standard yarn weight system, is the usual starting point. The fabric has enough body to hold an insert while still showing the stitch texture. Read the label for the suggested hook range, then swatch before you commit. Buy a little extra yarn from the same dye lot, since colors can differ slightly between lots, and a visible color shift halfway across a panel is hard to hide.
Fiber changes how a crochet pillow cover turns out more than weight does. Cotton barely stretches, so the cover keeps its measurements, but it’s heavy and can sag if the stitches are loose. Acrylic is springy, washes easily, and forgives uneven tension. Wool and wool blends look warm and slightly fuzzy, but many wool yarns felt in a hot machine cycle, so read the care label first.
Stitch density matters just as much. Open stitches let a pale insert show through, and tighter fabric, made by dropping down a hook size, hides it and holds its shape. It’s the same principle behind a structured bag, which our crochet tote bag guide explains through hook size and fabric density.
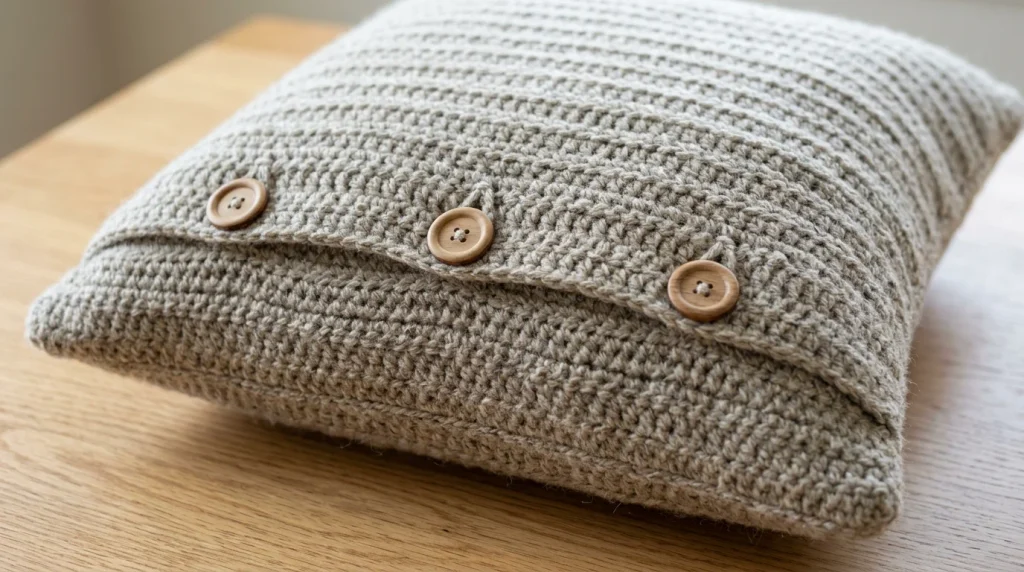
Pattern One: Envelope Crochet Pillow Cover With Button Closure
The envelope style uses a single rectangle. You fold it so the two ends overlap at the back, then seam the sides. There’s no second panel to match, and the overlap keeps the insert hidden.
Calculate the rectangle. The width is your crochet pillow cover width from the sizing step. The length is twice the cover height plus the overlap, and a few inches of overlap is enough to stop the insert peeking through.
- Chain the stitch count you calculated and work the first row in half double crochet.
- Keep working rows in half double crochet until the piece reaches the calculated length. Measure it flat and unstretched.
- For the buttonholes, choose the end that will lie on top. Work one row there with evenly spaced gaps: chain 2, skip 2 stitches. On the next row, work 2 stitches into each chain space. Test your button in a swatch hole first.
- Fold the ends toward the back so the buttonhole flap lies over the other end, and pin the overlap.
- Seam both sides with single crochet or a whipstitch, then sew the buttons through the underneath layer only.
Pattern Two: Granny Square Pillow Cover
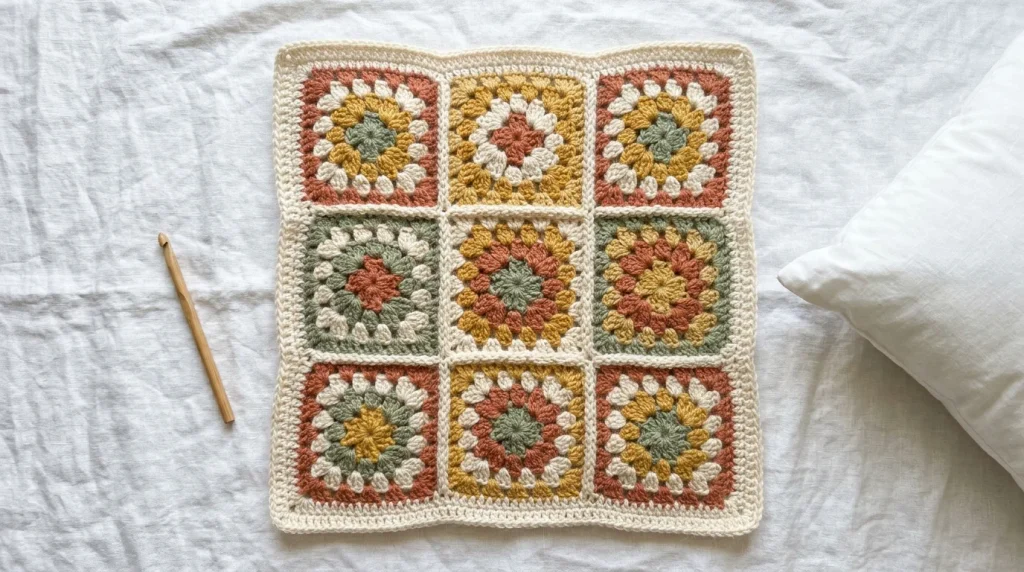
A granny square is worked in rounds from the center outward, and crocheters usually assemble multiple small squares into household textiles. A grid of squares suits the front of a crochet pillow cover well, and it uses up leftover yarn in different colors.
Size the grid with one measurement. Make a single square, block it lightly, and measure it. Divide your target panel width by that number to see how many squares fit across. If it doesn’t divide cleanly, add a plain single crochet border round around the finished panel instead of remaking squares. The same round gives the edge a stable line for seaming.
For joining methods, our afghan crochet pattern walks through assembling motifs, and the colour planning in the corner-to-corner throw carries over directly to a front panel.
Keep the back plain. A solid panel or an envelope back lets the lacy front be the focus. Open granny stitch will show the insert through its gaps, so use a solid-colored insert or a fabric lining behind it.
Pattern Three: Crochet Pillow Cover With Zipper
A zipper gives the neatest back, and it’s the best option for a crochet pillow cover that gets washed often.
Make two matching panels in any stitch. Along the edge that will hold the zipper, work one row of single crochet on both panels. Crochet edges wobble, and that row gives you a straight, firm line to sew into.
Pick a zipper a little shorter than the pillow side. Close it, pin it between the two prepared edges, and hand-sew it with sewing thread and small backstitches. Open the zipper halfway before the next step, or you won’t be able to turn the cover out.
Place the panels right sides together and join the remaining three sides with a slip stitch seam. Turn the cover right side out through the open zipper and push the corners out gently.
Crochet Pillow Cover for Beginners: Where to Start?
If you’re new to this, make your first crochet pillow cover with the envelope method in a plain stitch. It uses straight rows, one stitch, and no joining of motifs. Half double crochet is a sensible first stitch here because it works up faster than single crochet and stays firmer than double crochet.
Most errors enter in the first row. Count the foundation chain twice, and place a stitch marker every ten chains so a miscount is easy to catch. Decide whether your turning chain counts as a stitch, and keep that rule for every row. Edges that grow or shrink by a stitch every row are almost always a turning chain problem.
Straight-row projects build speed fast, and a lap blanket pattern uses exactly the same skills if you want a larger next step.
Cushion, Pillow Case, and Floor Pillow: Sizing Other Shapes
Cushion is the UK word for what US crocheters call a pillow, and people search both. A crochet pillow case, strictly, is the sleeve for a sleeping pillow, which is longer and softer than a decorative cover. A crochet throw pillow is the decorative kind, and it’s what every pattern here is built around.
A lumbar crochet pillow cover uses the same math with two different measurements: calculate width and height separately instead of one square number.
A crochet floor pillow needs a different approach. The insert is much larger and heavier, so the seams carry more stress. Use a dense stitch, double the seam, and choose a heavy-duty zipper or several firmly anchored buttons.
US and UK terms. US single crochet is UK double crochet, and US double crochet is UK treble crochet. If you’re following a UK pattern, check the abbreviations before you start, since the stitch names swap but the fabric doesn’t.
Mistakes That Ruin the Fit
- Skipping the swatch. Gauge changes with yarn, hook, and your hands, so a stitch count borrowed from someone else’s work won’t match your insert.
- Curling edges. Single-stitch fabrics can roll at the edges. A border round or a few rows of ribbing flattens them.
- Wavy sides. This happens when extra stitches creep in at the turns. Count at the end of every few rows.
- Misaligned buttonholes. Measure the spacing and mark with stitch markers before you work the buttonhole row.
- Puckered seams. Pulling the seaming yarn too tight shortens the edge. Keep the tension relaxed and match stitch for stitch.
Finishing and Care
Weave in all ends securely, because ends on a crochet pillow cover that gets squeezed and washed work loose. Block the panels before seaming if your yarn allows it, since a blocked panel is easier to measure and sew.
For washing, follow the yarn label, and always remove the insert first. A closure on the back makes this easy, which is another reason to choose buttons or a zipper over a sewn-shut seam. Lay the cover flat to dry so it keeps its shape.
Which Method to Choose?
Choose the button closure if you want the fastest crochet pillow cover and a back that’s easy to adjust. Pick the zipper for a tidy finish and frequent washing. Use the granny square front when you have scraps to spend and want a patchwork look. Whichever you pick, swatch first.
If you enjoy small home projects like these, our list of easy crochet accessories has more ideas that use the same skills.
FAQs
1. What size should a crochet pillow cover be for an 18-inch insert?
Aim for a panel about an inch smaller than the insert in each direction, so around 17 inches. Crochet fabric stretches, so an exact-size cover looks loose and wrinkled at the corners. Swatch first, count stitches per inch, and multiply by your target width to get the foundation chain.
2. Which closure is easiest for a beginner: buttons or a zipper?
Buttons. The envelope style uses one rectangle in straight rows, with an overlap at the back. A zipper needs two matching panels and hand sewing, so it’s a better second project.
3. What yarn works best for a crochet pillow cover?
Worsted weight (category 4 in the Craft Yarn Council system) is the usual starting point. Acrylic is springy and easy to wash, and cotton keeps its measurements but can sag if the stitches are loose. Wool can felt in a hot wash, so check the label.
4. Can I wash a crochet pillow cover?
Yes, if the yarn label allows it. Remove the insert first, which is easy with a button or zipper back. Lay the cover flat to dry so it keeps its shape.
5. How many granny squares do I need for a pillow front?
Make one square, block it lightly, and measure it. Divide your target panel width by that measurement. If it doesn’t divide evenly, add a single crochet border round around the finished panel instead of remaking squares.

Leave a Reply