
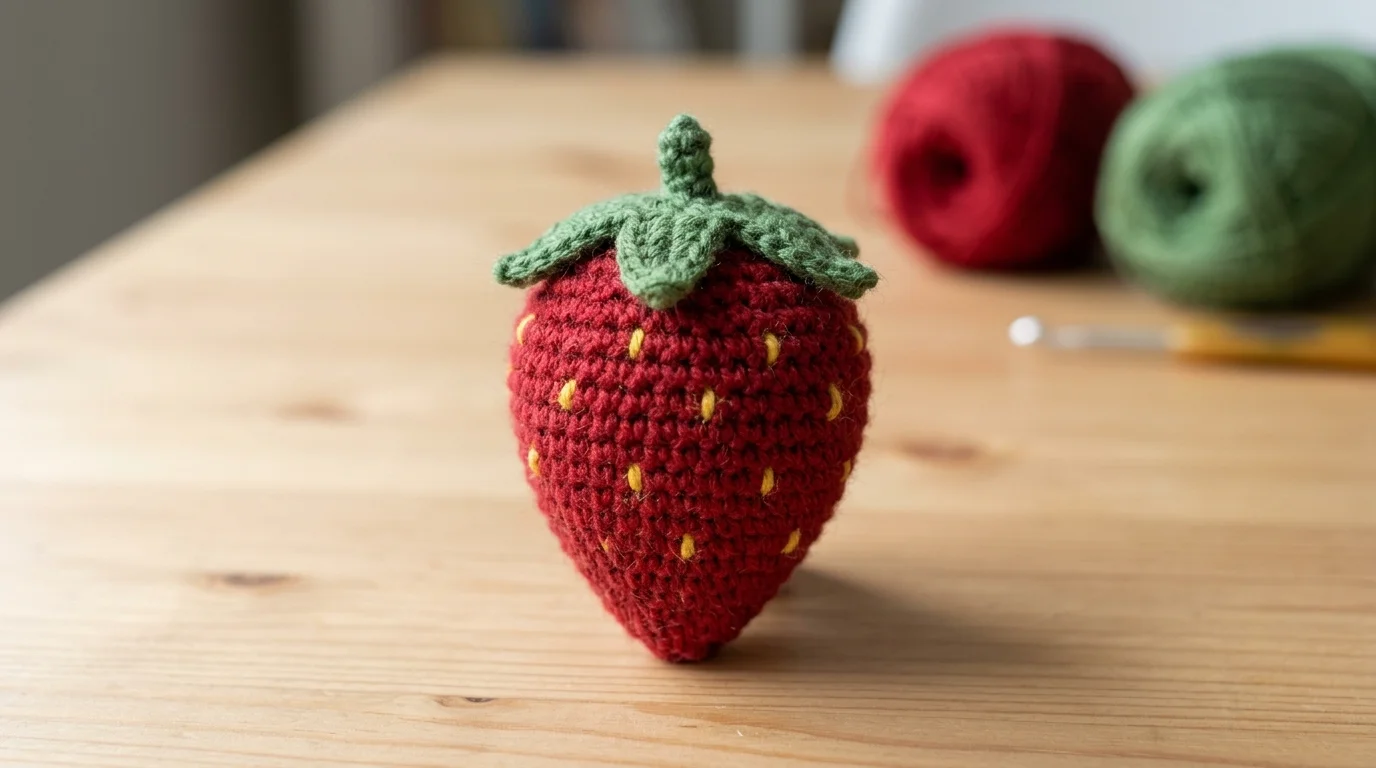
A crochet strawberry is a small stuffed fruit, worked in one continuous spiral. You start at the tip. It gets wider as you go up. Then a leaf cap goes on top and you embroider some seeds. That’s the whole thing. The stitches are all basics—single crochet, increases, decreases, and a few leaves made from chains—so if a magic ring doesn’t throw you, you’re fine here. US terms.
One thing to know before you start. The stitch counts follow standard amigurumi shaping and the math works out, but this pattern hasn’t actually been crocheted and photographed yet. So the finished size is a guess. Your yarn and hook will sort that out.
At a Glance
- Project: stuffed crochet strawberry, separate leaf cap
- Skill level: beginner, once the magic ring feels familiar
- Construction: berry worked in the round from the tip up, cap worked separately and sewn on
- Stitches used: sc, inc, dec, ch, sl st, hdc
- Size: set by your yarn and hook, so no fixed measurement is given
Table of Contents
Materials and Tools for a Crochet Strawberry
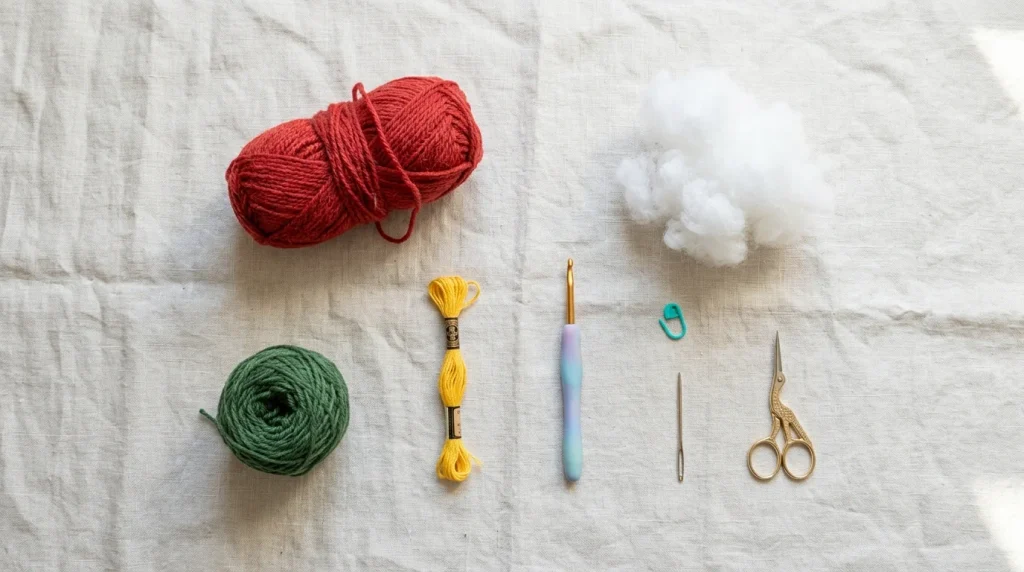
- Red yarn for the berry, green yarn for the cap, and a little yellow yarn or embroidery floss for seeds
- A crochet hook one or two sizes smaller than the yarn label suggests
- Polyester fiberfill
- A stitch marker, yarn needle and scissors
- Black yarn for an embroidered face, or safety eyes for toys that won’t go to small children
Which Yarn and Hook Suit an Amigurumi Strawberry?
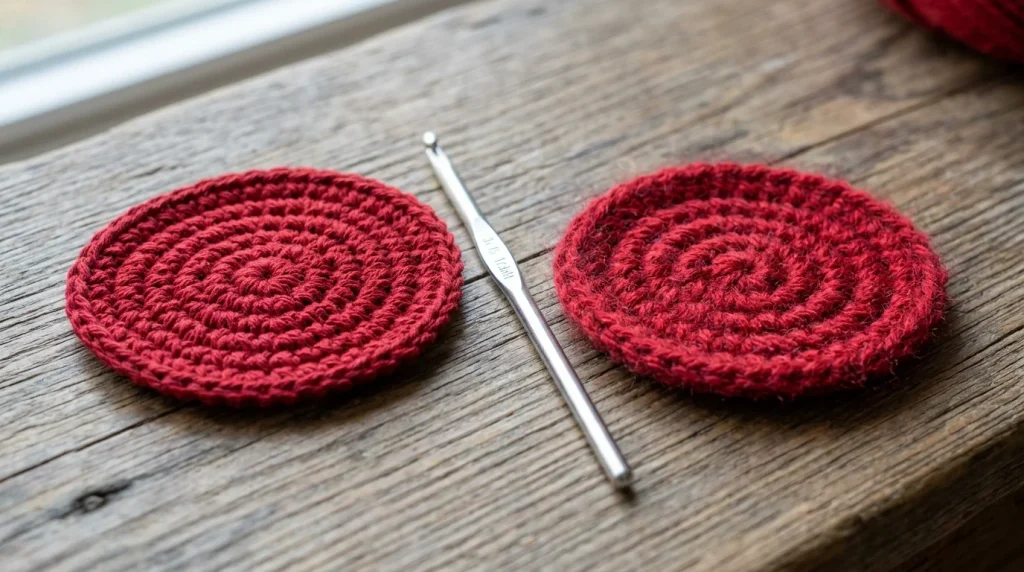
Smooth worsted-weight yarn in a medium red is the easiest place to start. The Craft Yarn Council’s standard yarn weight system numbers yarn from 0 to 7 and pairs each weight with a suggested hook and gauge. That gives you a baseline when you switch brands. Then you go smaller than the suggestion. For amigurumi, a slightly smaller hook creates a tighter fabric that holds the stuffing without gaps . A size D or E hook (3.25 mm or 3.5 mm) is pretty standard for worsted weight amigurumi, and that tighter fabric is what keeps the fiberfill from showing through .
Cotton and acrylic don’t behave the same. Cotton has very little stretch, so it keeps a crisp outline, but it tires your hands. Acrylic is gentler to work, though loose tension shows the stuffing sooner. Fuzzy yarn and very dark colors hide the stitches, and that makes counting rounds harder than it needs to be. Stick with a smooth red while you’re learning. By Round 8, when the work gets small and squinty, you’ll be glad you did.
Changing yarn weight changes the finished size without touching the stitch counts. Thinner yarn and a smaller hook make a smaller berry. Chunky yarn makes a bigger one. If you want a preview, work the first three rounds and see whether that circle looks right for the size in mind. Once the first berry is stuffed, measure its height and width and write the numbers down somewhere so a second one can match. Back of an envelope is fine.
Abbreviations
- MR: magic ring
- sc: single crochet
- inc: two sc in the same stitch
- dec: invisible decrease, explained below
- ch: chain
- sl st: slip stitch
- hdc: half double crochet
The number in brackets at the end of each round is your stitch count.
How Do You Work the Crochet Strawberry Body?
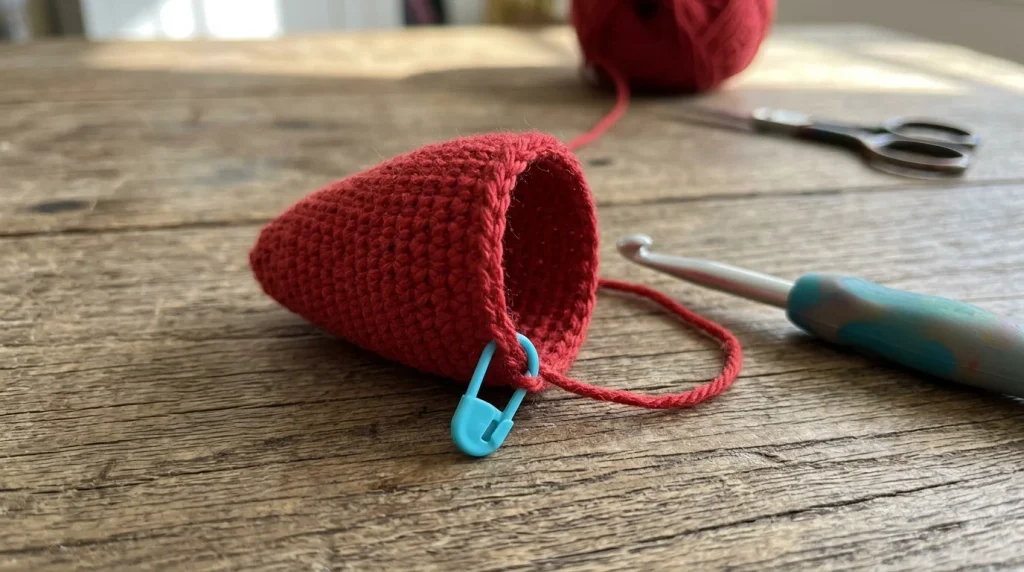
Begin at the tip and work in a spiral without joining. Mark the first stitch of every round and move the marker up as you go. Please use the marker. Lose your place in a spiral and the crochet strawberry comes out leaning, and it’s a pain to fix later.
- Round 1: 6 sc in MR (6)
- Round 2: inc in each stitch (12)
- Round 3: sc in each stitch (12)
- Round 4: (sc, inc) six times (18)
- Round 5: sc in each stitch (18)
- Round 6: (2 sc, inc) six times (24)
- Round 7: sc in each stitch (24)
- Round 8: (3 sc, inc) six times (30)
- Rounds 9 and 10: sc in each stitch (30)
- Round 11: (3 sc, dec) six times (24)
- Round 12: (2 sc, dec) six times (18)
Stuff firmly now, pushing small pieces into the tip first. Small pieces, not one big lump. If you push one big wad in, the berry ends up lumpy and no amount of squeezing really fixes it. Pull small pieces off the fiberfill by hand rather than cutting them. Torn edges knit together into a continuous mass, while cut edges stay as separate blocks and create ridges . Fluff each piece between your palms before it goes in—compressed stuffing straight from the bag is what causes lumps .
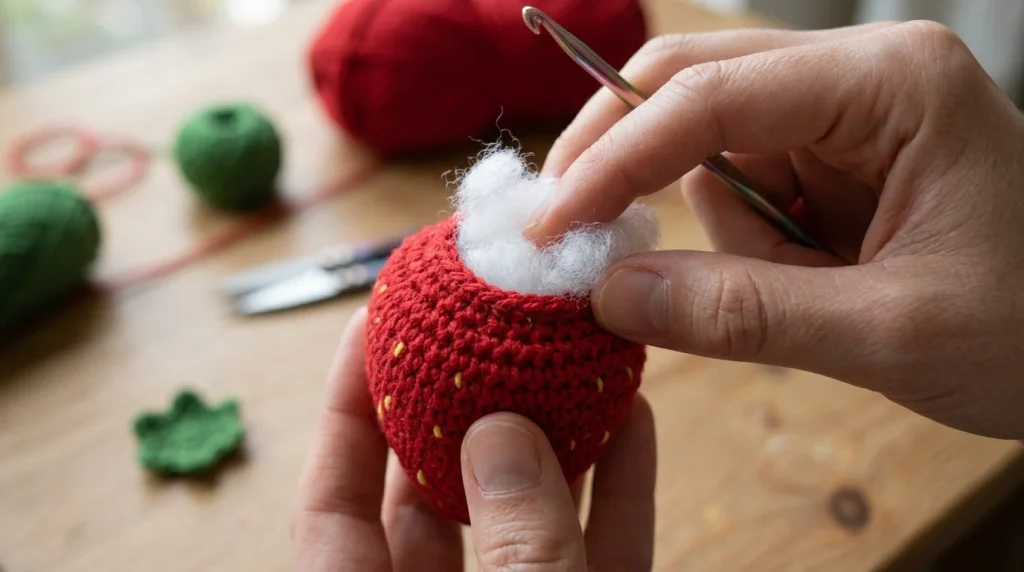
Add any last stuffing, cut the yarn, thread the tail through the front loops of the final six stitches, pull tight and weave in the end.
The reason the shape works is that you only increase every other round. That’s what makes a cone instead of a flat disc. Six increases in every round would give you a circle, so the plain rounds in between slow the widening down and build the tip. Then two straight rounds at 30 stitches give the shoulders their width. That rounded cone is the whole shape of a good crochet strawberry. If a plain round gets skipped somewhere, the result comes out squat and pumpkin-like. Which isn’t terrible, it just isn’t a crochet strawberry.
How Do You Work an Invisible Decrease?
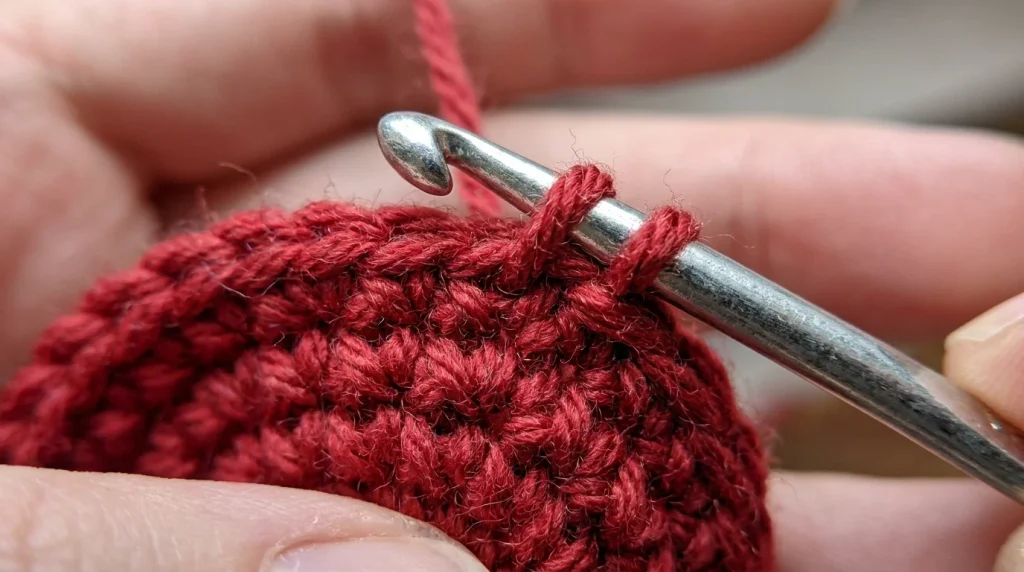
Insert the hook into the front loop of the next stitch, then into the front loop of the stitch after it. Yarn over and pull through both front loops, leaving two loops on the hook. Yarn over again and pull through both. Since you only catch front loops, the decrease sinks into the fabric instead of leaving a small hole. The invisible decrease groups the previous stitches together at its base, so the stitch looks identical to a regular single crochet—practically invisible, even if you know what you’re looking for . On a smooth red fruit every gap is visible, so this matters more than it sounds like it does.
How Do You Crochet Strawberry Leaves?
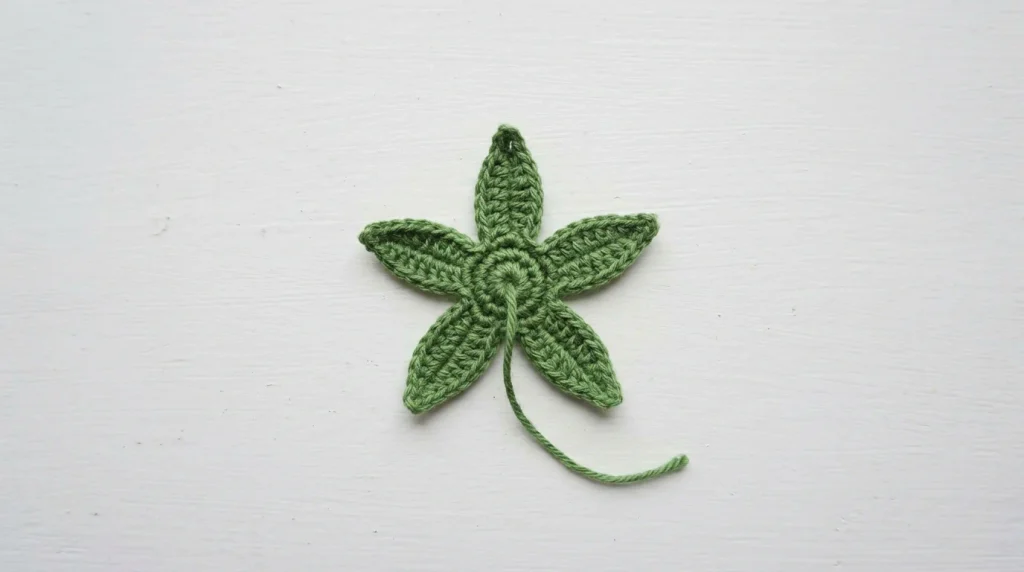
The leaf cap is a small disc with five tapered leaves. Work it in joined rounds with green yarn.
- Round 1: ch 1, 10 sc in MR, join with sl st to the first sc, then pull the ring closed (10)
- Round 2: ch 4. Working back along the chain from the second chain from the hook: sl st, sc, hdc. Then sl st in each of the next 2 stitches of Round 1. Repeat from the start of this round four more times, for five leaves. Fasten off and leave a long tail for sewing.
The half double crochet at the base of each leaf widens it. The slip stitch at the tip keeps the point narrow. If hdc is new to you, the half double crochet tutorial walks through the yarn-over sequence. For a stem, join green yarn at the center of the cap, chain 4, and slip stitch in the second, third and fourth chains from the hook. Stems lean sometimes. It happens.
How Do You Assemble the Crochet Strawberry and Add Seeds?
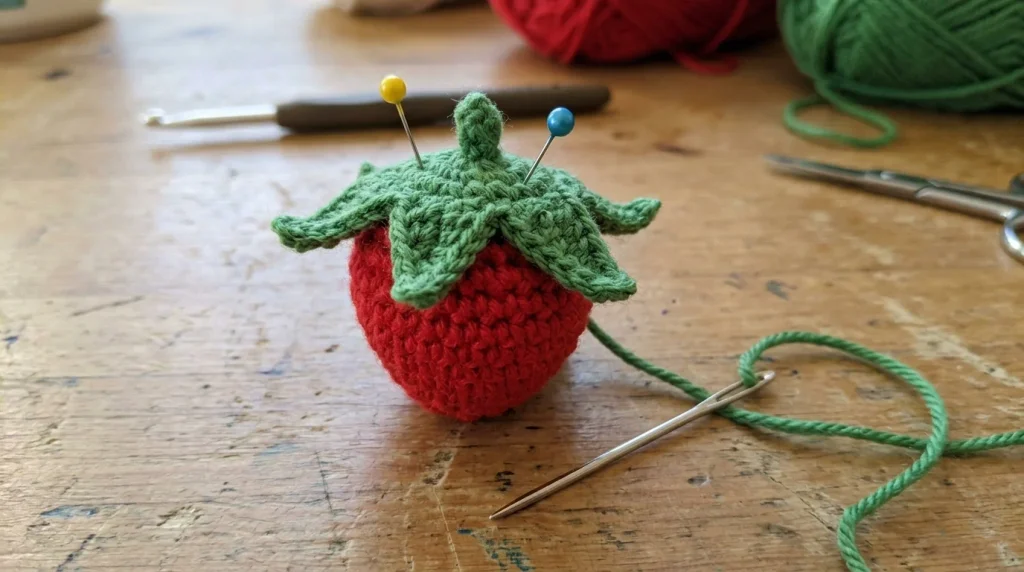
Center the cap over the six-stitch closure at the top of the berry, leaves pointing outward. Pin it in place first so the five leaves sit evenly before you commit to sewing. Sew around the edge of Round 1 using the green tail, passing the needle through the cap and the berry’s top stitches. You only get one shot at getting it straight, so pin twice if you need to. Unpicking is slower than pinning.
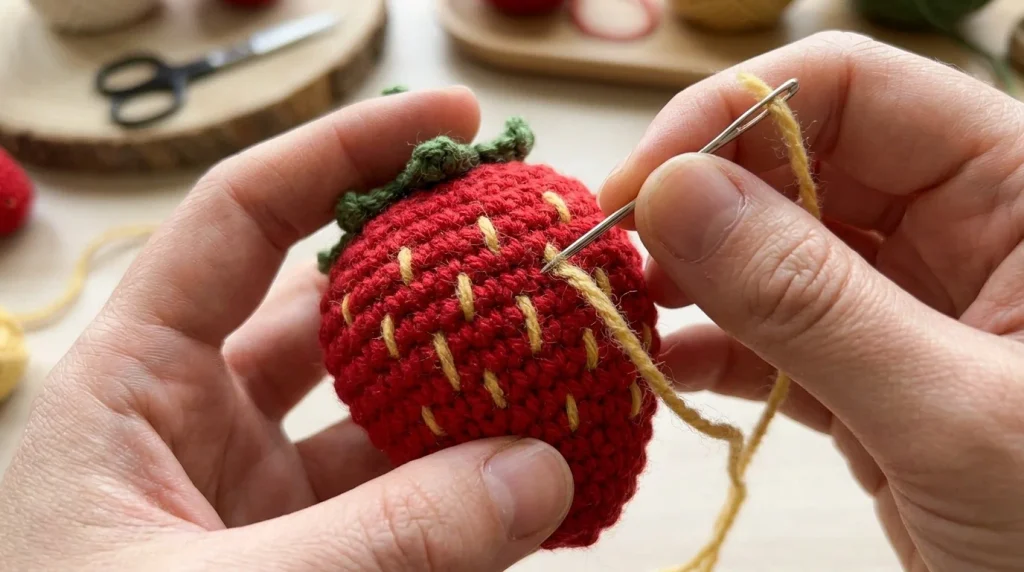
For seeds, thread yellow yarn or floss on a needle. Bring it up from the top, hidden under the cap, and make short straight stitches that span one round in height. Stagger them in rows, like bricks, so they don’t line up in columns. Keep them well apart from each other. A crowded berry looks busy rather than realistic. Less is more. Resist the urge to fill every gap.
How Do You Add a Face?
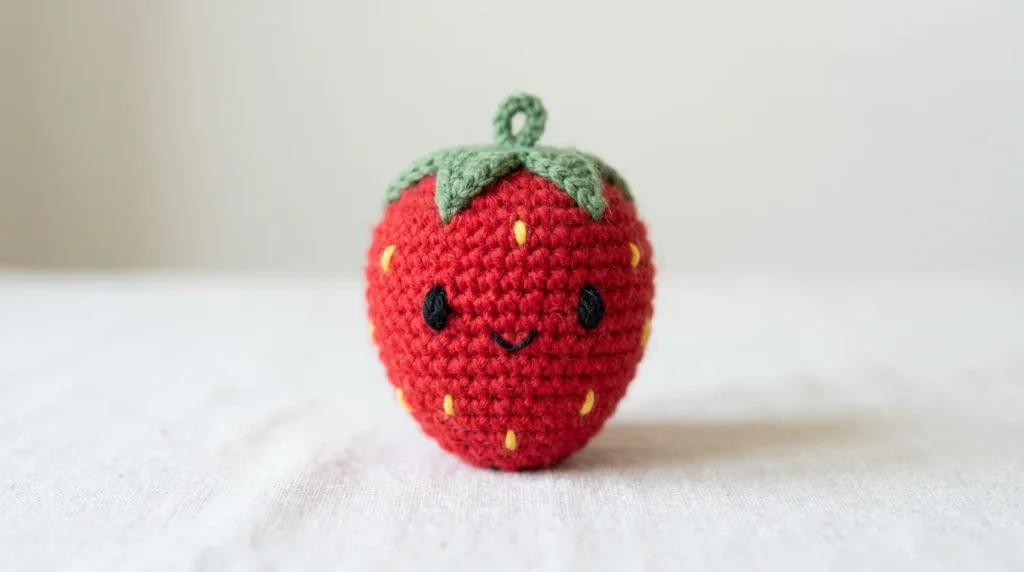
A crochet strawberry with face needs one decision first. Who is it for? Embroidered features are the safer option for babies and toddlers. The U.S. Consumer Product Safety Commission explains that its small parts ban applies to children’s products intended for children under 3, and a plastic eye that pulls loose is a small part . For older children and display pieces, safety eyes are fine, but fit the washer firmly before you finish stuffing. Once the stuffing is in, there’s no going back to fix it.
Place the eyes on Round 9, about five stitches apart, and a tiny mouth one round lower. Straight black stitches or French knots both work. For practice stitching a face onto a spiral-worked shape, the crochet bunny pattern uses the same single crochet shaping and an embroidered face.
Can You Make a Mini Crochet Strawberry?
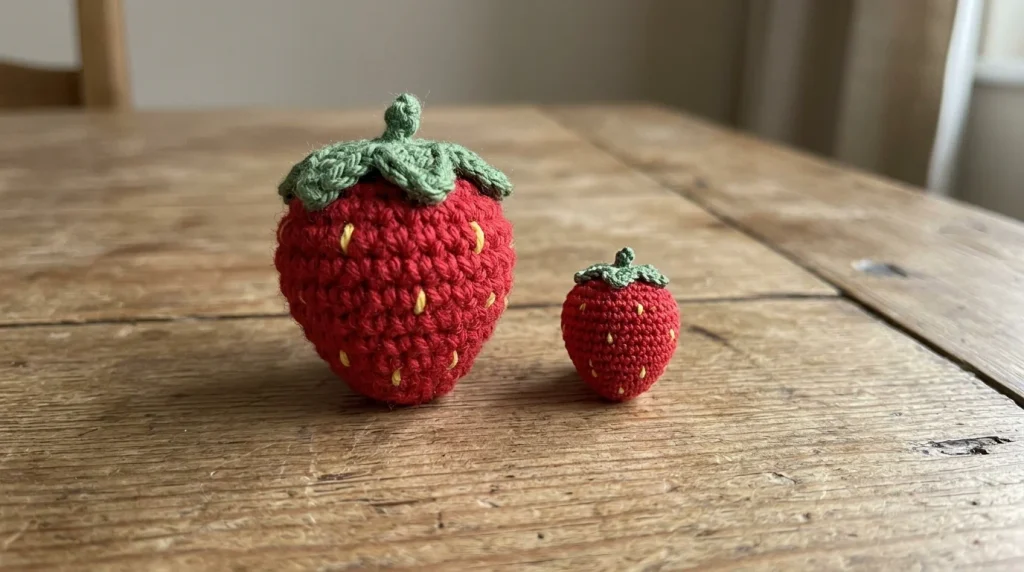
Yes, and there are two ways. The easy one keeps every count and swaps in thinner yarn with a smaller hook, which shrinks the whole berry evenly.
The second changes the shape. For a narrower, smaller shape, work Rounds 1 to 7 as written, then continue like this:
- Round 8: (2 sc, dec) six times (18)
- Round 9: (sc, dec) six times (12)
- Stuff, then Round 10: dec six times (6)
Close it exactly as before. Pair it with a cap made from thinner green yarn so the leaves stay in proportion. A full-size cap on a mini berry looks like a hat two sizes too big. Cute. Wrong, though.
Common Crochet Strawberry Problems and Fixes
Stuffing shows through the stitches. Tension is too loose or the hook is too big. Drop a hook size and push the fiberfill in small pieces, not one big wad.
The berry looks lopsided. Uneven stuffing is the usual cause. Lost marker comes second. Count stitches at the end of Rounds 2, 4, 6 and 8. Numbers right? Redistribute the filling with a needle. If a lump won’t shift, pull the stuffing back out and start again with smaller tufts .
There’s a gap at the tip. The magic ring wasn’t pulled tight. Tighten the tail before you continue, then weave it in.
It’s too tall and pointed. Probably an extra plain round crept in. Check the round list against the work.
The leaves fold in toward the berry. They’re worked on one side of the chain, so they curl. Tack each tip down with one small stitch.
FAQ
Can you skip the magic ring?
Yes. Chain 2 and work 6 sc into the second chain from the hook. Pull the tail firmly afterward so the center stays closed. The chain 2 method is a common substitute—it uses a standard slip knot that most beginners already know, and it’s gentler on yarn that tends to snap . It creates a secure center without the finger-wrapping puzzle of a magic ring .
What does amigurumi mean?
Amigurumi is the Japanese art of crocheting or knitting small stuffed yarn creatures. A strawberry counts because the technique is the same: tight stitches, shaping by increases and decreases, and stuffing. The word itself is a blend of “ami,” meaning crocheted or knitted, and “nuigurumi,” meaning stuffed doll .
Can you wash a crochet strawberry?
Follow the label on the yarn, and spot clean when you can. Soaking a stuffed piece means a long wait for the inside to dry.
Can a crochet strawberry become a keychain or ornament?
Yes. Make the mini version and sew a short chain loop under the cap. Hardware is a small part, so keep keychains away from babies.
Is a crochet strawberry suitable as a baby toy?
Only with care. Skip safety eyes and any hard parts, embroider every feature, and sew the cap on with strong, tight stitches. Check the yarn label and local toy rules as well.
Final Thoughts
This crochet strawberry pattern gives you every round for the berry, a five-leaf cap, seeds, a face and a mini option. If shaping with a hook is new, easy crochet animals is a good companion read. When more parts to sew together sound appealing, the crochet dragon pattern adds wings and spikes, and a crochet doll is a useful test of getting proportions right. Make the crochet strawberry first, though. Small projects are forgiving while you’re learning, and a slightly lumpy berry still looks like a berry. A slightly lumpy dragon just looks like a lump.

Leave a Reply