
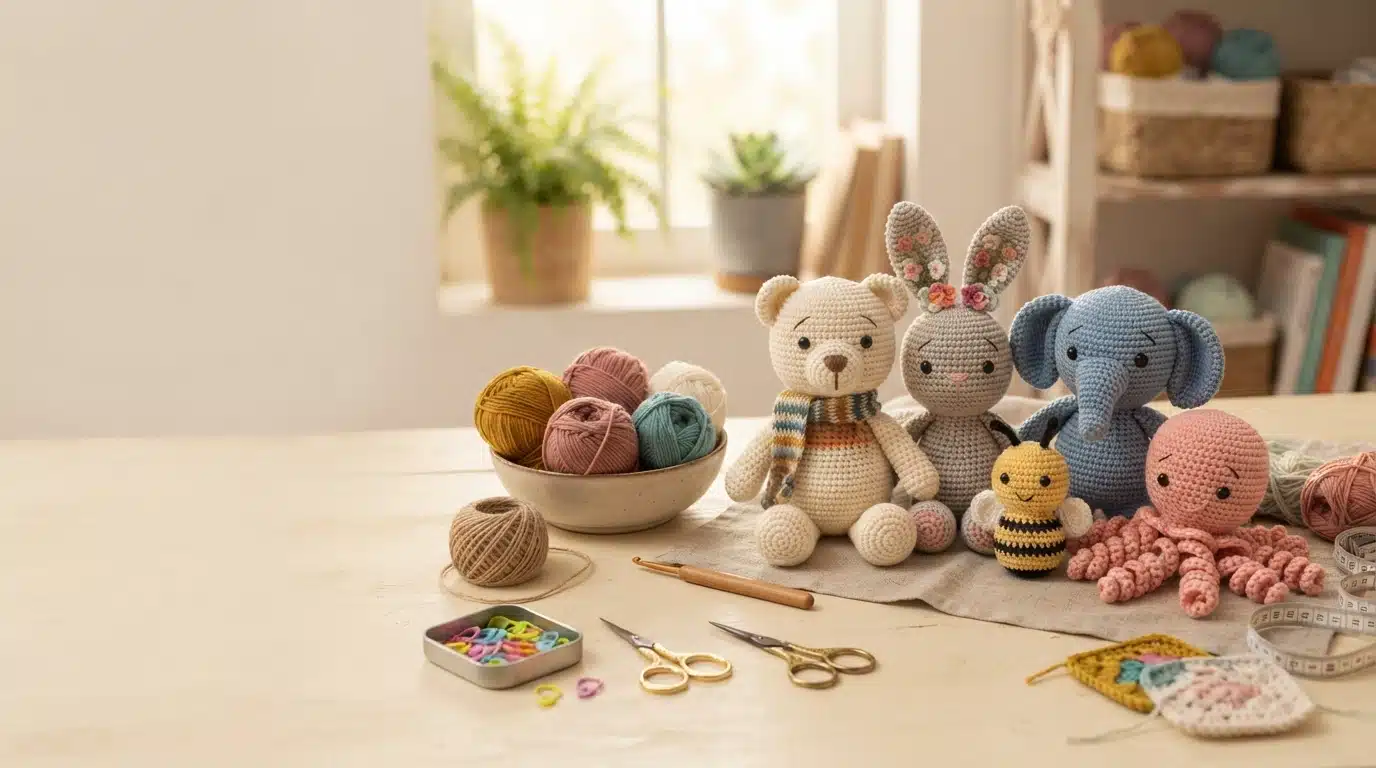
If you’ve picked up a hook wanting to make something a kid — or honestly, an adult — would actually want to hug, you’ve probably typed “soft toy crochet patterns” into a search bar and landed in a pile of unfamiliar terms. Amigurumi, invisible decrease, magic ring, safety eyes. None of it explains where to actually start. This guide is that starting point: what separates a pattern that’s genuinely easy from one that just says it is, which techniques you need before you touch yarn, how to read a pattern once you’ve picked one, and a few projects worth trying first.
Table of Contents

What Actually Makes a Pattern Beginner-Friendly?
A lot of patterns get labeled “easy” without much thought behind the label. The ones that really are tend to share a few traits: single crochet as the only stitch you need to track, a small number of pieces (a body and maybe two ears, nothing with jointed limbs), and a stitch count written at the end of every round so you can check your work before moving on.
Size isn’t a reliable shortcut here, either. A six-inch elephant with separately worked legs can be far more fiddly than a twelve-inch round bear made in one piece. If you’re new, look for “beginner” in the pattern description itself rather than judging by how small the finished toy looks in the photo. Photos can be deceiving — a compact toy can still involve a dozen tiny pieces that all have to be sewn on precisely, which is a different kind of difficulty than working a bigger, simpler shape.
It also helps to skim the whole pattern before starting, not just the materials list. Count how many separate pieces you’ll be making and attaching. A pattern with a body, head, two arms, two legs, and two ears means seven separate pieces to sew together at the end — that assembly step is often where beginners lose momentum, more than the stitching itself.
Learning to Read a Pattern
Amigurumi patterns are dense with abbreviations, and that density is part of what makes them look harder than they are. Once you know the shorthand, most patterns read like a simple recipe. sc is single crochet, inc is an increase (two single crochets into the same stitch), dec or sc2tog is a decrease, and a stitch count in parentheses or brackets at the end of a round — like (18) — tells you how many stitches you should have once you finish that round. If your count doesn’t match, it’s worth stopping and checking the last round before continuing, since a missed increase or decrease early on compounds as you keep working.
Rounds are usually written as a sequence, something like “sc 3, inc, repeat around,” which means you work that exact sequence multiple times to complete one full round. It looks cryptic on the page but becomes second nature within the first project or two.
The Techniques Worth Practicing First
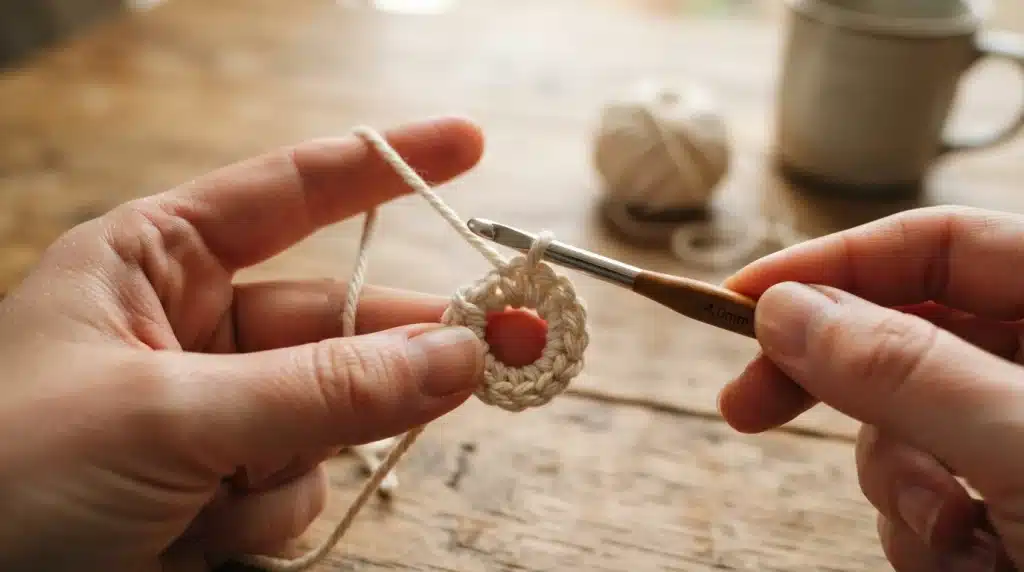
A handful of skills show up in nearly every amigurumi pattern, and once you’re comfortable with them, almost any new pattern becomes readable instead of intimidating.
The magic ring is how most pieces start — it closes the center tightly instead of leaving a visible hole, which a standard chain-and-join start won’t do. The invisible decrease matters more here than in garment crochet, because on something this small, a gap or a lump in the decrease rounds is impossible to hide. Most patterns are also written in continuous rounds rather than joined rounds, which is what gives amigurumi its smooth, seamless surface instead of a visible spiral line running up the piece.
Eyes are the one decision worth pausing on. Safety eyes give a cleaner, more finished look and are genuinely easier to attach than they sound — you push the post through the fabric and snap a locking washer on the inside before stuffing. But for anything going to a child under three, embroidered or felt features are the safer call. Safety eyes resist casual tugging, not determined toddler hands over months of play, and they can eventually work loose no matter how securely they were attached.
Practicing each of these on a scrap swatch before starting your actual toy will save you more frogging than any pattern’s instructions will. It’s tempting to skip straight to the real project, but ten minutes spent on a practice magic ring and a few decrease rounds usually saves an hour of unpicking later.
Picking Yarn and Hook Size
Most soft toy crochet patterns call for worsted weight cotton or acrylic, worked on a hook one or two sizes smaller than the yarn label suggests. That’s not a typo in the pattern — it’s deliberate. A tighter stitch keeps the stuffing from showing through, which is the single most common reason a first amigurumi project ends up looking a bit rough around the edges.
Between the two materials, cotton holds its shape better and gives crisper stitch definition, so it’s worth it if you want a toy that looks polished, with visible, even stitches. Acrylic is softer against skin and machine-washable, which tends to matter more if the toy is actually going to be played with by a young kid rather than displayed on a shelf. Some crocheters blend the two — cotton for the body where shape matters most, acrylic for anything that will get a lot of handling — though that’s a preference, not a rule.
Stuffing matters just as much as yarn choice, even though it gets less attention. Polyester fiberfill is the standard for a reason: it’s washable, holds its loft over time, and doesn’t clump the way some natural fiber stuffing can after repeated washing. Pack it in small pieces rather than one large handful — it distributes more evenly and avoids the lumpy patches that show through thinner stitches.
Where to Actually Find Good Patterns
Free soft toy crochet patterns are everywhere, but the quality swings wildly from one to the next. A few places worth starting with:
- Ravelry — searchable, filterable by skill level and yardage, with both free and paid options.
- Lion Brand Yarn — free patterns tested against their own yarn lines, generally reliable on stitch counts.
- Yarnspirations — another large library, solid for straightforward amigurumi.
When you’re comparing patterns, look for an actual photo of the finished piece rather than a clipart-style illustration, a materials list with real yardage numbers attached, and — this is the one people skip — comments or reviews from others who’ve made it. That tells you more about whether the pattern actually works than the description ever will. A pattern with dozens of finished-project photos from other crocheters in the comments is a much safer bet than one with none.
A Few Projects Worth Starting On
If you’re choosing a first project, some shapes are just more forgiving to learn on than others. A round bear or bunny body teaches you the core rhythm of increases, a straight middle section, and decreases, without the extra complication of attaching limbs. A flat-bottomed bee or egg shape is a good way to practice color changes without adding shaping on top. And a plain ball or fruit shape is honestly the fastest way to get a feel for your own tension before committing to a full toy.
Once one of those feels comfortable, a toy with simple limbs — a cat, or an octopus with straight tentacles instead of curled ones — is a natural next step. From there, jointed animals with separately worked arms and legs, or toys with more detailed facial shaping, are a reasonable stretch goal once assembly stops feeling like the hardest part.
Assembling the Pieces
Assembly is where a lot of otherwise solid amigurumi projects lose points, mostly because it’s treated as an afterthought instead of its own step. Pin pieces in place with stitch markers or scrap yarn before sewing anything permanently — it’s much easier to adjust an ear’s position when it’s just pinned than after it’s stitched down. A whip stitch or mattress stitch in matching yarn, worked through the front loops only on both pieces, keeps the seam nearly invisible.
Leave a long tail when you finish each piece specifically for sewing — a foot or more is usually enough for a small piece like an ear, though bigger attachments like arms need more. Trying to sew with a short leftover tail is a common source of frustration that’s entirely avoidable by planning for it while you’re still crocheting the piece.
A Few Things That Trip People Up
Stuff firmly, but stop before it’s tight enough to stretch the stitches — overstuffing is what makes safety eyes work loose over time, not the eyes themselves being poorly attached. Weave in ends as you finish each piece rather than saving them all for the end; amigurumi involves enough small parts that it’s easy to lose track otherwise. And if a piece is curling instead of lying flat once it’s off the hook, a light steam or block before assembly makes a bigger difference than you’d expect.
Uneven tension is another common one, especially in the first few projects. It usually shows up as a slightly cone-shaped piece instead of a round one, and it almost always comes down to holding the yarn with inconsistent tension between stitches rather than anything wrong with the pattern itself. It tends to even out with practice, so it’s worth not judging an early project too harshly for it.
FAQ
Can I use a different yarn weight than the pattern calls for? You can, but the finished size will shift with it. Swapping in DK weight for a pattern written for worsted will give you a noticeably smaller toy, so check for a gauge note before assuming the size will stay the same.
Why is my amigurumi curling instead of holding its round shape? Almost always a tension issue — the stitches are looser than the hook size calls for, which lets the piece flare outward instead of curving in. Going down a hook size usually fixes it.
Are safety eyes actually safe for a baby’s toy? Not reliably, no. They’re built to resist a casual pull, not months of a toddler working at them. For anything meant for a child under three, embroidered or felt features are the safer route.
How much yarn do I actually need for a small toy? It depends heavily on the size and how densely it’s stuffed, but a lot of small amigurumi projects — in the four-to-six-inch range — use well under a full skein. Checking the specific pattern’s yardage note is more reliable than guessing from the finished size alone, since a densely stuffed piece uses noticeably more yarn than a loosely stuffed one of the same dimensions.
Can I wash a finished amigurumi toy? If it’s made with acrylic and stuffed with polyester fiberfill, a gentle hand wash or a delicates cycle in a mesh bag is usually fine, followed by air drying so the shape doesn’t warp. Cotton toys hold up well too, though anything with safety eyes should be checked periodically to make sure the backing hasn’t loosened, regardless of how it’s cleaned.

Leave a Reply